Rim Lighting: Adding Drama and Separation

Rim Lighting: Adding Drama and Separation

Rim lighting — a light positioned behind the subject that creates a bright outline along their edges — is one of the most dramatic tools in portrait photography. That bright edge separates the subject from the background, adds a three-dimensional quality that flat lighting can’t achieve, and creates an immediate sense of production value. What Rim Lighting Does When a light source is positioned behind and slightly above a subject, it skims across the edges of their hair, shoulders, and body contour.

Posing Guide: Hands and Arms in Portrait Photography

Posing Guide: Hands and Arms in Portrait Photography

Hands are the most frequently problematic element in portrait photography. They either look stiff, disappear awkwardly, or dominate the frame. The good news is that a few clear principles solve the majority of hand and arm posing problems. The Core Principle: Give Hands Something to Do Hands look worst when they hang lifelessly at someone’s sides. The moment you give them a purpose, touching a surface, holding an object, resting on a body, they look natural.

One Light Setup: Everything You Can Do with a Single Strobe

One Light Setup: Everything You Can Do with a Single Strobe

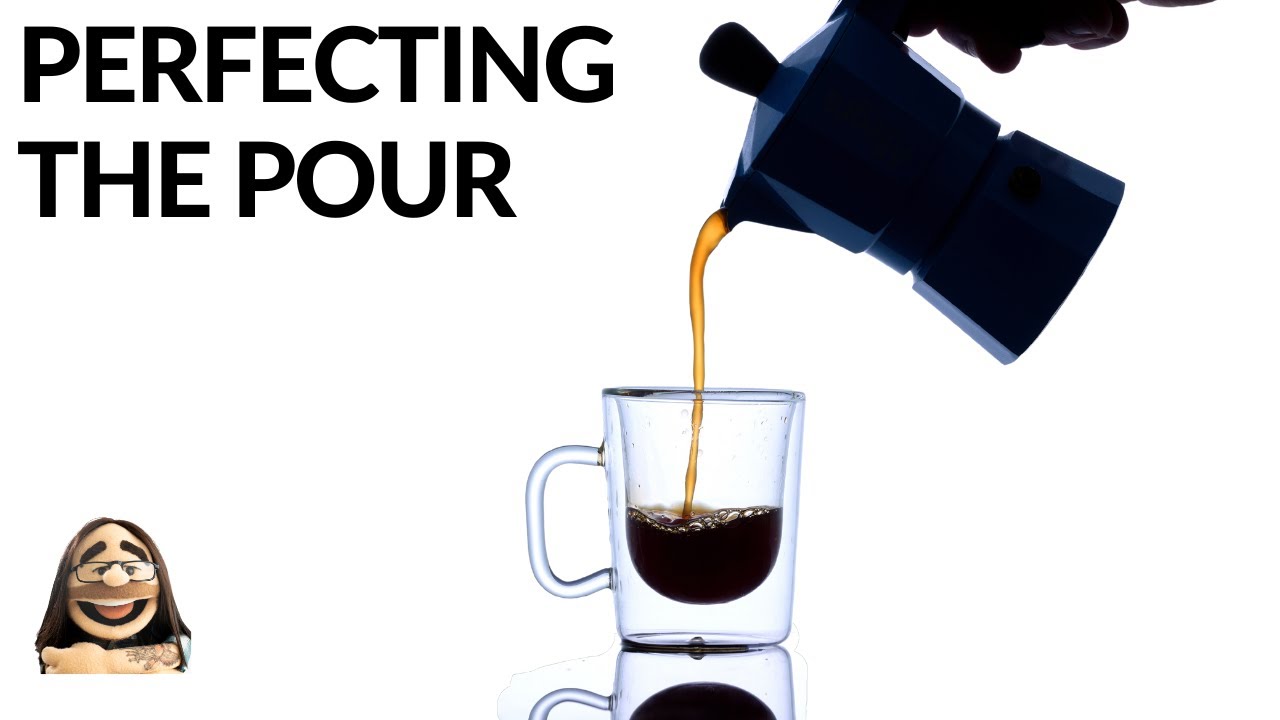
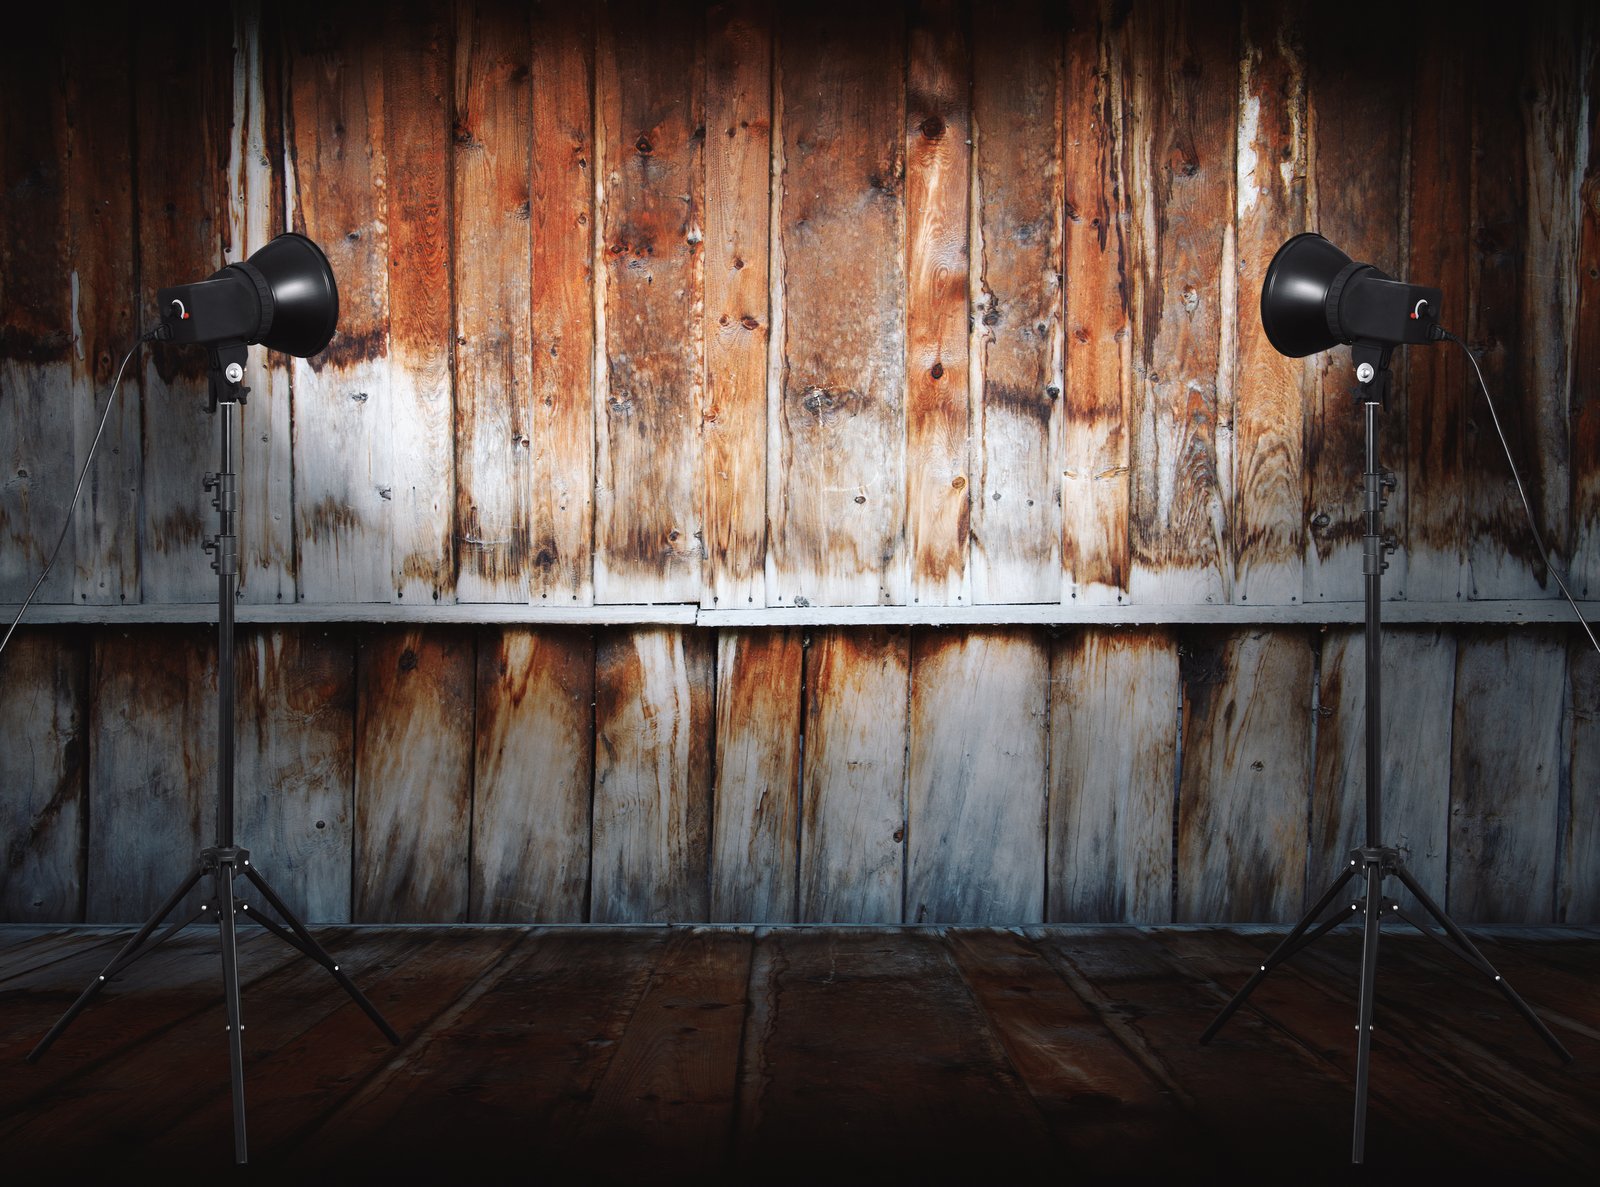
The most common misconception in studio photography is that you need multiple lights to produce professional results. You do not. A single strobe, paired with the right modifier and placement, can produce an enormous range of looks. Mastering one light is the foundation upon which every multi-light setup builds. The Core Variables With one light, you control the image through four variables: Light position (angle and height relative to the subject) Modifier type (what shapes and softens the light) Distance from subject (controls both softness and falloff) Power setting (determines exposure and ratio to ambient light) Every single-light portrait is a combination of these four choices.

Metering Flash: Understanding TTL vs Manual

Metering Flash: Understanding TTL vs Manual

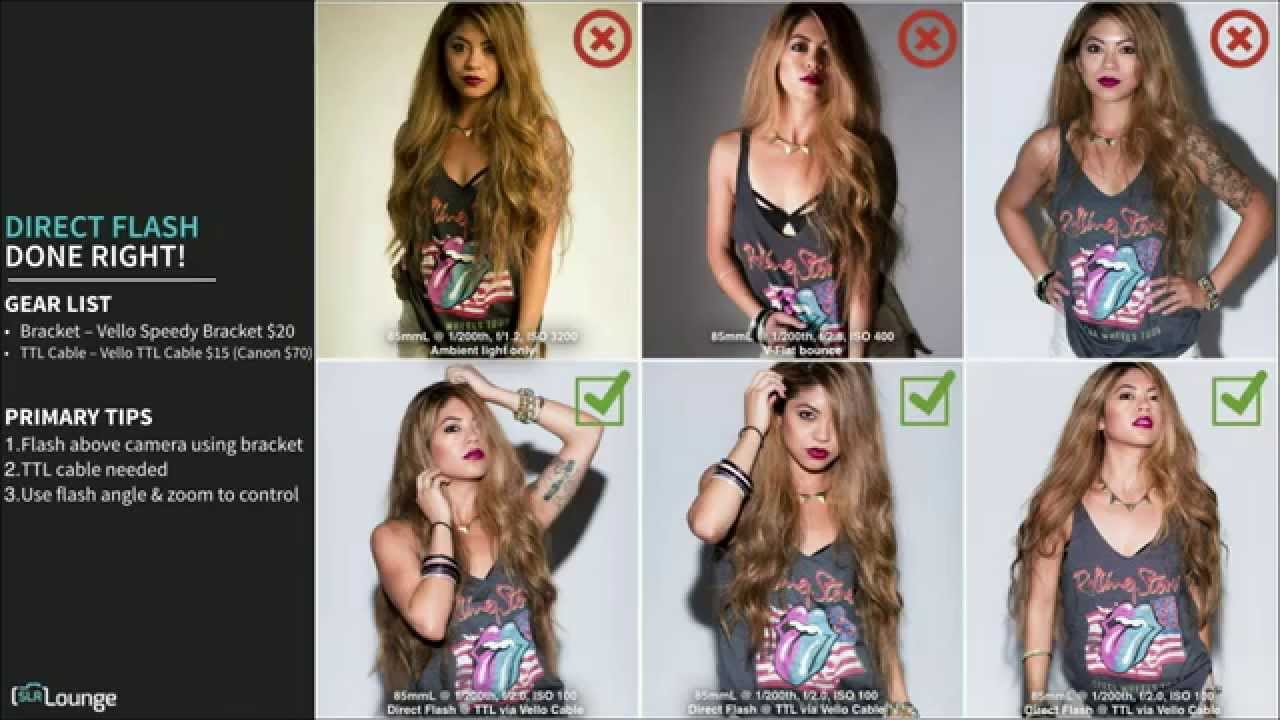
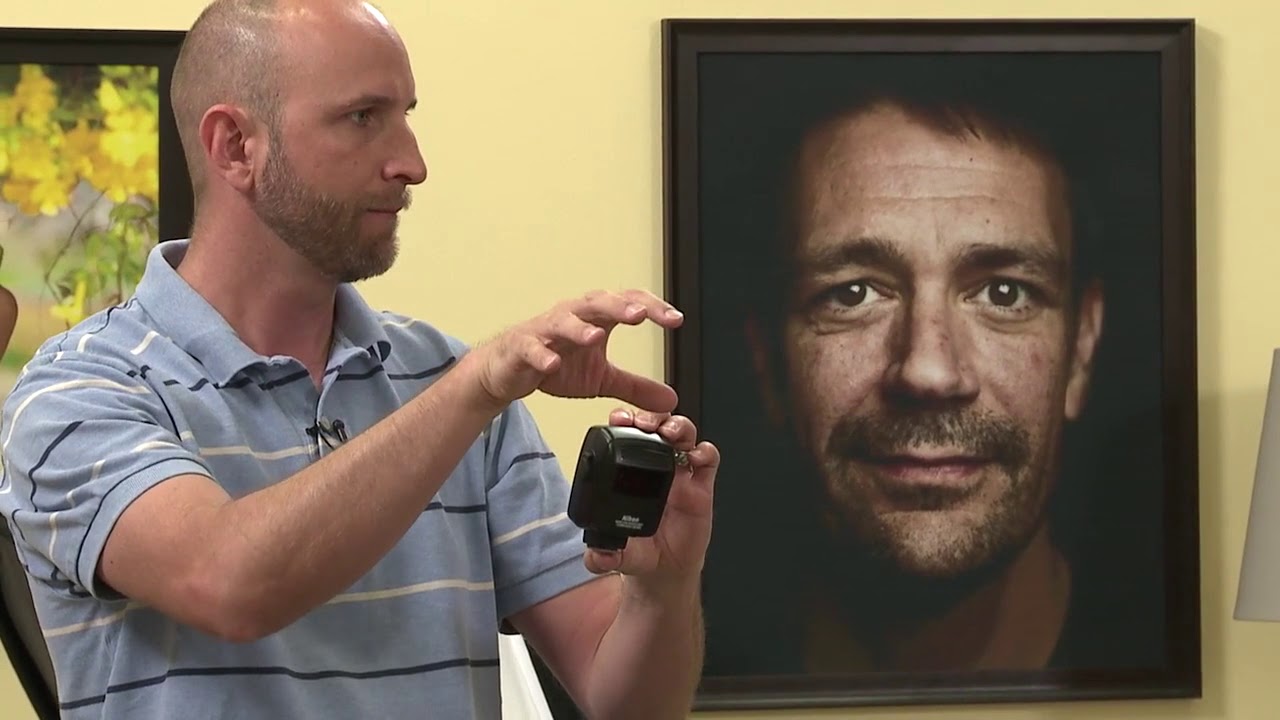
Every external flash operates in one of two modes: TTL (Through The Lens) automatic metering, or manual power control. Understanding when each mode is appropriate, and how to meter effectively in both, eliminates the most common flash exposure problems. How TTL Works TTL metering fires a pre-flash, an extremely brief burst of light, milliseconds before the actual exposure. The camera’s meter reads the light reflected from this pre-flash through the lens, calculates the flash power needed for correct exposure, and sets the main flash output accordingly.

Maximizing Light and Space: How One Artist Built a Full Studio in a Living Room

Maximizing Light and Space: How One Artist Built a Full Studio in a Living Room

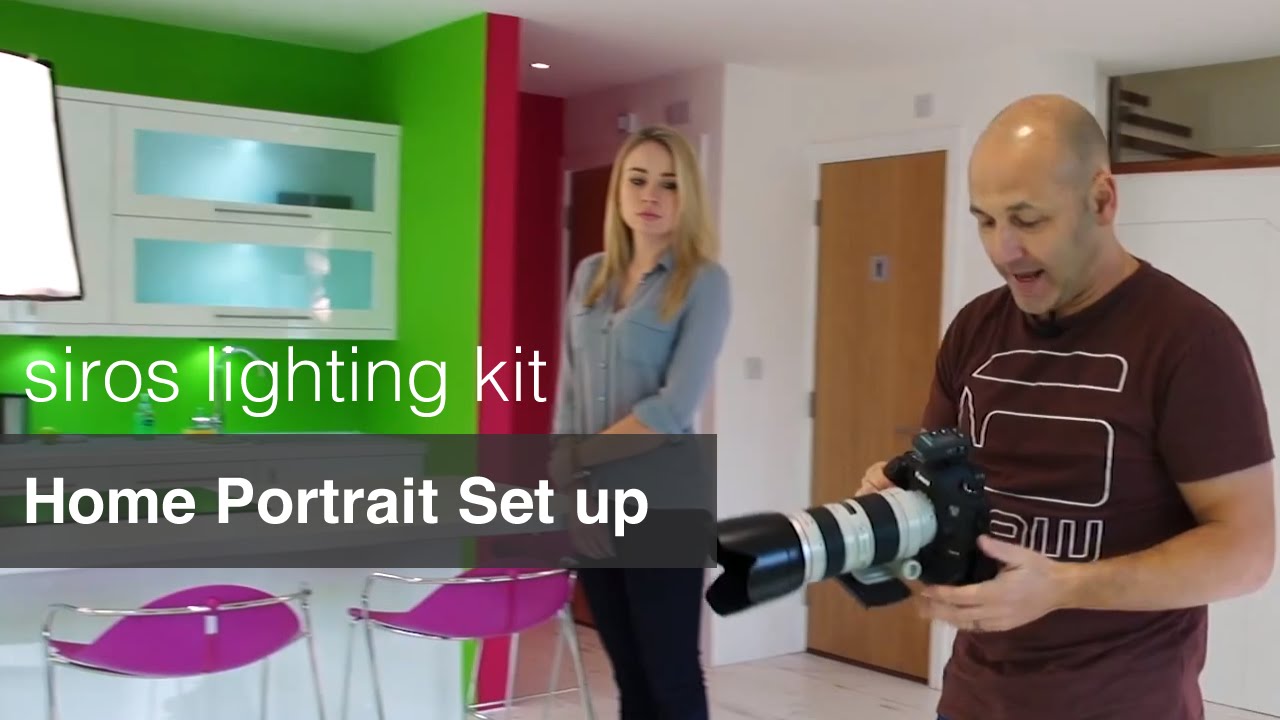
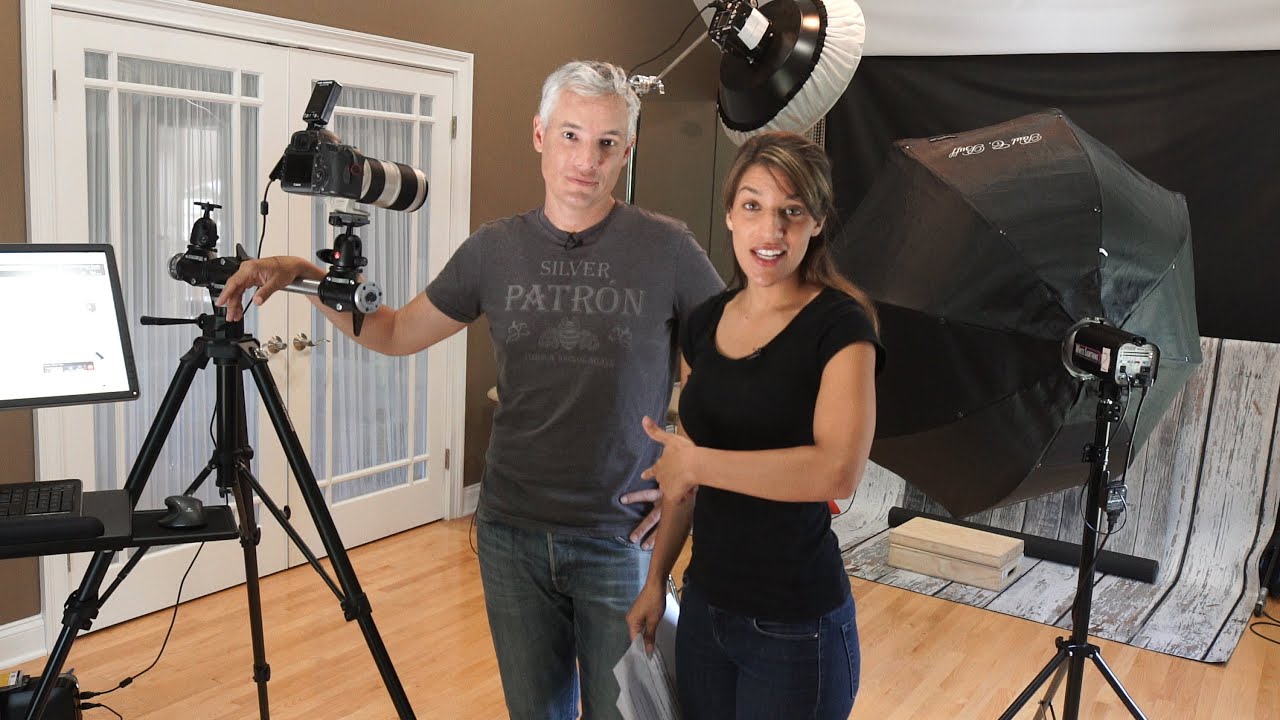
Making Every Square Foot Count I’ve spent years watching photographers struggle with space constraints, and I’ve learned that the real masters aren’t those with sprawling studios—they’re the ones who understand how to weaponize what they have. Shinn Uchida, a Japanese visual artist, recently demonstrated this principle beautifully by transforming her living room into a fully functional creative space capable of handling large-scale work. What strikes me most about her approach isn’t nostalgia or scrappiness.

Master These Four Fundamental Portrait Lighting Setups to Transform Your Studio Work

Master These Four Fundamental Portrait Lighting Setups to Transform Your Studio Work

The Foundation That Every Portrait Photographer Needs I’ve spent years refining my approach to portrait lighting, and I can say with confidence that mastering foundational patterns is non-negotiable. Too many photographers jump straight into complex multi-light setups without understanding the principles that make lighting work. It’s like trying to bake without knowing the difference between creaming butter and folding ingredients—you’ll get inconsistent results that frustrate you. The reality is this: once you understand four core lighting patterns, you have a repeatable system that works across nearly every client scenario.

Master Portable Strobe Photography: The One-Light Setup That Replaces a Studio

Master Portable Strobe Photography: The One-Light Setup That Replaces a Studio

I shoot commercial work in controlled environments most weeks. Coved walls, modifiers on stands I’ve labeled with masking tape, a lighting diagram already drafted before the talent walks in. So when a client calls asking for “something more editorial, more outdoor, more alive,” I have to shift gears fast. The problem isn’t creative willingness. The problem is translating the precision I rely on in the studio into a single-strobe location kit that still delivers consistent, professional results across multiple setups in the same session.

Low Key Lighting: The Master's Guide to Shadow and Control

Low Key Lighting: The Master's Guide to Shadow and Control

Low Key Lighting: The Master’s Guide to Shadow and Control Low key lighting isn’t moody for mood’s sake—it’s a disciplined approach to controlling what your viewer sees and, more importantly, what they don’t. I’ve spent twenty years refining this technique, and I’m going to give you the exact framework I use on every low key shoot. What Low Key Actually Means Let me be direct: low key doesn’t mean dark. It means a ratio between highlights and shadows of at least 4:1, typically ranging to 8:1 or higher.

Low Key Lighting: The Discipline That Separates Professionals From Amateurs

Low Key Lighting: The Discipline That Separates Professionals From Amateurs

Low Key Lighting: The Discipline That Separates Professionals From Amateurs Low key lighting isn’t a trend or an aesthetic preference—it’s a deliberate technical choice that demands precision, restraint, and a clear understanding of contrast ratios. After twenty years of working in studios and on location, I’ve found that photographers who master low key lighting develop a fundamental control over their craft that serves every other technique they’ll ever learn. What Low Key Actually Means Let’s be direct: low key doesn’t simply mean “dark.

Low Key Lighting: The Discipline That Separates Competent Photographers From Masters

Low Key Lighting: The Discipline That Separates Competent Photographers From Masters

I’ve spent twenty years in studios lit by everything from tungsten to strobes, and I can tell you this: low key lighting is the discipline that exposes your technical weaknesses faster than any other setup. It demands precision where other styles forgive sloppiness. This is exactly why you should master it. Low key lighting isn’t about making things dark. That’s a dangerous misconception. It’s about controlling the ratio between your key light and fill, creating deliberate shadows that sculpt the subject rather than illuminate it equally.

Low Key Lighting: The Discipline of Shadows

Low Key Lighting: The Discipline of Shadows

Low Key Lighting: The Discipline of Shadows Low key lighting isn’t moody for mood’s sake. It’s a deliberate, methodical approach to revealing form through contrast. I’ve spent years refining it, and I’m convinced it separates amateurs from professionals faster than any other technique. When executed properly, low key work demands precision—in positioning, in metering, in every decision you make. Understanding Low Key: Definition and Intent Low key means exactly what it says: the key light is low in output relative to your exposure.

How to Light Groups: From Two People to Twenty

How to Light Groups: From Two People to Twenty

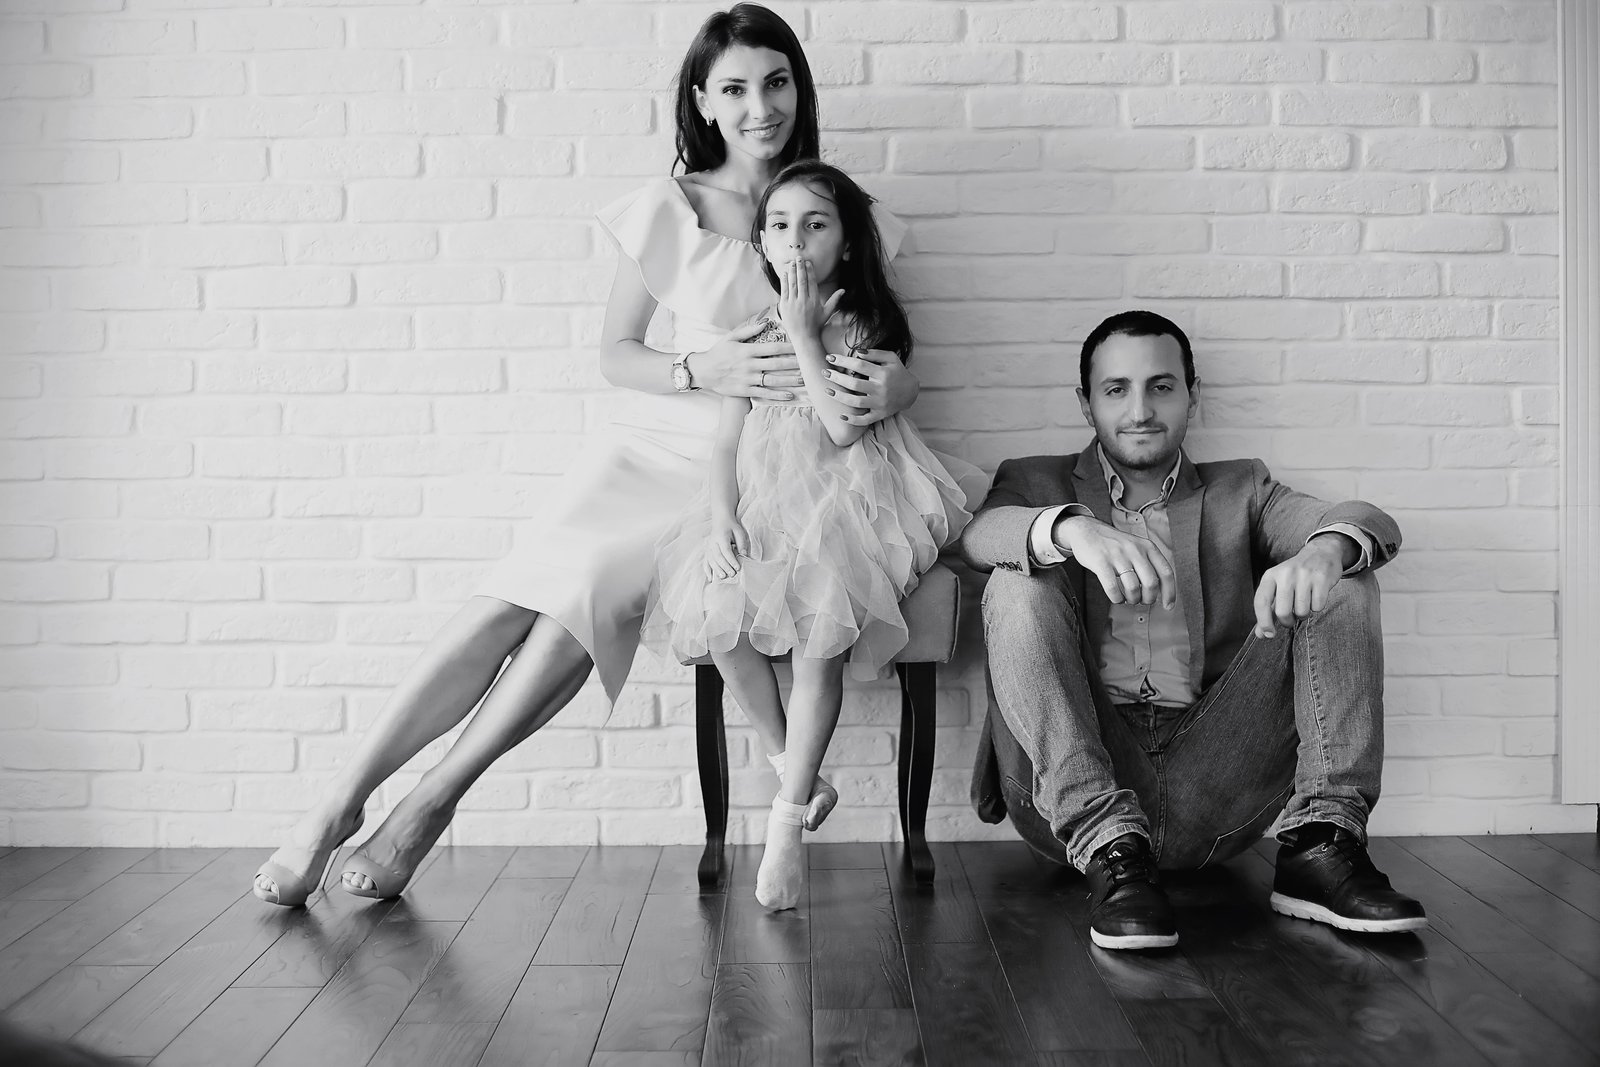
Group lighting is fundamentally different from individual portrait lighting. With one person, you sculpt light across a single face. With groups, you need even illumination across every face while maintaining enough contrast to keep the image from looking flat. The larger the group, the bigger the challenge. The Core Problem Portrait lighting typically uses a key light positioned to one side of the subject, creating a bright side and a shadow side.