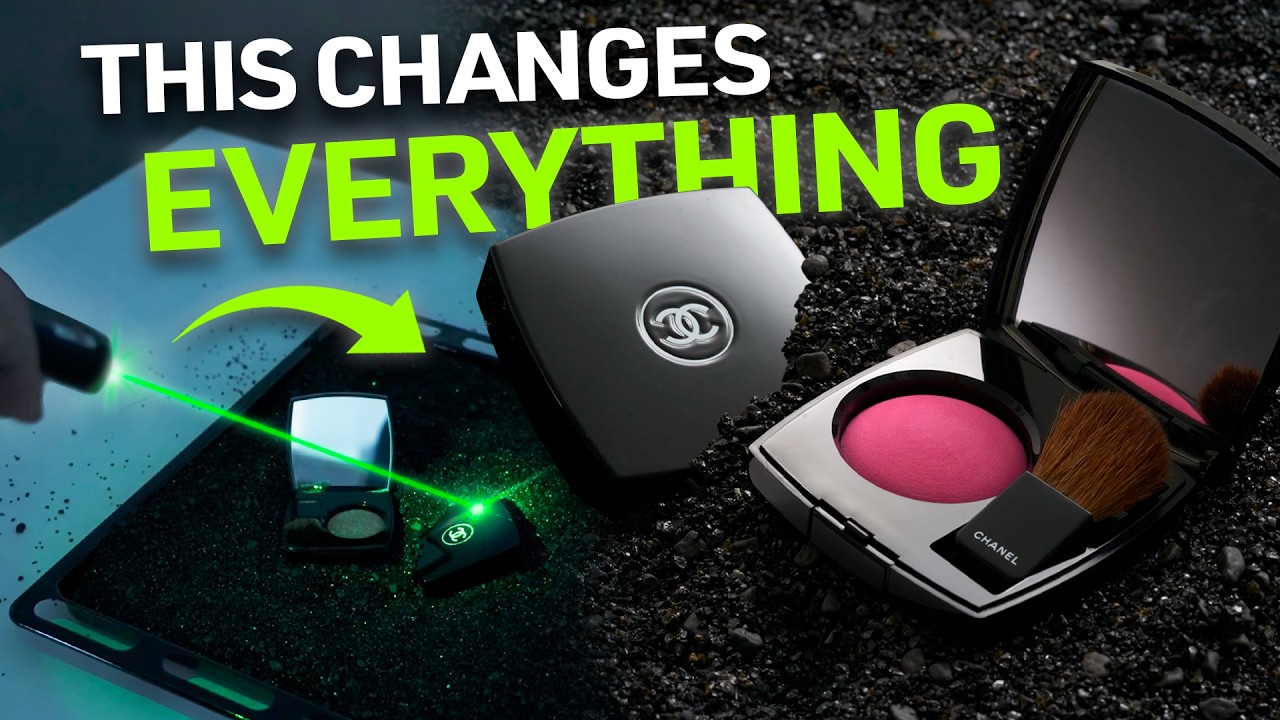
Every commercial photographer has a version of this story. A client sends over a cosmetics product, something small and impossibly shiny, and you set up what feels like a reasonable light position and fire a test shot. The result looks like a snapshot from a drugstore circular. The surface is either blowing out in a hot white blob or reading as a flat, lifeless panel with no dimension whatsoever. I have a lighting journal where I sketch every setup from every shoot, and I can flip back through dozens of pages where a note in the margin reads some version of “glossy surfaces are the enemy.” They are not the enemy. I just did not understand them yet.
That understanding clicked into place properly when I worked through this Visual Education tutorial by Karl Taylor. Watch the full tutorial on YouTube Taylor has been shooting high-impact commercial and advertising work for over three decades, and what makes this particular video worth your time is not the gear list. He shoots the entire demonstration in a small space with a budget setup. The lesson is about understanding how light actually behaves on reflective surfaces, and once you have that model in your head, it changes how you approach every shiny product you ever shoot again.
The product in question is a makeup blusher kit, which is about as challenging as a reflective subject gets. Small, compact, multiple angled surfaces, and a mirror-like finish on every panel. Here is how the technique breaks down.
Step 1: Set Up a Simple Scene with Honest Materials
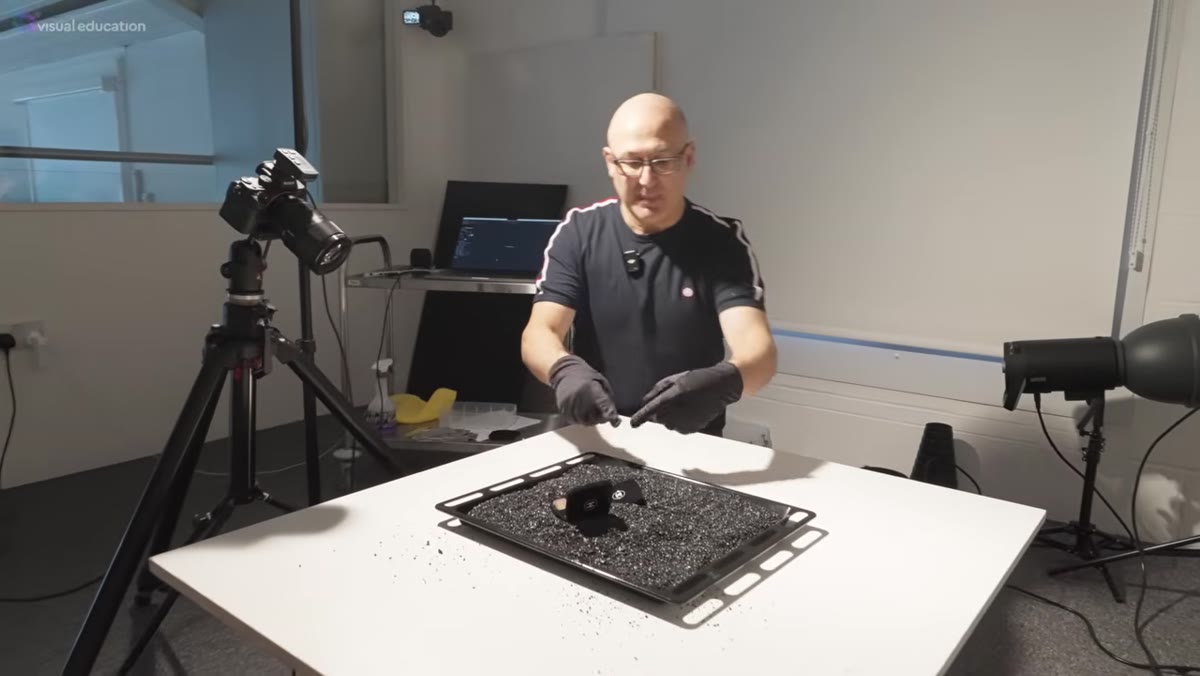 Black gravel poured into a kitchen baking tray
Before any light gets placed, Taylor builds the scene using materials that cost almost nothing. A standard kitchen baking tray holds the product, and the base texture is black aquarium gravel, the kind sold in pet shops for fish tanks. This matters for more than aesthetics. The dark, matte ground absorbs light rather than bouncing it back unpredictably, giving you a controlled base from which to build. When I shoot beauty products, I keep a few trays of different textures on a shelf, including white sand and dark stone, for exactly this reason. The set is not an afterthought. It defines the mood before you touch a light.
Black gravel poured into a kitchen baking tray
Before any light gets placed, Taylor builds the scene using materials that cost almost nothing. A standard kitchen baking tray holds the product, and the base texture is black aquarium gravel, the kind sold in pet shops for fish tanks. This matters for more than aesthetics. The dark, matte ground absorbs light rather than bouncing it back unpredictably, giving you a controlled base from which to build. When I shoot beauty products, I keep a few trays of different textures on a shelf, including white sand and dark stone, for exactly this reason. The set is not an afterthought. It defines the mood before you touch a light.
Step 2: Start with the Wrong Light Placement on Purpose
 Flat, washed-out product shot on tethered monitor
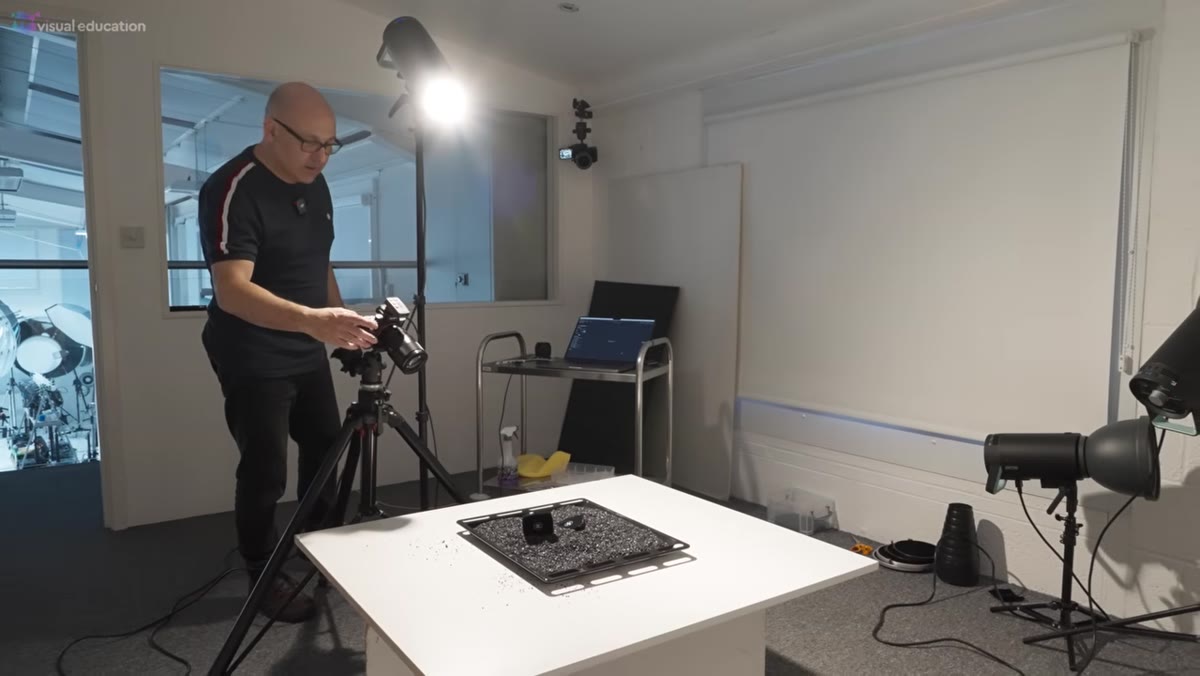
This is the step most tutorials skip, and it is the most instructive one in the whole video. Taylor places the light directly in line with the camera, fires a shot, and shows the result on a tethered monitor. It is flat, harsh, and completely uninteresting. The point is not to embarrass the setup. The point is to give you a visual baseline so you can measure exactly how much work the subsequent changes are doing. I do this on client shoots too, especially when I am testing a new modifier. A bad reference shot is data. It tells you where you are starting from.
Flat, washed-out product shot on tethered monitor
This is the step most tutorials skip, and it is the most instructive one in the whole video. Taylor places the light directly in line with the camera, fires a shot, and shows the result on a tethered monitor. It is flat, harsh, and completely uninteresting. The point is not to embarrass the setup. The point is to give you a visual baseline so you can measure exactly how much work the subsequent changes are doing. I do this on client shoots too, especially when I am testing a new modifier. A bad reference shot is data. It tells you where you are starting from.
Step 3: Understand Image-Forming Reflections
 Light source visibly reflected in the glossy product surface
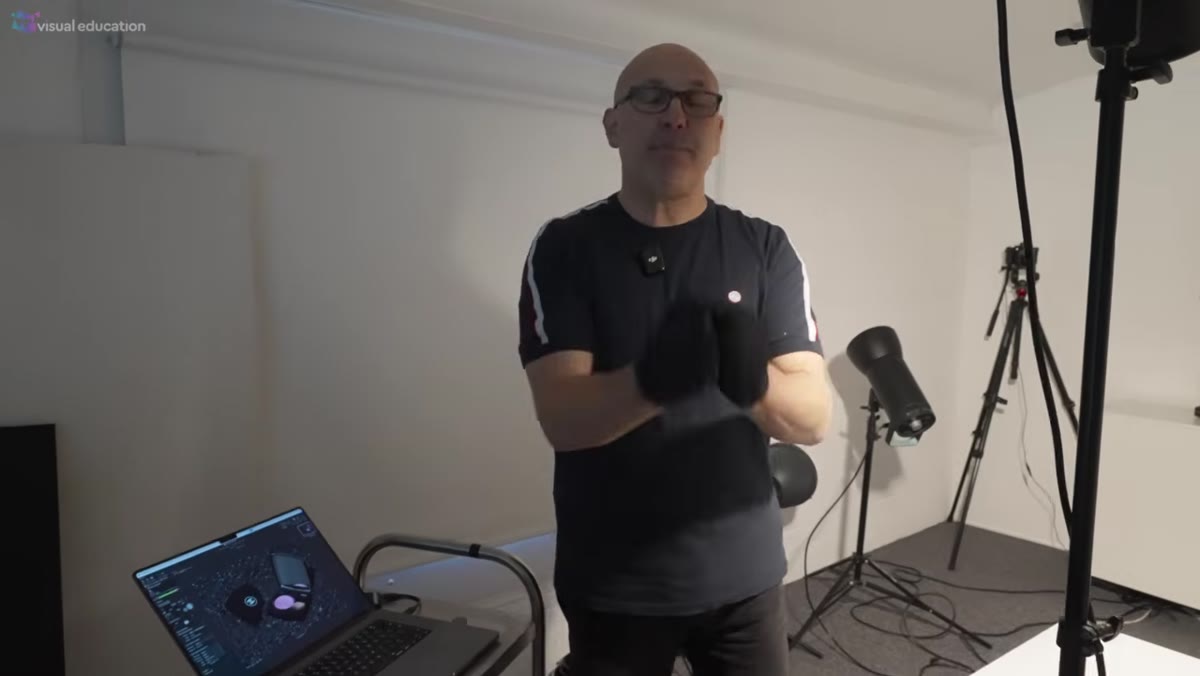
Here is the core concept the whole technique is built around. Glossy surfaces do not scatter light the way matte surfaces do. They behave like mirrors and reflect a direct image of whatever light source is aimed at them. Taylor calls these image-forming reflections. When you see a hard white blob on a shiny product, you are literally seeing the shape of your light source reproduced on the product’s surface. To control how that reflection looks, you have to control the shape, size, and quality of the light source itself. Moving the light to an angle where it reflects into the camera confirms this: you can watch the light source appear and disappear in the surface as you shift position. Use live view on your camera to monitor this in real time without having to fire a test shot every few seconds.
Light source visibly reflected in the glossy product surface
Here is the core concept the whole technique is built around. Glossy surfaces do not scatter light the way matte surfaces do. They behave like mirrors and reflect a direct image of whatever light source is aimed at them. Taylor calls these image-forming reflections. When you see a hard white blob on a shiny product, you are literally seeing the shape of your light source reproduced on the product’s surface. To control how that reflection looks, you have to control the shape, size, and quality of the light source itself. Moving the light to an angle where it reflects into the camera confirms this: you can watch the light source appear and disappear in the surface as you shift position. Use live view on your camera to monitor this in real time without having to fire a test shot every few seconds.
Step 4: Introduce a Diffusion Scrim to Create Gradient Lighting
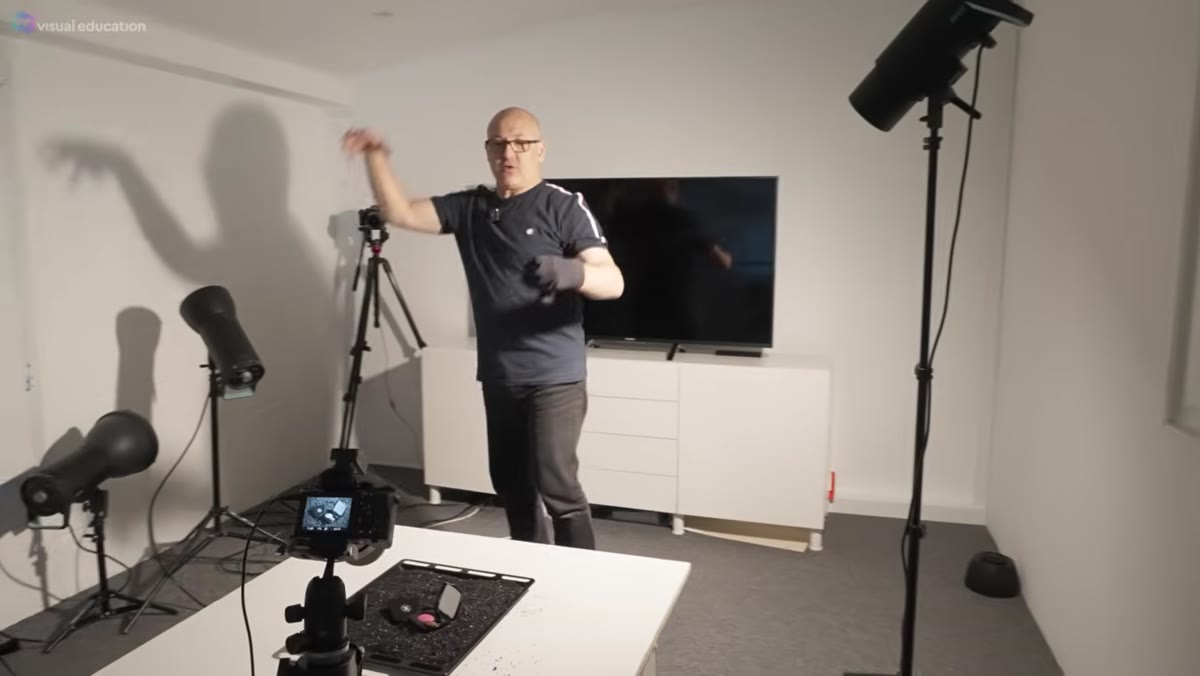 Light being directed through a diffusion scrim material
Once you understand that glossy surfaces mirror your light, the solution becomes logical. You need to replace the small, harsh light source with something larger and softer, so that the reflection it creates on the product surface transitions gradually from bright to dark rather than hitting as a hard-edged blob. Taylor achieves this by shining his light through a diffusion scrim, a translucent panel that spreads and softens the light before it reaches the subject. The result on the product is a gradient, a smooth falloff from highlight to shadow that gives the surface shape, depth, and the impression of quality. The size of the scrim relative to the subject determines how wide that gradient is. Larger scrims, or moving the scrim closer to the subject, create a broader, more gradual transition.
Light being directed through a diffusion scrim material
Once you understand that glossy surfaces mirror your light, the solution becomes logical. You need to replace the small, harsh light source with something larger and softer, so that the reflection it creates on the product surface transitions gradually from bright to dark rather than hitting as a hard-edged blob. Taylor achieves this by shining his light through a diffusion scrim, a translucent panel that spreads and softens the light before it reaches the subject. The result on the product is a gradient, a smooth falloff from highlight to shadow that gives the surface shape, depth, and the impression of quality. The size of the scrim relative to the subject determines how wide that gradient is. Larger scrims, or moving the scrim closer to the subject, create a broader, more gradual transition.
Step 5: Position the Gradient for Maximum Surface Dimension
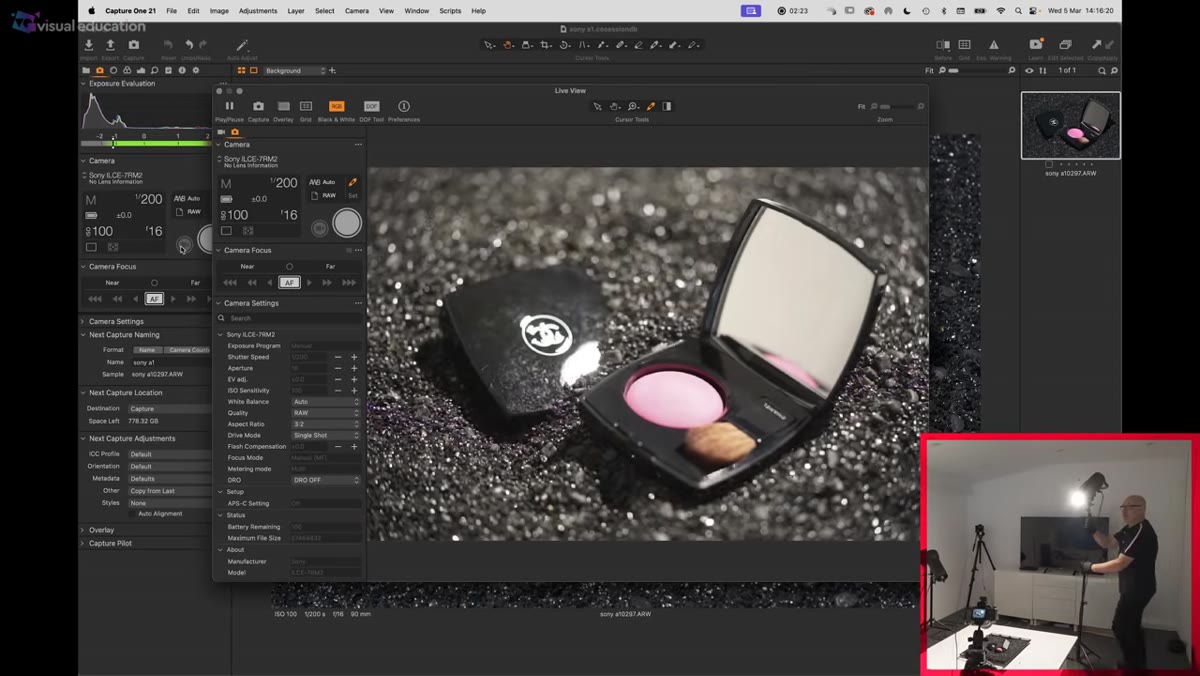 Repositioning light source to optimize reflection angle
Placement angle is everything here. The diffused light needs to be positioned so the gradient reflection runs across the most prominent face of the product, typically sweeping from one edge to the other rather than hitting dead center. Taylor uses live view to dial this in before committing to a shot, watching the reflection travel across the surface as he adjusts. For a compact or palette with multiple recessed panels, you may need to tilt the product slightly on the set so that each face catches a different portion of the gradient. I often use a small wedge of museum putty under the back edge of a product to get that tilt without it being visible to camera.
Repositioning light source to optimize reflection angle
Placement angle is everything here. The diffused light needs to be positioned so the gradient reflection runs across the most prominent face of the product, typically sweeping from one edge to the other rather than hitting dead center. Taylor uses live view to dial this in before committing to a shot, watching the reflection travel across the surface as he adjusts. For a compact or palette with multiple recessed panels, you may need to tilt the product slightly on the set so that each face catches a different portion of the gradient. I often use a small wedge of museum putty under the back edge of a product to get that tilt without it being visible to camera.
A Note on Scrims You Already Own
The tutorial demonstrates a purpose-built diffusion scrim, which is the right tool and worth having. But in a pinch, you can get close with materials you likely already own. A sheet of white acrylic from a hardware store, a frosted shower curtain panel, or even a stretched piece of white nylon diffuses light and softens those image-forming reflections meaningfully. I have a small collection of DIY diffusion panels I built from acrylic and PVC pipe, and every single one has a strip of masking tape on it with the date I made it and what shoot I first used it on. The material does not have to be expensive. The principle is what matters: put something between your hard light source and your subject that turns a point source into a broad, gradual source.
The single most transferable idea from this tutorial is the concept of image-forming reflections. Once you internalize that glossy surfaces show you a picture of your light, not just the presence of your light, you stop trying to hide reflections and start designing them. That shift in thinking is worth more than any piece of gear on your wish list.
Watch the full tutorial on YouTube and pay close attention to the live view section where Taylor moves the light in real time. Watching a reflection travel across a surface in motion teaches you more in thirty seconds than most written explanations manage in three paragraphs.
Comments (5)
I tried this on a client project yesterday and the results were way better than expected.
This is exactly what I needed today. Been struggling with this for weeks.
Never thought of approaching it this way. Really creative.
I tried this on a client project yesterday and the results were way better than expected.
Quality content like this is rare. Keep it up.
Leave a Comment