Every new assistant who works in my studio goes through the same initiation. I hand them a single bare strobe, a grey seamless, and a subject, and I ask them to show me five different looks without moving the light stand more than three feet. Most of them move the stand anyway. The ones who don’t, who understand that the angle and height of a single source can completely restructure a human face, those are the ones I actually want around.
Portrait lighting patterns are not creative constraints. They are diagnostic tools. Once you can name what you’re looking at, you can reproduce it, modify it, and charge for it.
What the Shadow on the Nose Is Actually Telling You
Classical portrait lighting patterns, Rembrandt, loop, split, butterfly, and broad, are defined almost entirely by the behavior of the nose shadow. That shadow is your readout. It tells you where the key light is, how high it is, and whether you’ve achieved the pattern you’re after or just landed somewhere in between.
Loop lighting is the most commercially useful of the five. The key light sits roughly 30 to 45 degrees off the subject’s nose and slightly above eye level, which casts a small, looped shadow that falls downward and slightly to the side of the nose without connecting to the upper lip shadow. It’s flattering on a wide range of face shapes because it narrows the face without going dramatic. For corporate headshots, I run a Profoto B10 Plus through a 3x4 Westcott Rapid Box at about 100 watt-seconds, place a silver reflector at a 3:1 ratio on the fill side, and I’m done. The client looks competent. They look like they run things.
Rembrandt lighting is the one people romanticize. The key light moves higher and more to the side, past 45 degrees, until the nose shadow connects with the cheek shadow and creates that small triangle of light on the shadow-side cheek. The ratio gets pushed, usually 4:1 or higher, and the fill drops off or disappears entirely. It works for editorial, for character-driven portraits, for men with strong bone structure. It does not work for a beauty campaign where the client needs to see every pore. Know the context before you reach for the drama.
Split and Butterfly: The Two Extremes You Actually Need
Split lighting divides the face exactly in half. The key sits directly to the subject’s side, at 90 degrees, and the shadow bisects the nose and the face cleanly. It’s aggressive, graphic, and almost never right for commercial clients unless you’re shooting a musician or something where edge is the whole point. I still use it, but I use it intentionally.
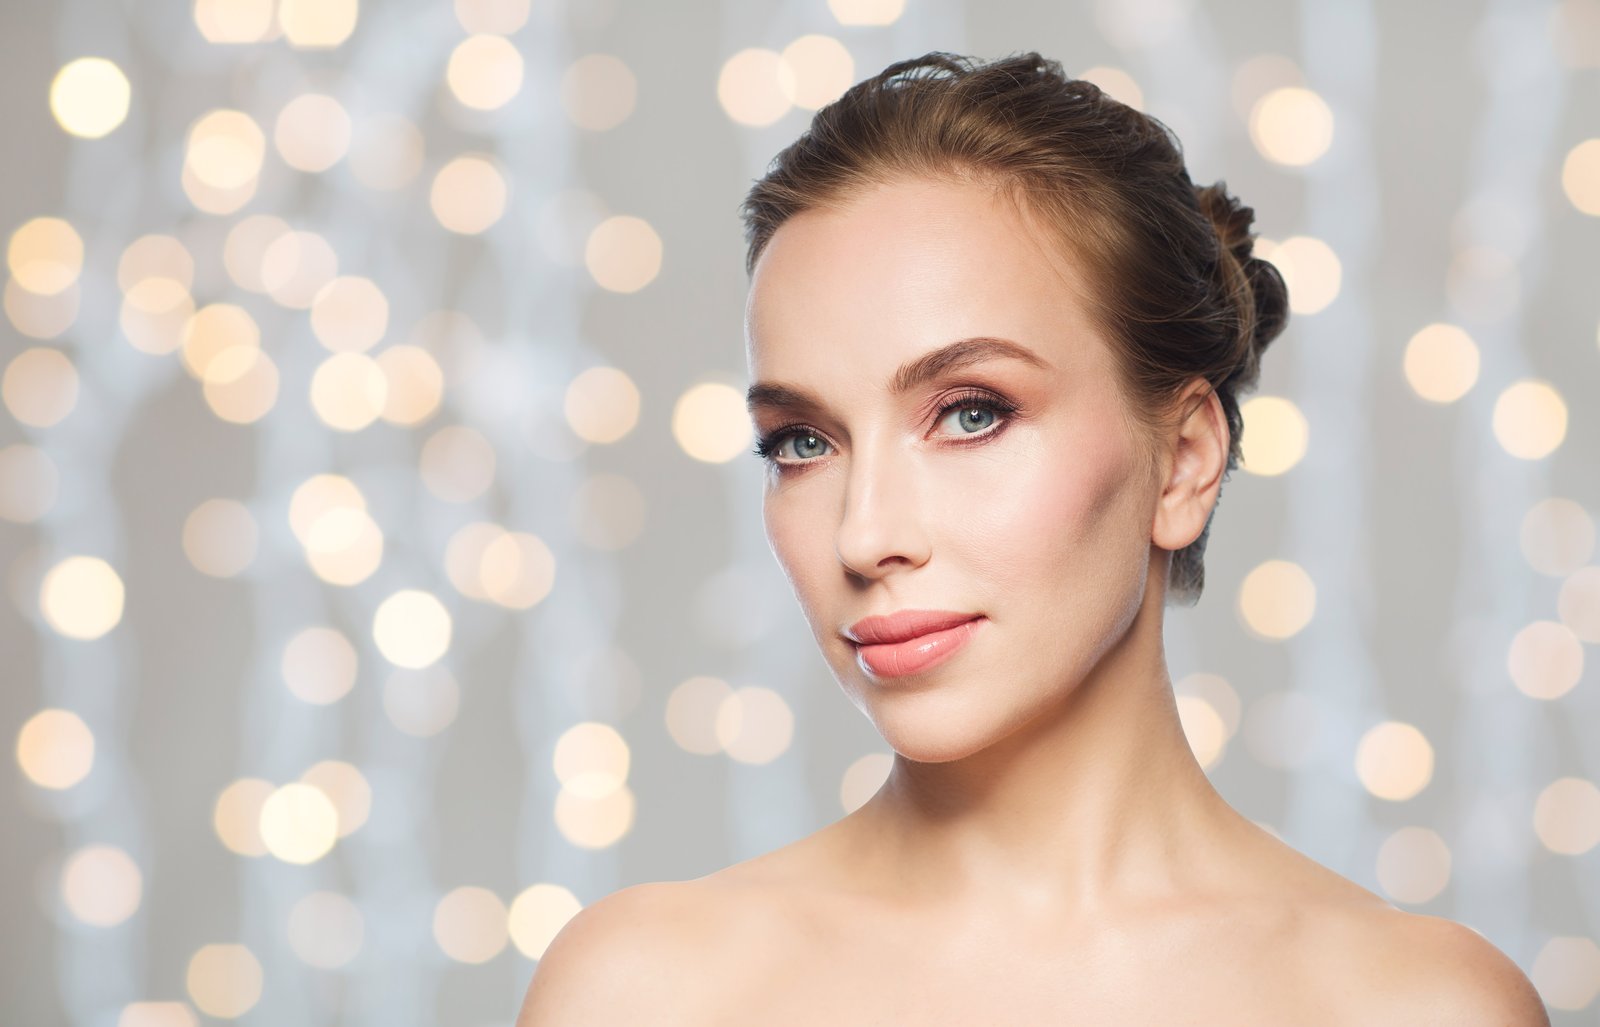
Butterfly lighting, sometimes called Paramount lighting because of how it was used in old Hollywood studio portraiture, places the key light directly in front of the subject and above, which creates a small butterfly-shaped shadow under the nose. This is the glamour workhorse. For beauty and fashion work, this is my starting position more often than not. I run a large octabox, usually a 47-inch Broncolor Octa, directly above the camera axis, then add a reflector or secondary softbox below the lens to fill in the under-eye area. At f/8, ISO 100, and a shutter speed of 1/160, the skin looks like skin and not like a texture map.
Broad lighting is the fifth pattern and the one most photographers reach for accidentally when they don’t know what they’re doing. You’re lighting the wider, camera-facing side of the face. It widens the face. Unless you have a subject with a very narrow face and you want to balance that, or you’re deliberately going painterly and high-key, broad lighting is what happens when you don’t make a deliberate choice.
The Ratio Controls Mood More Than the Pattern Does
The lighting ratio, the difference in exposure between your key side and fill side, is where mood actually lives. A 2:1 ratio is nearly flat, corporate, safe. A 3:1 is classic and three-dimensional. Anything at 4:1 or beyond starts to read as intentional drama. I keep a label on every light in my studio marked with its last-used output setting. It sounds obsessive. It saves me from rebuilding setups from scratch when a client calls back six months later wanting the same look.
I spent years assuming I had good intuitive calibration for these ratios until I started keeping a lighting journal, sketching every setup from every shoot with noted output settings and distances. When I went back through a year’s worth of entries, I realized I had been accidentally running 4:1 ratios on clients who had asked for a “natural” look. The journal fixed that. Data beats intuition.
The Modifier Changes the Pattern’s Character, Not Its Geometry
A Rembrandt pattern shot through a large softbox is a fundamentally different image from the same pattern shot through a bare reflector, even if the nose shadow is identical in both. The softbox spreads the shadow edges and wraps light around the face. The bare reflector creates hard, defined transitions. Same pattern, completely different emotional register.
When I’m shooting fashion and the art director wants something with graphic edge, I’ll pull the softbox and replace it with a 7-inch reflector with a 30-degree grid. The Rembrandt geometry stays. The softness disappears. That grid costs about $40 and changes the image more than any preset or post-processing decision ever could.
For beauty work where I need to see texture but still flatter the skin, a beauty dish with a white diffusion sock gives me something between the punch of a bare reflector and the softness of a box. The Profoto 20-inch beauty dish with the front diffuser runs around $200 used and is probably the most-reached-for modifier in my studio.
Learn the Patterns Until You Can See Them on Any Face
The goal is not to follow these five patterns like a checklist. The goal is to internalize them so completely that when you look at a face, any face under any light, you automatically know what the light is doing and what to do next to get where you want to go.
Position is a recipe. The nose shadow is the timer. Once you understand both, you stop guessing and start cooking.
Comments
Leave a Comment