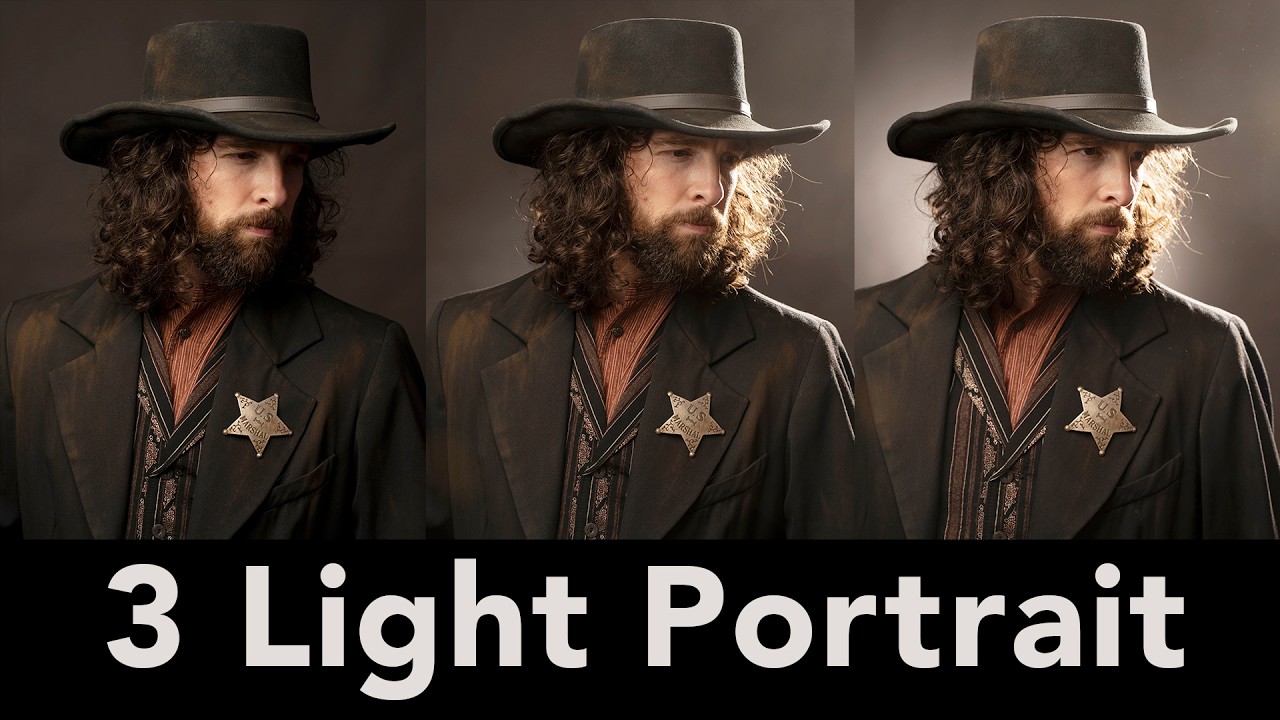
I keep a lighting journal. Every setup from every shoot gets a rough sketch, the modifier sizes, the power ratios, the distance from subject to light. I started it years ago after a particularly bad editorial where I thought I understood three-light portraiture and discovered, mid-shoot, that I absolutely did not. That journal has saved me more than once, and the setups I return to most are always some variation of the same foundation: a key light, a rim light, and a background light.
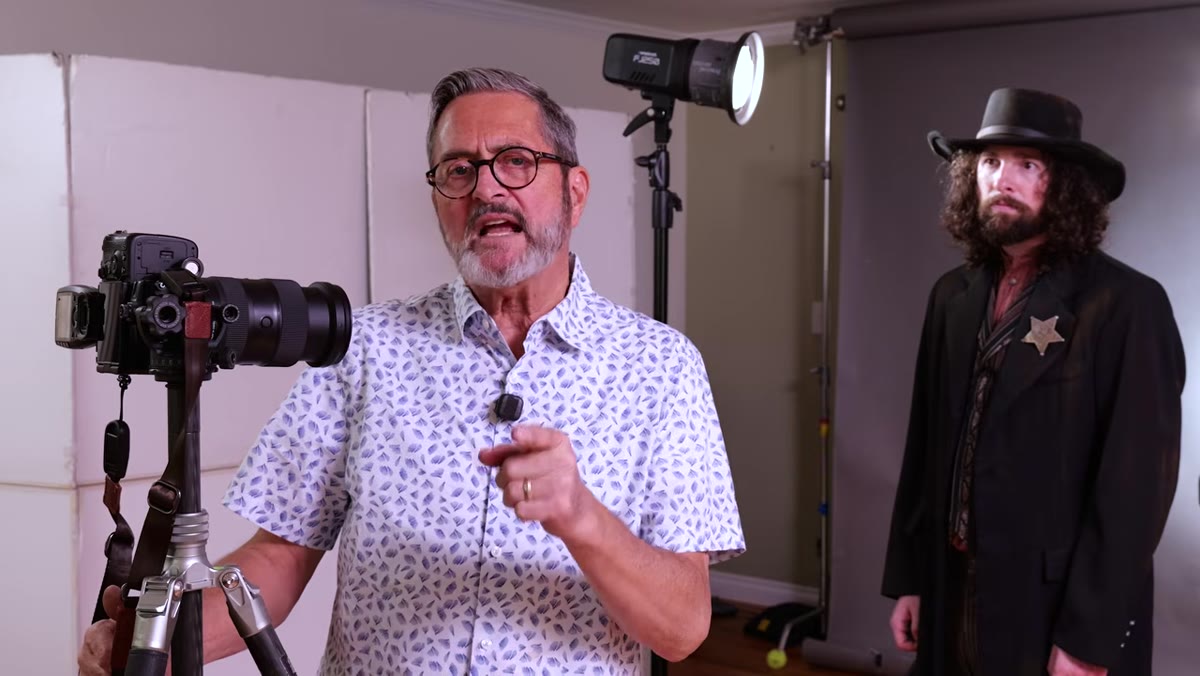
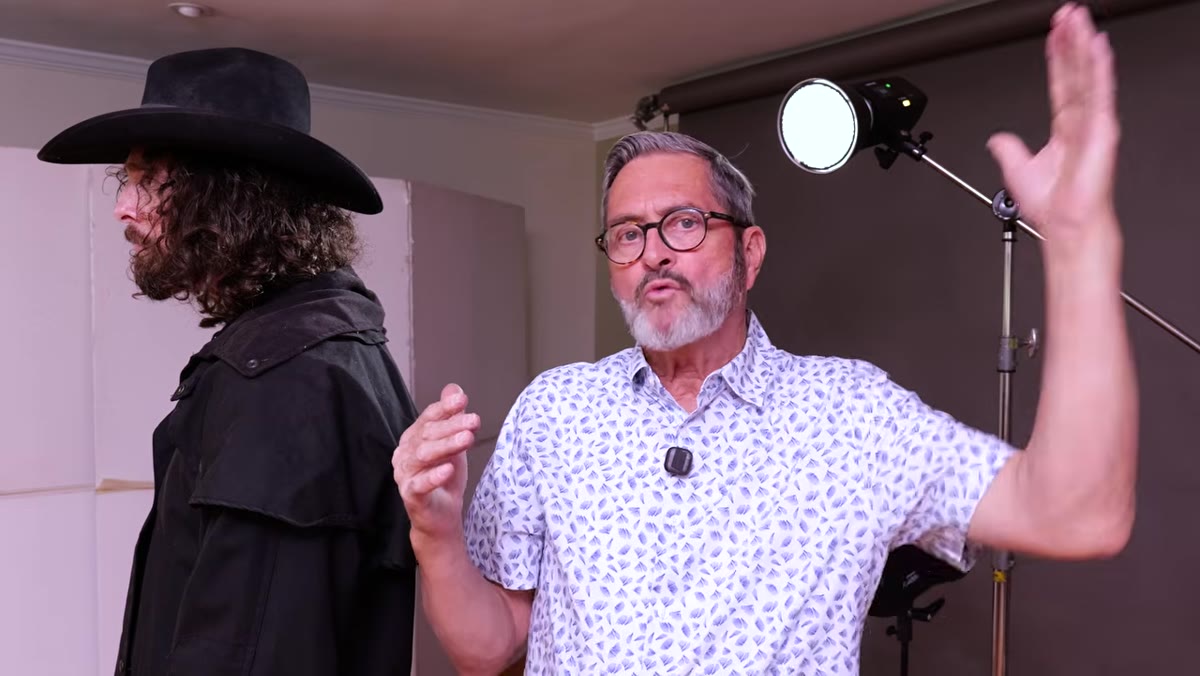
That’s why this tutorial from The Slanted Lens landed so well for me. In this The Slanted Lens tutorial on three-light portrait setup, photographer Jay P. Morgan walks through each light individually, explains the reasoning behind it, and shows what happens when you add each one in sequence. It’s the kind of methodical explanation I wish I’d had earlier in my career. Watch the full tutorial on YouTube alongside this breakdown.
The tutorial uses Westcott strobes, specifically the FJ400 II and FJ250 units, and a Rapid Box Switch Octa-M as the key light modifier. I’ve tested both strobes and the modifier the week they arrived at my studio. They’re solid, consistent tools. But the principles here apply to whatever strobe system you’re running.
Step 1: Understand What You’re Building Before You Touch a Light
 Three-light diagram: key, rim, and background light positions
Before you place a single stand, you need to understand the role of each light in this setup and why the order of placement matters. The three lights are not equal contributors. The key light does the heavy creative lifting. The rim light adds separation and depth. The background light gives you control over the tonal relationship between your subject and the space behind them. Each one serves a specific function, and each one is set in relation to the ones before it.
Morgan is explicit about this: you’re not throwing lights up and hoping something looks good. You’re making decisions with intention. That mindset is the difference between a photographer who understands light and one who just owns a lot of it.
Step 2: Set the Key Light First, Using One of the Five Portrait Lighting Positions
 Key light on stand, positioned camera left of subject
The key light is the defining light on the face. It establishes mood, shadow depth, and the overall emotional quality of the portrait. Morgan places his key light in one of the classic five portrait lighting positions, the same positions Renaissance painters discovered by positioning subjects next to windows and studying how light fell across the planes of the face.
Your key light placement determines whether the image feels open and approachable or moody and dramatic. Rembrandt-style positioning, where the light is high and angled to create a small triangle of light on the shadow cheek, reads as serious and sculptural. Loop lighting, with the light slightly above and to the side, is more commercial and flattering. Wherever you place it, look for a clean catchlight in the eye. That small reflection is what makes a portrait feel alive. No catchlight and the image reads as flat, no matter how good your exposure is.
Step 3: Shoot with the Key Light Alone to Lock In Your Exposure and Mood
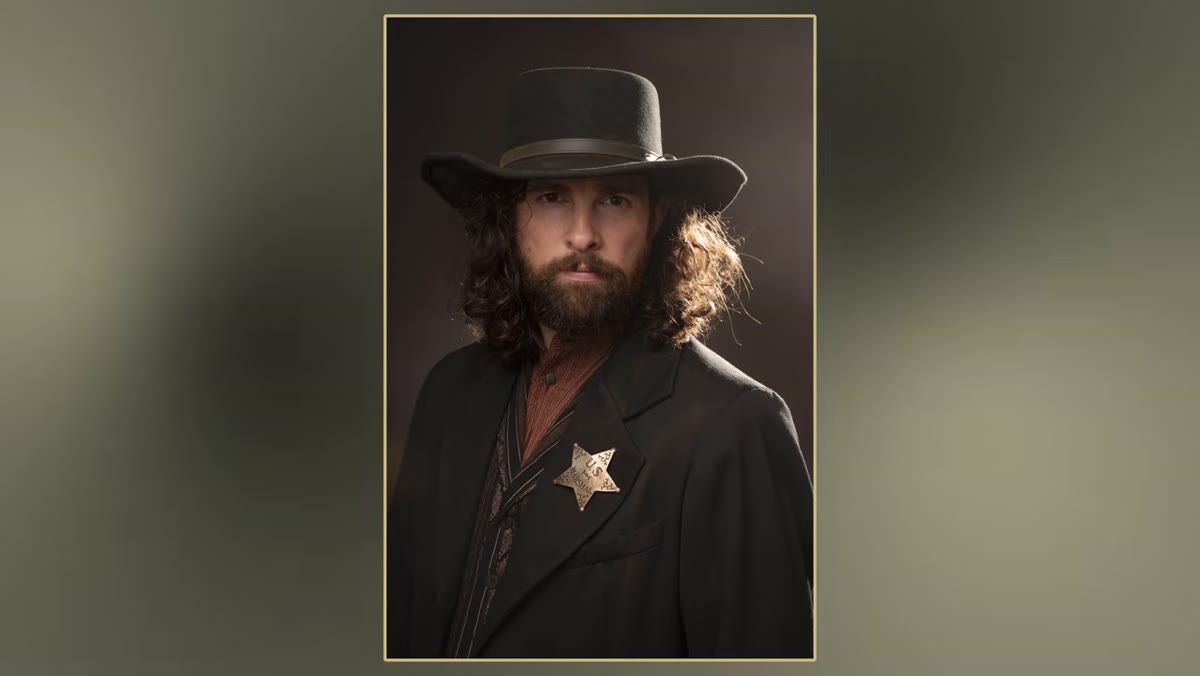
 Portrait of subject lit with single key light only
Once the key light is placed, take test shots with it as the only source. This is not a step to skip. Shooting with one light forces you to evaluate the shadow quality, the highlight rolloff, and the mood without the other lights masking problems. If the key light looks wrong on its own, adding more lights will not fix it.
Pay attention to modifier distance. Moving a softbox or octa closer to your subject wraps the light more and softens shadows. Pulling it back increases contrast and makes shadows harder. At this stage, also lock in your power setting and use it as your reference point when you add the other lights. I label my key light output on a strip of masking tape on the stand so I can return to it exactly if something shifts.
Step 4: Add the Rim Light on the Opposite Side to Separate Subject from Background
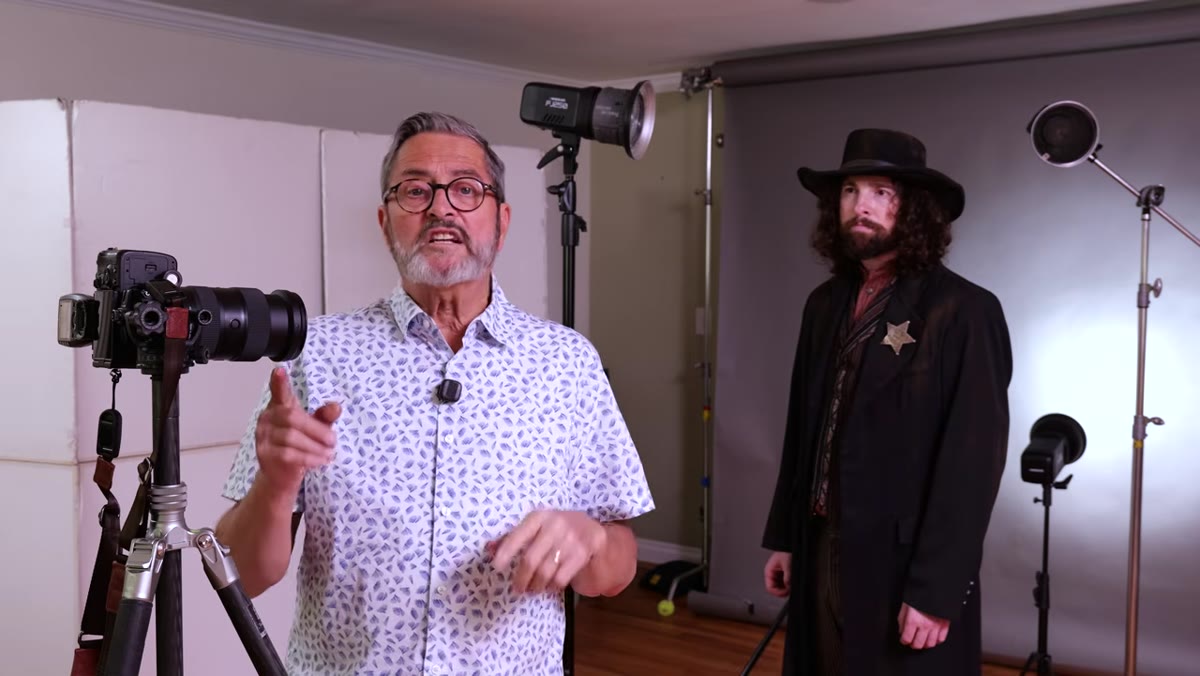
 Rim light placed camera right, behind and to the side of subject
The rim light goes on the opposite side from your key, positioned behind the subject and angled toward the camera. Its job is to place a thin strip of light along the edge of the hair, shoulder, and clothing. That edge separation is what lifts your subject off the background and gives the image a sense of three-dimensional space.
The brightness of your rim light should reinforce the mood you’ve already established with the key. If you’re going for an airy, high-key commercial look, the rim can be brighter and wider. If you’re working with a moody, low-key setup, the rim should be subtle, maybe one to two stops below the key, just enough to suggest detail in the shadow side without flooding it with light. Morgan makes this point clearly, and it’s one that took me longer than it should have to internalize. A rim light that’s too bright on a moody portrait destroys the atmosphere you’ve built.
Step 5: Dial In the Background Light to Control the Tonal Separation
 Background light aimed at seamless backdrop behind subject
The background light is about control, not decoration. Without it, your background goes dark and your subject either blends into it or pops from it in a way you didn’t choose. With it, you decide exactly how light or dark that backdrop reads relative to your subject.
For a standard portrait on white or gray seamless, start the background light at roughly the same exposure as your key and adjust from there. A brighter background reads airy and commercial. A darker background adds drama and focus. The background light also allows you to shift the apparent color of a gray seamless by increasing or decreasing power, which gives you flexible tonal range from a single backdrop without swapping paper.
What I Do Differently: Check the Ratio Before the Subject Walks In
I always set all three lights and shoot a test frame before my subject is in position. I use a stand-in, often a jacket draped over a light stand at roughly head height, to check the exposure relationships across all three lights before anyone is standing in front of the camera. This takes about three minutes and prevents the awkward back-and-forth of making adjustments while your subject stands there waiting.
I also keep my background light on its own trigger channel so I can toggle it independently during a shoot. Some clients love a blown-out white background. Others want drama. Being able to switch without moving gear mid-session is a workflow detail that matters more than it sounds.
The single most important thing this tutorial communicates is that each light has a specific job, and you should understand that job before you plug anything in. Building a three-light setup is not complicated, but it requires intention at every step. Get the key light right, let the rim light support it, and use the background light to finish the story you’re telling.
Watch the full tutorial on YouTube to see Morgan demonstrate the light additions in sequence. The before-and-after progression is the clearest argument I’ve seen for why this setup is where every studio portrait photographer should start.
Comments
Leave a Comment