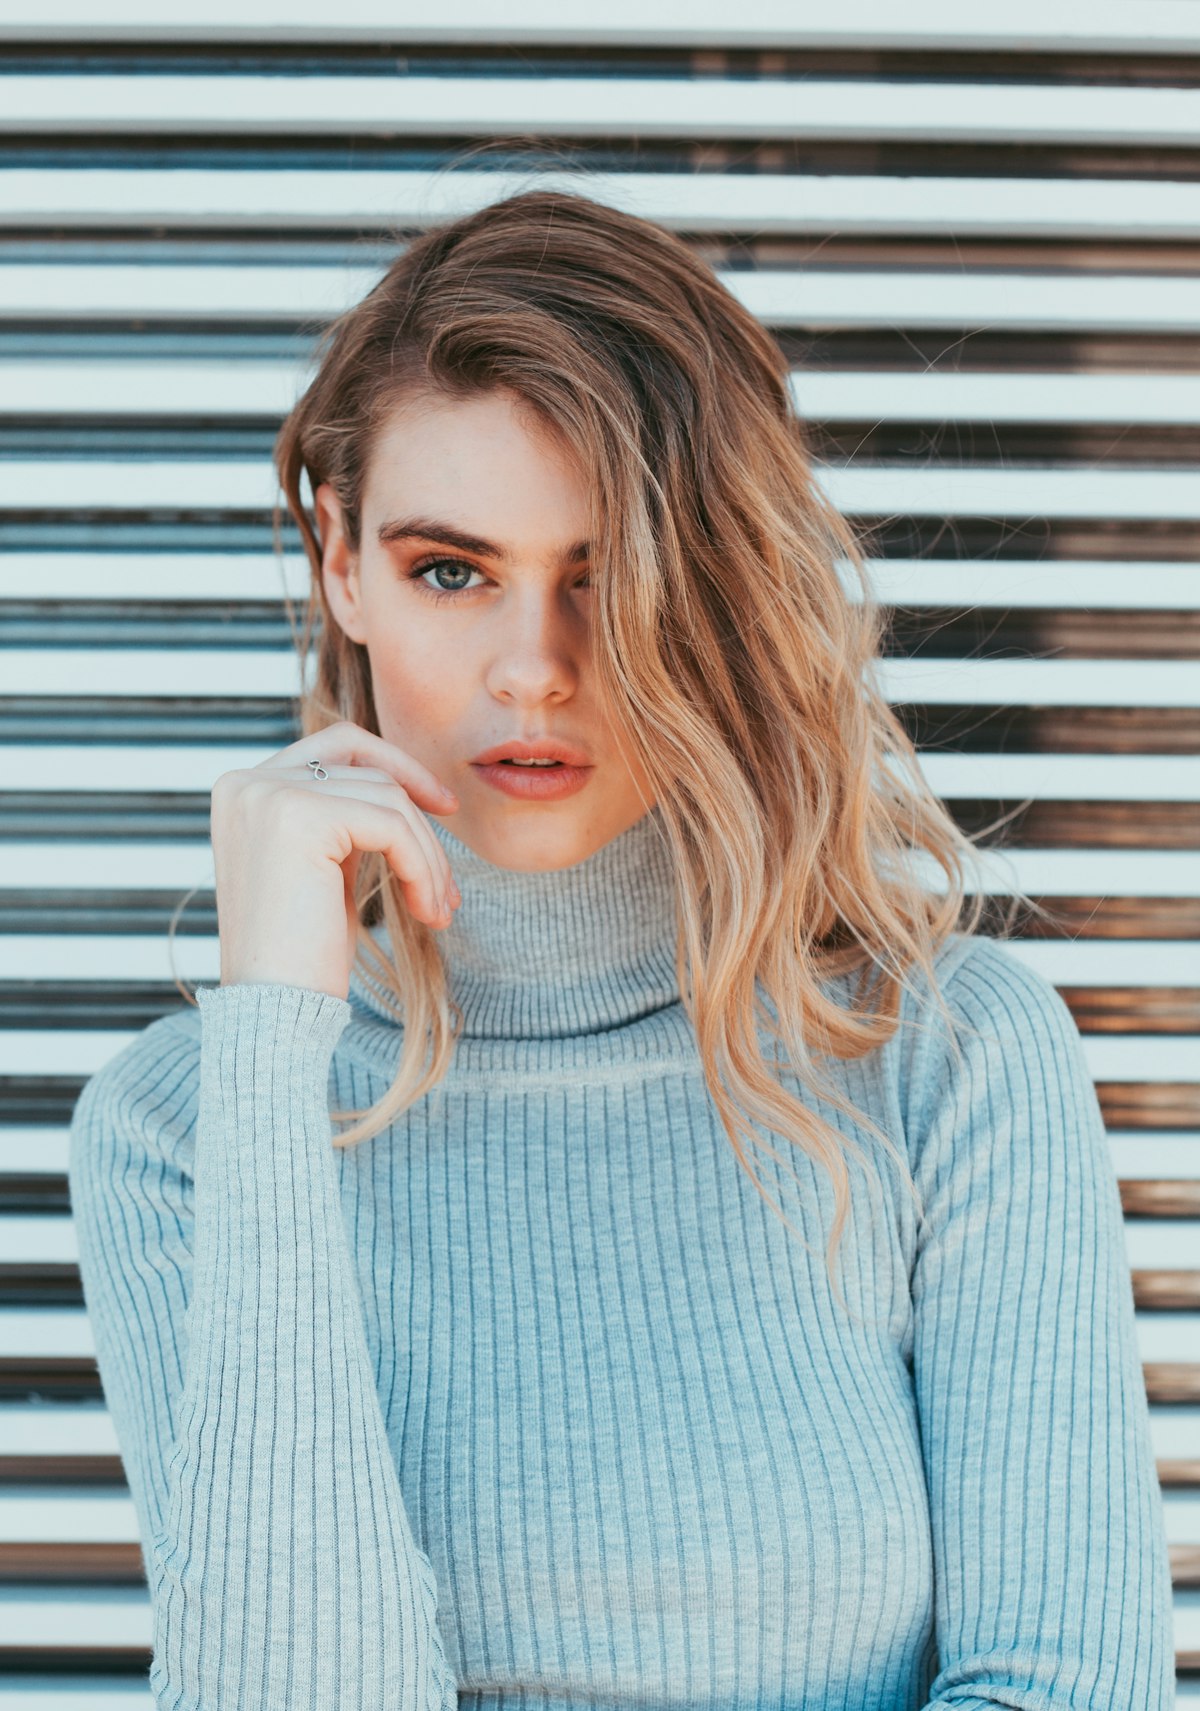
Rim lighting — a light positioned behind the subject that creates a bright outline along their edges — is one of the most dramatic tools in portrait photography. That bright edge separates the subject from the background, adds a three-dimensional quality that flat lighting can’t achieve, and creates an immediate sense of production value.
What Rim Lighting Does
When a light source is positioned behind and slightly above a subject, it skims across the edges of their hair, shoulders, and body contour. The light doesn’t illuminate the face (that’s the key light’s job) — it creates a thin bright line along the subject’s outline.
This bright edge serves two purposes. First, it separates the subject from the background, which is critical when the subject and background are similar in tone. A dark-haired person against a dark background merges into the background without rim light. With it, a bright edge defines their shape clearly.
Second, it adds perceived depth. The rim light creates a highlight that your brain interprets as three-dimensional form, making the subject pop out of the image.
Positioning the Rim Light
The Basic Position
Start with the light directly behind the subject, raised to about 2 feet above their head, angled down at roughly 45 degrees. The light should be hidden behind the subject’s body — if the light source is visible in the frame, it’s not a rim light, it’s a flare source.
Adjusting Width
The width of the rim depends on the angle of the light relative to the subject:
Narrow rim (light almost directly behind): A thin, intense line of highlight. More dramatic and editorial.
Wide rim (light moved to the side): A broader band of highlight that wraps further around the subject. More flattering and natural-looking.
Start narrow and gradually move the light to the side until the rim width looks right for your intent.
One Side or Both
A single rim light creates an asymmetric highlight — bright on one side, dark on the other. This is the most common setup and looks natural because it suggests a single light source behind the subject.
Two rim lights (one on each side) create a symmetrical highlight outline. This is more stylized and production-heavy looking. It’s common in fitness photography, music industry work, and commercial portraiture where a polished, high-production aesthetic is desired.
Controlling Rim Light Intensity
The rim light should complement the key light, not overpower it. A common mistake is setting the rim too bright, creating a blown-out halo that distracts from the face.
The general ratio: Set the rim light 1-2 stops brighter than the key light. This creates a visible but controlled rim. Meter the rim light intensity at the subject’s shoulder or hairline — the edges where the rim is most visible.
For dramatic portraits: Push the rim to 2-3 stops over the key. The bright rim against a relatively darker face creates an intense, cinematic look.
For natural portraits: Keep the rim subtle — barely brighter than the key light. This provides gentle separation without an obviously “lit” look.
Light Modifiers for Rim Light
Bare flash or standard reflector: Hard, intense rim with a defined edge. Works well for dramatic portraits and when you want a crisp, precise rim.
Strip softbox: The most common modifier for rim lighting. A narrow rectangular softbox (typically 12x48 inches or similar) produces a controlled, slightly soft rim. The elongated shape matches the vertical orientation of a standing subject’s body.
Grid or snoot: When you need the rim light to hit only specific areas (just the hair, just the shoulders) without spilling onto the background or into the lens, add a grid or use a snoot. These restrict the beam to a narrow angle.
Dealing With Lens Flare
The biggest technical challenge with rim lighting is lens flare. Because the light points toward the camera, stray light can hit the front element and create flare, haze, or loss of contrast.
Flag the light. Use a black card, flag, or barn door between the light and the lens to block direct line-of-sight from the light source to the front element. The flag should block the stray light without blocking the light that hits the subject.
Use a lens hood. A simple precaution that blocks a significant amount of stray light.
Check from behind the camera. Look through the viewfinder while an assistant adjusts the flag position. You’ll see flare appear and disappear as the flag moves — find the exact position where flare is eliminated without cutting into the rim on the subject.
Rim Light in Outdoor Settings
You don’t need a studio for rim lighting. The sun is the original rim light source.
Backlit portraits: Position the subject with the sun behind them. The sun creates a natural rim on hair and shoulders. Use a reflector or fill flash to illuminate the face.
Golden hour rim: The low sun at golden hour creates rim light naturally when you face the subject toward the camera (away from the sun). The warm light outlines their hair and body against the darker background facing away from the sun.
Window rim: A bright window behind the subject creates a rim light effect indoors. This is a simple, available-light technique that requires no equipment beyond a camera and a willing subject.
Combining With Other Lights
Rim light works with any key light pattern:
- Rembrandt + rim: Classic dramatic portrait. Rim separates the dark side of the face from the background.
- Butterfly + rim: Glamour portrait with added depth. The rim highlights the hair while butterfly lighting flatters the face.
- Broad light + rim: The rim defines the shadow side while broad lighting illuminates the turned face.
In every combination, the rim light adds a layer of dimension that the key light alone can’t provide. It’s the difference between a good portrait and a portrait that has depth and presence.