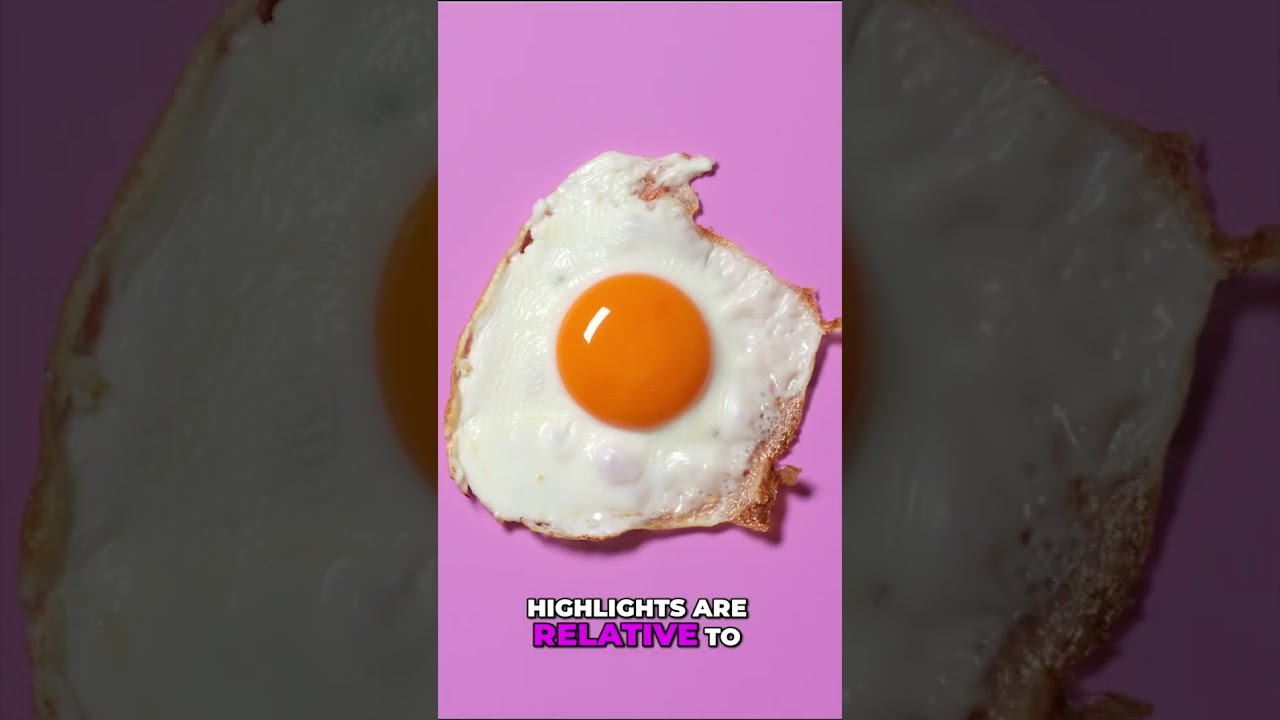
There’s a specific problem that comes up constantly in commercial food and product work: shiny surfaces that either blow out completely or go flat and lifeless depending on where you put your light. I’ve burned through more test shots than I care to count trying to dial in the relationship between a glossy surface and the matte areas surrounding it. Too much light and you lose the specular highlight that tells the viewer “this is wet, this is fresh.” Too little and the whole image looks like it was shot under an overcast sky with a kit lens. It took me a long time to understand that this isn’t a metering problem. It’s a geometry problem.
That’s exactly what Karl Taylor unpacks in this Visual Education tutorial, using the most stripped-down subject imaginable: a fried egg on a colored background. Watch the full tutorial on YouTube. Don’t let the simplicity fool you. The concepts he’s working through here are the same ones I apply on beauty shoots with glossy lips and on product work with lacquered packaging. The egg is a teaching tool, and it’s a smart one because it gives you both surfaces at once, the matte white and the glossy yolk, right next to each other in a single frame.
What I appreciate most is that he’s not hiding behind expensive gear. The same result can be achieved with a studio strobe, a speedlight, or a desk lamp. That range of options tells you something important: the technique is the point, not the equipment.
Step 1: Choose Your Subject and Frame the Concept
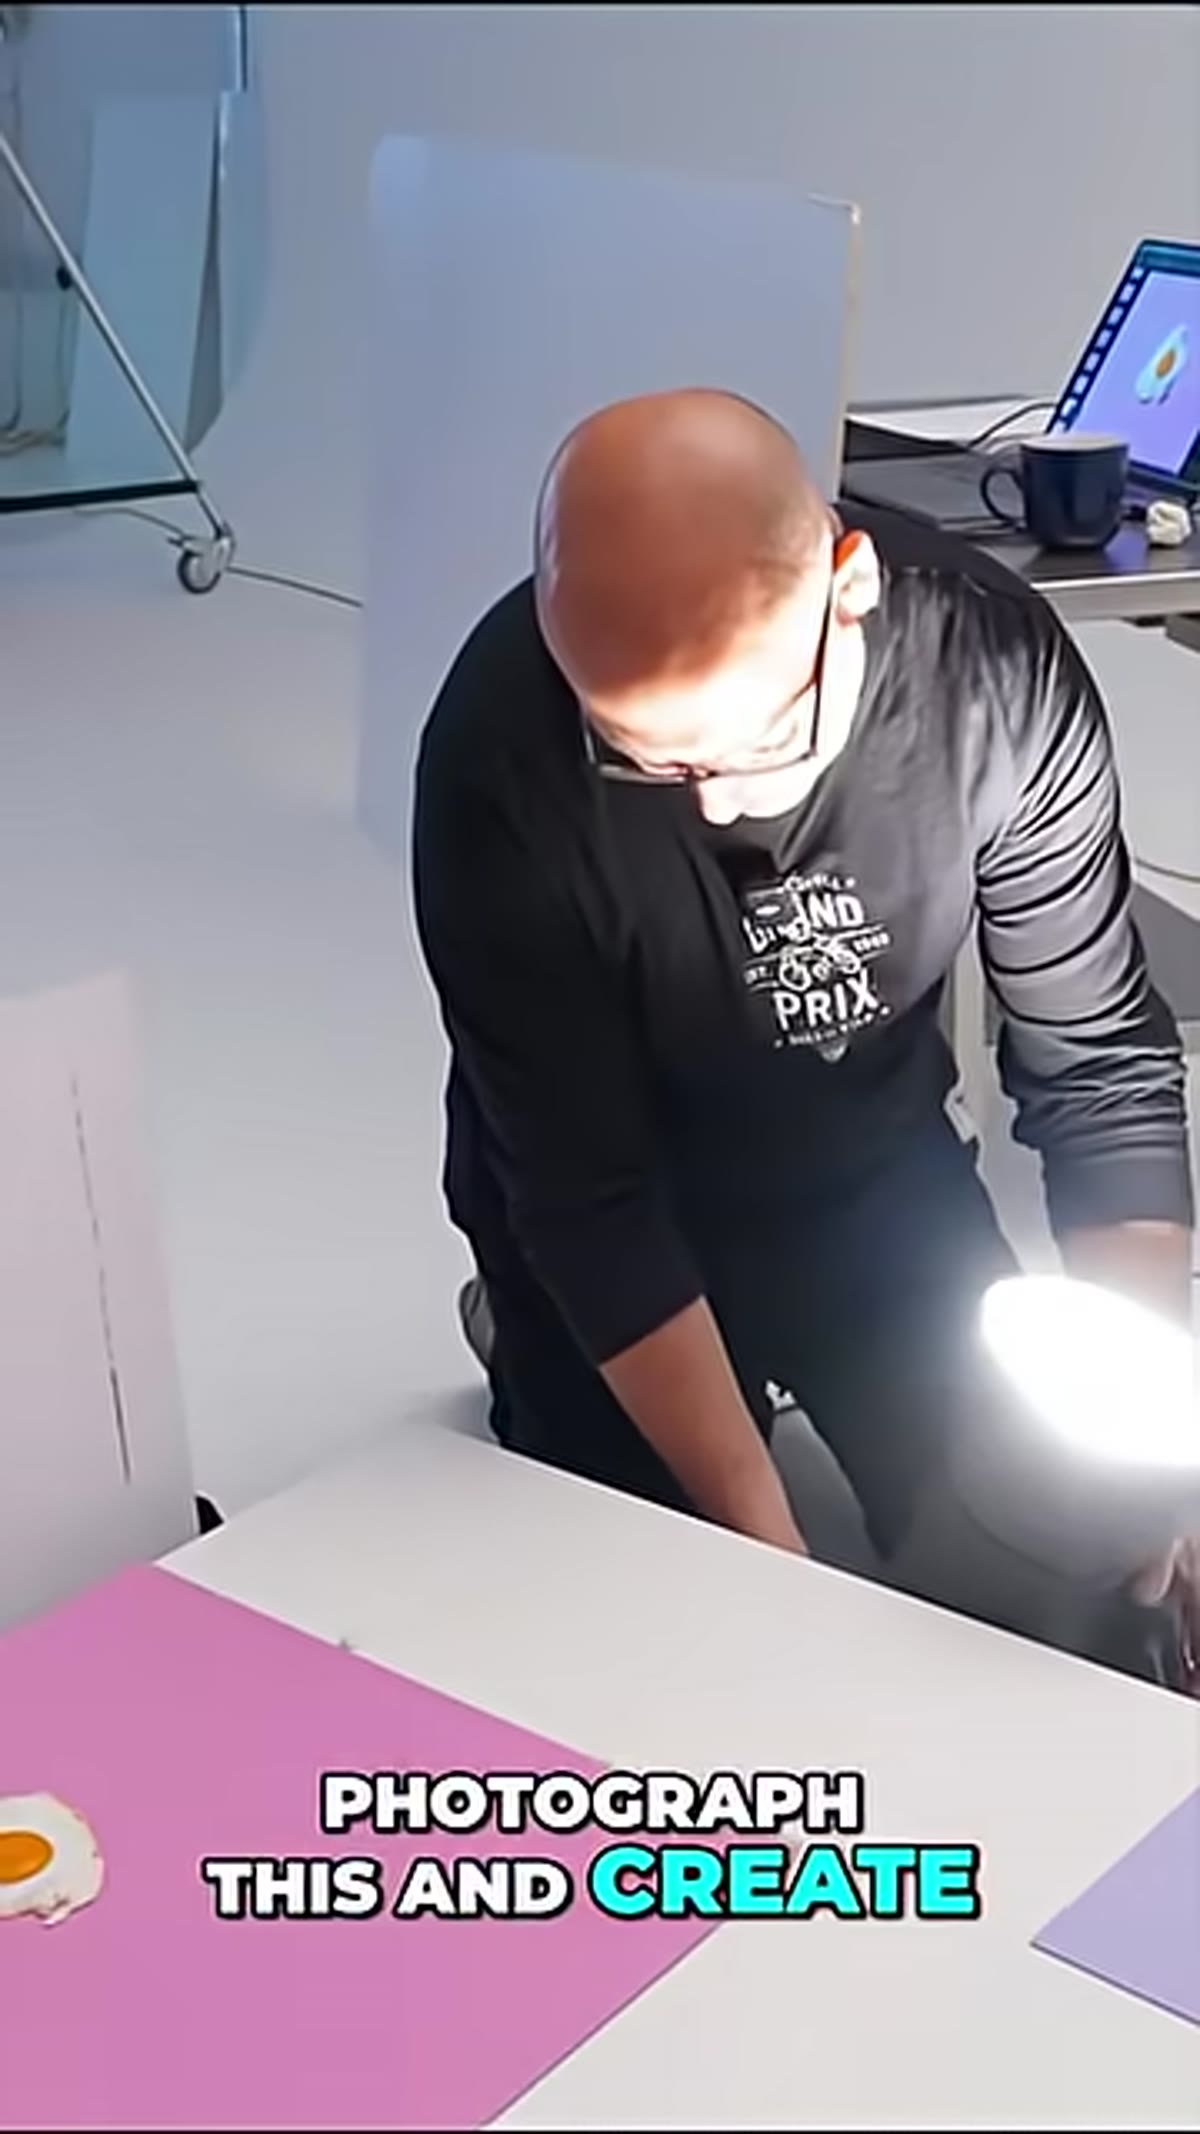 Karl holding a plate with a fried egg overhead
Before you touch a light, decide what you’re actually trying to show. Karl’s choice of a fried egg isn’t random. It’s a subject that contains two distinct surface textures in close proximity: the matte egg white and the high-gloss yolk. When you’re learning to control specular highlights, you want exactly that kind of contrast built into the subject itself. Pick something similar if you’re practicing. Anything with mixed surface finishes will teach you more than a subject that’s uniformly matte or uniformly glossy.
Karl holding a plate with a fried egg overhead
Before you touch a light, decide what you’re actually trying to show. Karl’s choice of a fried egg isn’t random. It’s a subject that contains two distinct surface textures in close proximity: the matte egg white and the high-gloss yolk. When you’re learning to control specular highlights, you want exactly that kind of contrast built into the subject itself. Pick something similar if you’re practicing. Anything with mixed surface finishes will teach you more than a subject that’s uniformly matte or uniformly glossy.
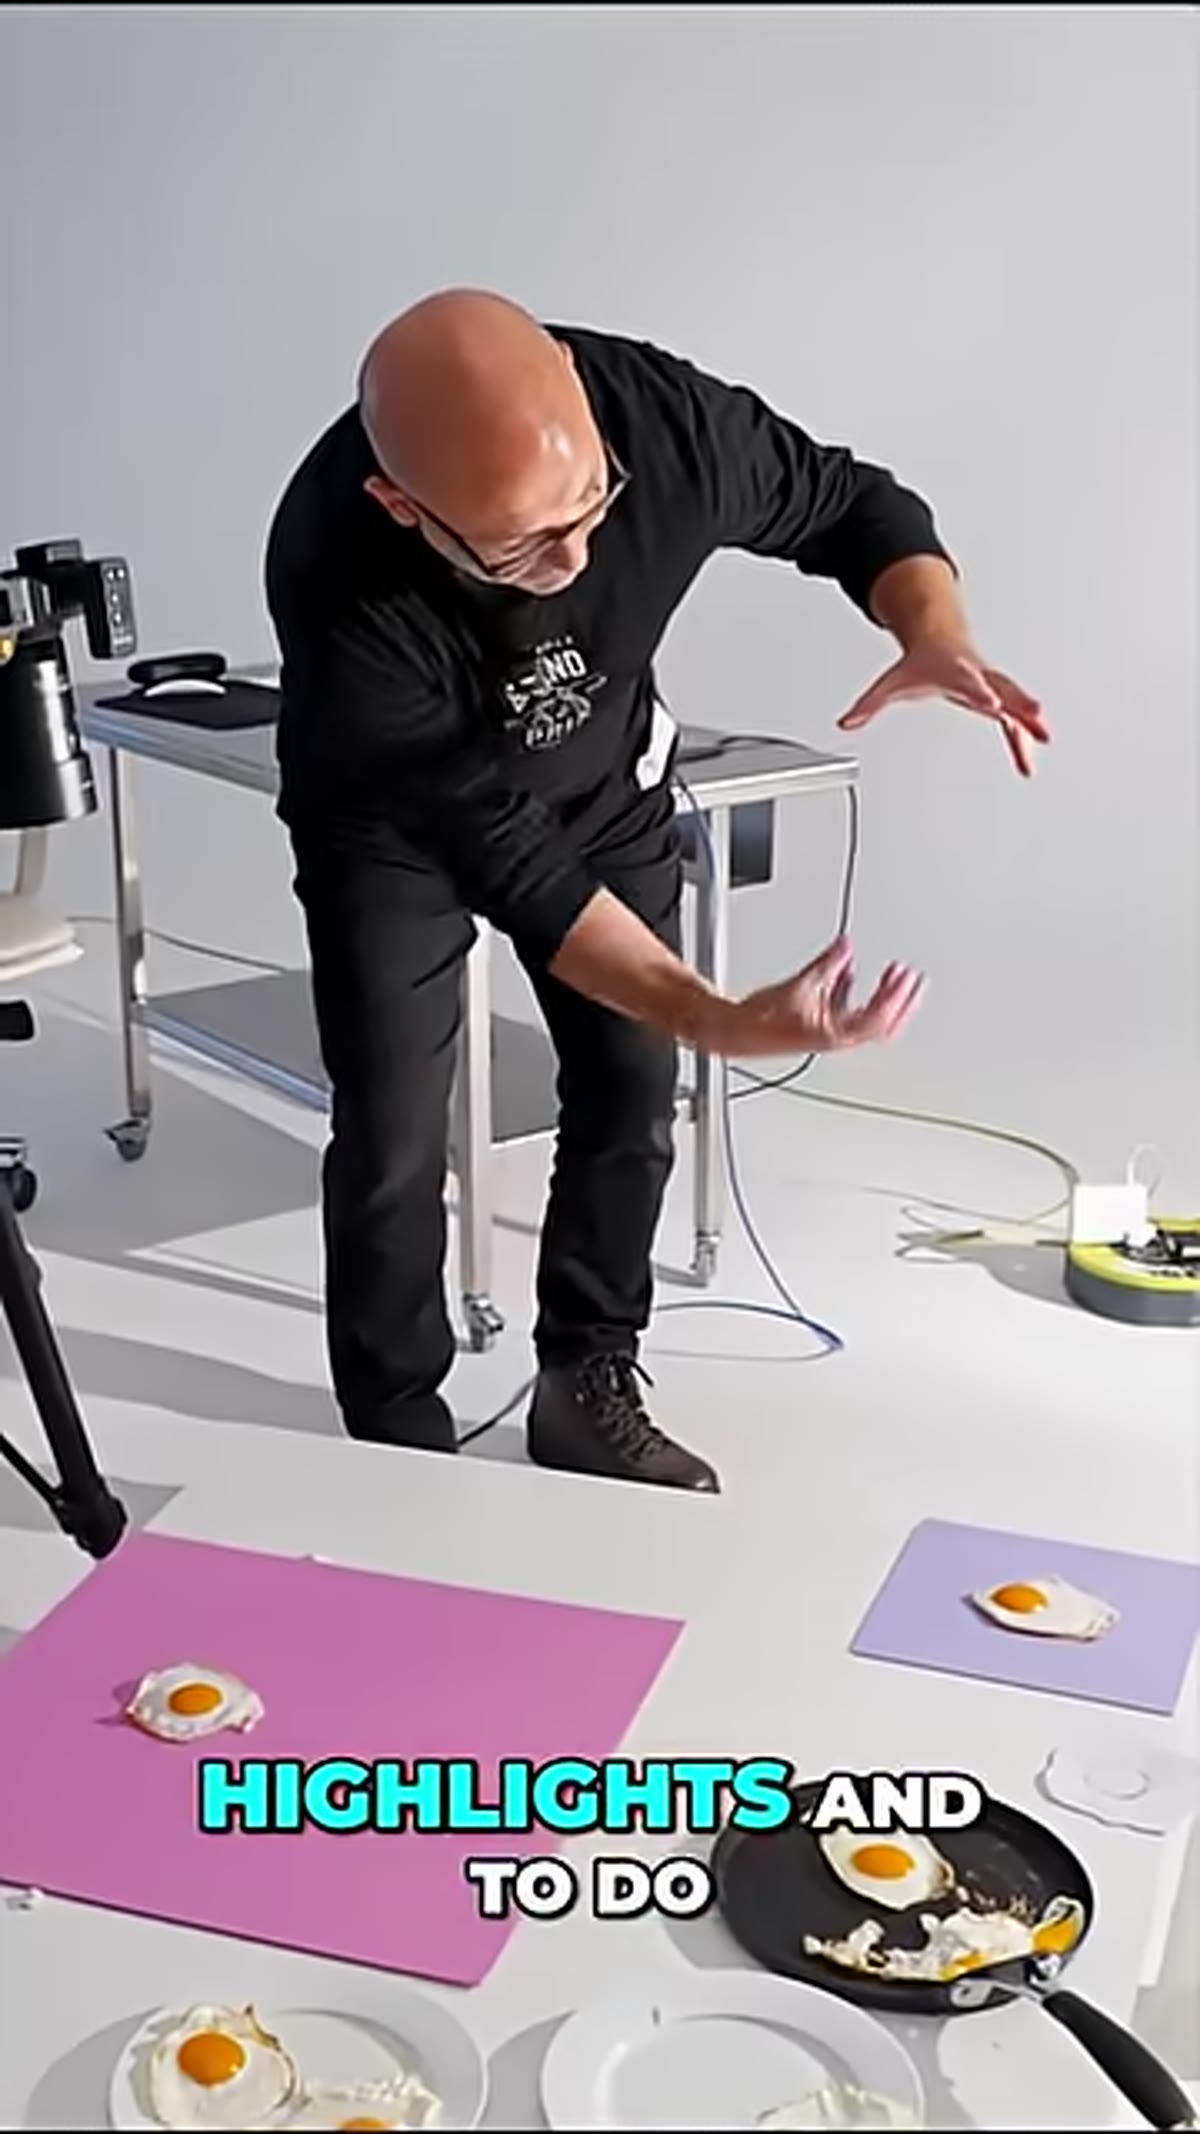
The intended output here is wall art, which also shapes every decision that follows. A shot meant to hang on a wall is cropped differently, lit more dramatically, and composed with more negative space than a shot destined for a grocery circular. Nail down your end use before you set up a single light.
Step 2: Set Up the Overhead (Flat-Lay) Perspective
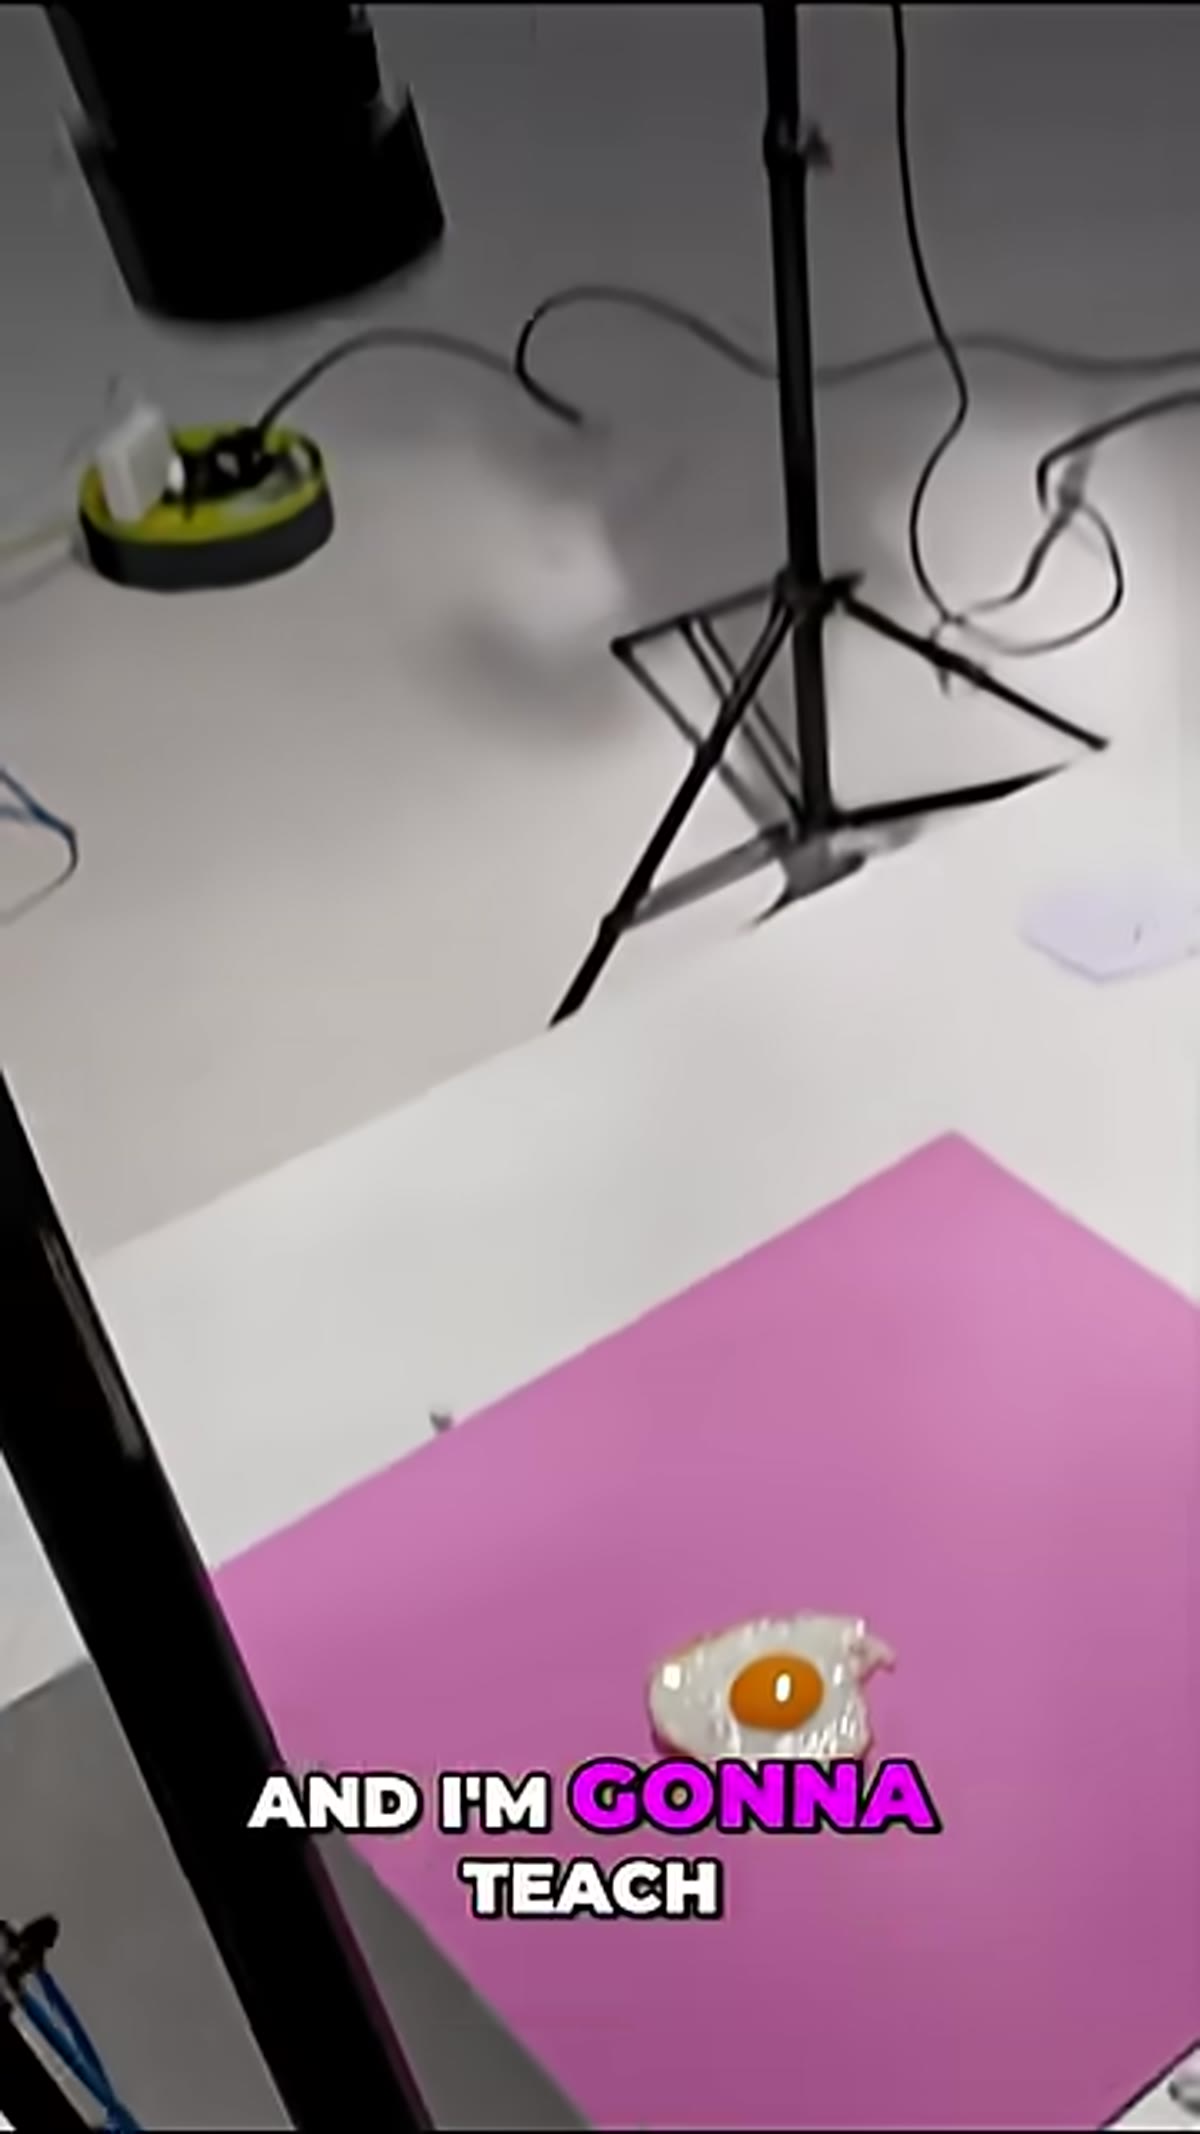 Camera positioned directly above the egg on a background
Shooting from directly above flattens the scene and removes depth as a variable. That sounds like a limitation, but for this kind of work it forces all of your visual interest into two things: color and light quality. Karl photographs the egg looking straight down, which means your camera needs to be mounted on a boom arm or an overhead rig, not a standard tripod. If you’re improvising at home, a ladder and a remote shutter release will get you there.
Camera positioned directly above the egg on a background
Shooting from directly above flattens the scene and removes depth as a variable. That sounds like a limitation, but for this kind of work it forces all of your visual interest into two things: color and light quality. Karl photographs the egg looking straight down, which means your camera needs to be mounted on a boom arm or an overhead rig, not a standard tripod. If you’re improvising at home, a ladder and a remote shutter release will get you there.
The flat-lay angle also changes how your light behaves. Shadows fall differently, specular highlights move in ways they wouldn’t on a vertical surface, and your angle of incidence becomes much easier to control. Set your camera position before you set your light. The shooting angle determines where the light needs to go, not the other way around.
Step 3: Understand the Gloss Highlight Before You Place the Light
 Close-up of the egg yolk showing specular highlight
This is the core of the whole tutorial. A glossy surface reflects light at a specific angle determined by the angle of incidence. If your light source is in the wrong position, the specular highlight either disappears or lands somewhere that doesn’t serve the image. Karl teaches you to think about where you want the highlight to appear on the subject first, then work backward to find where the light needs to be to create it there.
Close-up of the egg yolk showing specular highlight
This is the core of the whole tutorial. A glossy surface reflects light at a specific angle determined by the angle of incidence. If your light source is in the wrong position, the specular highlight either disappears or lands somewhere that doesn’t serve the image. Karl teaches you to think about where you want the highlight to appear on the subject first, then work backward to find where the light needs to be to create it there.
The brightness difference between the gloss highlight and the surrounding matte surface is what creates the sense of wetness and texture. If that ratio is too compressed, the image looks flat. If it’s too extreme, the highlight clips and you lose detail. Your goal is a highlight that’s bright enough to read as “shiny” but still retains some gradation at its edge. That edge is where the information lives.
Step 4: Choose and Position Your Single Light Source
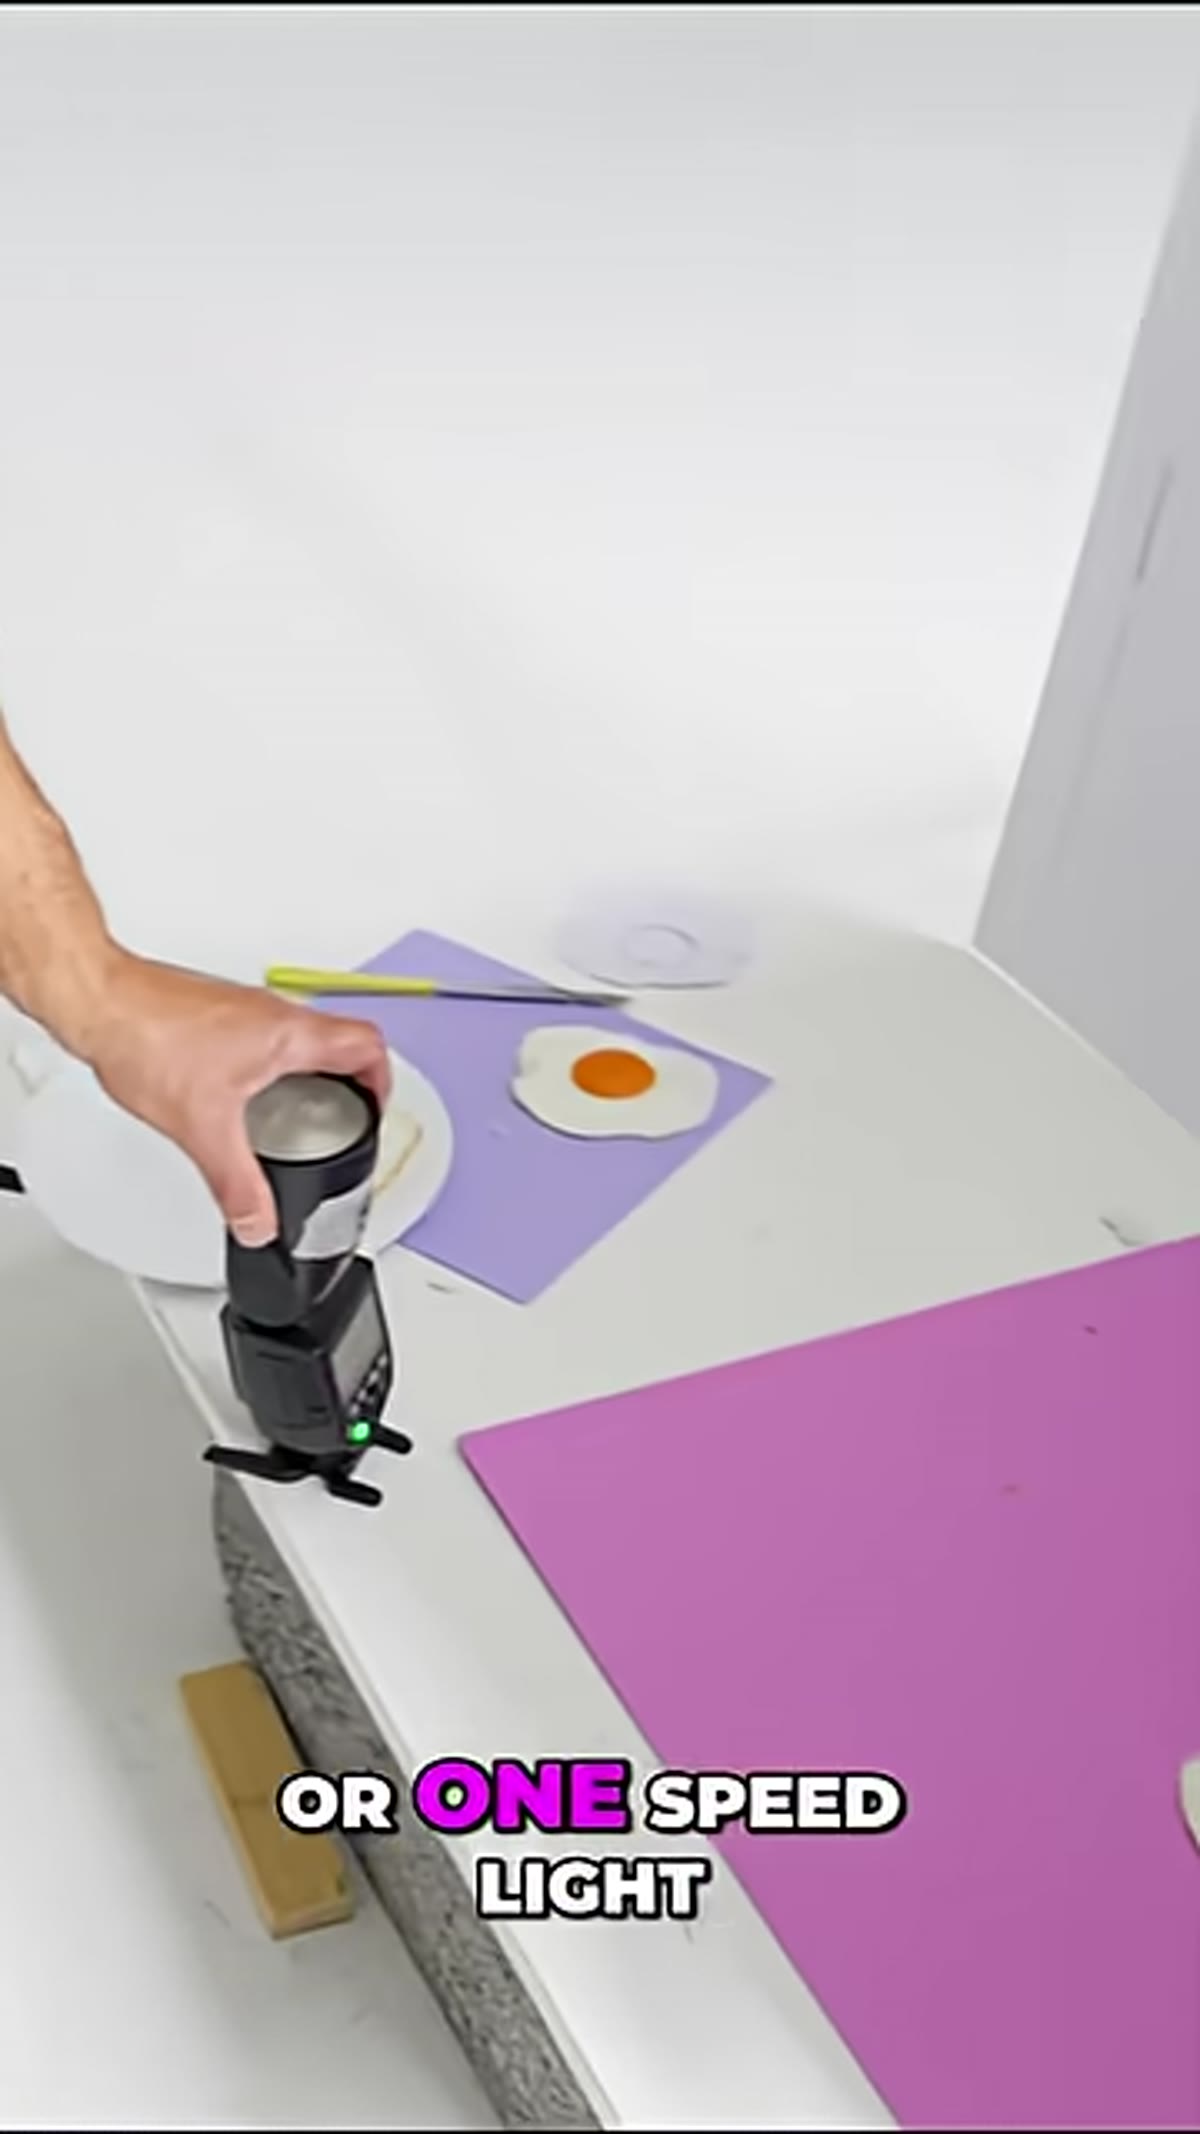 Single studio light or speedlight positioned to the side
One light. That’s it. Karl demonstrates that the quality of the modifier and the precision of the placement matter far more than having multiple sources. For this kind of overhead flat-lay work, a single light placed at a low angle relative to the surface will rake across the subject and emphasize texture. A light placed higher and closer to the camera axis will flatten everything out and kill the specular.
Single studio light or speedlight positioned to the side
One light. That’s it. Karl demonstrates that the quality of the modifier and the precision of the placement matter far more than having multiple sources. For this kind of overhead flat-lay work, a single light placed at a low angle relative to the surface will rake across the subject and emphasize texture. A light placed higher and closer to the camera axis will flatten everything out and kill the specular.
If you’re using a studio strobe, start with a standard reflector or a small softbox and move it in increments until the highlight on the yolk sits where you want it. With a speedlight, the same logic applies but your falloff will be faster. With a desk lamp, you lose the ability to freeze motion but the light control is identical. Watch the highlight, not the meter. Your eyes will tell you more than your histogram at this stage.
Step 5: Evaluate the Matte-to-Gloss Ratio and Refine
 Comparing the matte egg white surface to the glossy yolk
Once your light is roughly placed, shoot a test frame and examine it at 100 percent. Look at the matte white of the egg first. It should have enough light to render with detail and some tonal variation, but it shouldn’t be competing with the yolk for attention. Then look at the specular on the yolk. It should be the brightest point in the frame, but with a gradual falloff rather than a hard clip.
Comparing the matte egg white surface to the glossy yolk
Once your light is roughly placed, shoot a test frame and examine it at 100 percent. Look at the matte white of the egg first. It should have enough light to render with detail and some tonal variation, but it shouldn’t be competing with the yolk for attention. Then look at the specular on the yolk. It should be the brightest point in the frame, but with a gradual falloff rather than a hard clip.
Adjust light distance to control intensity across both surfaces simultaneously. Moving the light closer increases the ratio between highlight and shadow but also increases the brightness of the overall scene. Moving it farther away softens that ratio. Use your camera’s histogram and highlight alert together: the histogram tells you where the exposure sits overall, the alert tells you if you’ve pushed the specular past recoverable.
What I’d Add From My Own Shoots
The colored background Karl mentions is doing more work than it might seem. In my own food and product work, I keep a set of matte-finish paper backgrounds in about a dozen colors specifically because matte backgrounds don’t compete with the subject’s gloss. A glossy background behind a glossy subject turns into a mess of competing reflections. I learned this the hard way on a skincare shoot where the acrylic surface I used picked up every light in the room. Now I test backgrounds the same way I test subjects: I shoot them first and look at what the light does before the product ever hits the frame. That’s a step worth adding no matter what you’re photographing.
The single most important thing this tutorial gives you is a framework for thinking about light before you place it. Once you understand that a specular highlight is just physics, that it’s angle of incidence meeting angle of reflection, you stop guessing and start solving. That changes how you approach every reflective surface you’ll ever shoot.
Watch the full tutorial on YouTube and work through it with an actual egg in front of you. The lesson lands differently when your hands are on the equipment.
Comments (3)
I tried this on a client project yesterday and the results were way better than expected.
My workflow just got 10x faster. Not even kidding.
Well explained. I think my audience would really benefit from this — mind if I link to it?
Leave a Comment