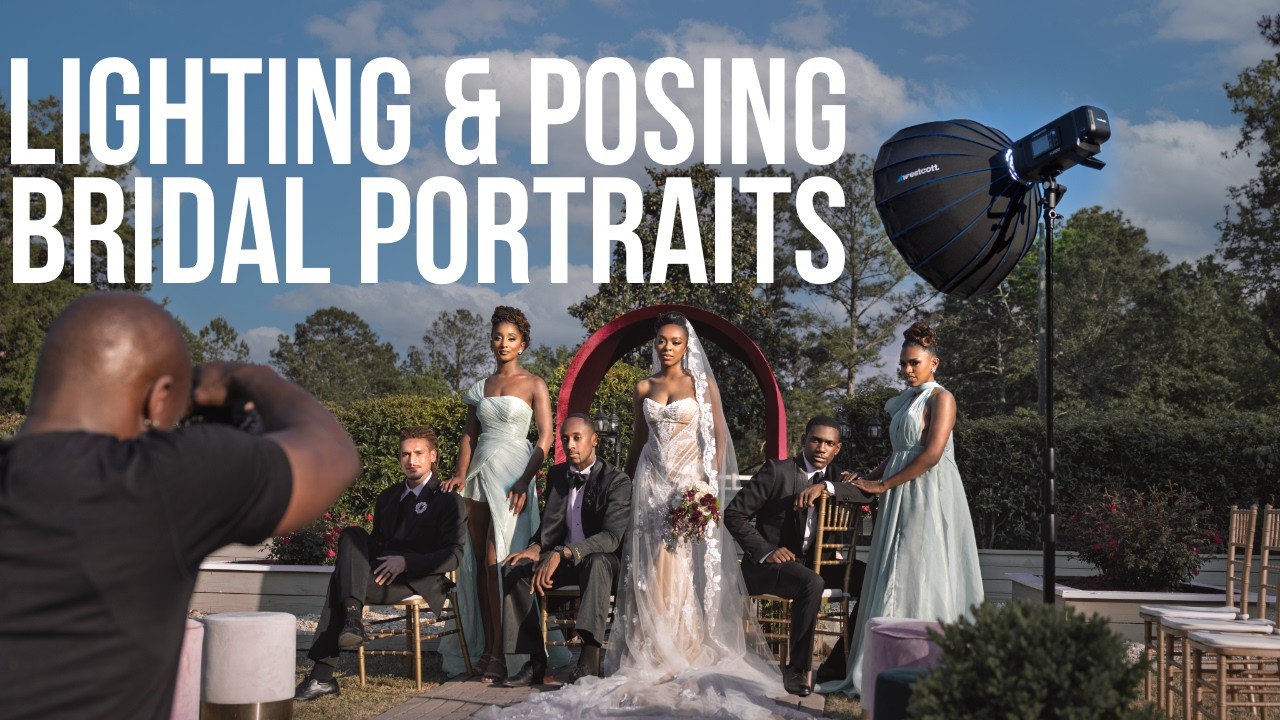
I shoot controlled environments for a living. Fashion sets, beauty campaigns, corporate headshots where every light has a piece of masking tape on the barn door with its exact purpose written in marker. So when I need to think about uncontrolled environments, I actively go looking for photographers who’ve made chaos their workflow. That’s why I keep coming back to wedding photographers. They solve hard lighting problems fast, with real people who don’t take direction like models, in locations that don’t cooperate. That’s a skill set worth studying.
Watch the full tutorial on YouTube
In this Westcott Lighting tutorial, Atlanta-based wedding and portrait photographer Andre Brown walks through how he poses and lights a full bridal party outdoors, in conditions that would make a lot of photographers reach for shade and hope for the best. What he does instead is worth breaking down carefully, because the logic applies well outside of weddings. Group posing principles don’t care what genre you shoot. Neither does harsh light.
Step 1: Start With a Baseline Pose, Then Fix What’s Wrong
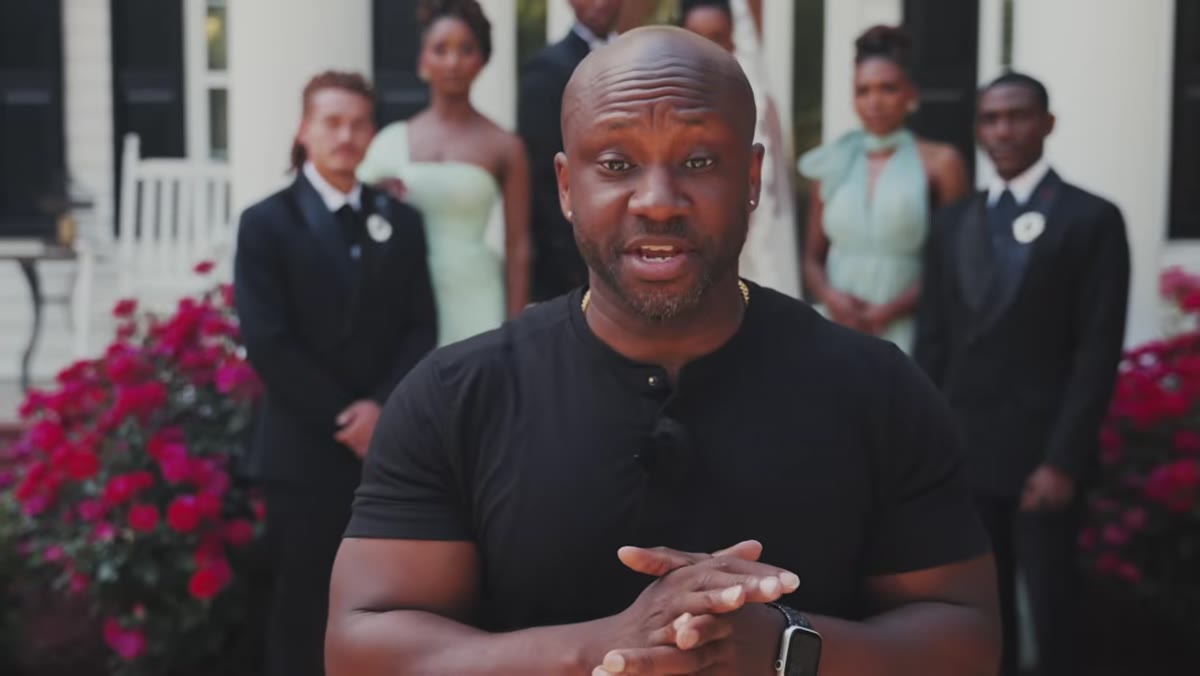 Wedding party in a standard group formation outdoors
Brown’s first move is not to invent a pose from scratch. He puts the group into the most familiar configuration available, the kind you’d see in any wedding album, and then treats it as a rough draft. This is smart workflow. Getting everyone physically placed and roughly oriented takes time, and you don’t want to burn that time chasing a creative vision while people are standing around confused. Lock in the structure first, then refine.
Wedding party in a standard group formation outdoors
Brown’s first move is not to invent a pose from scratch. He puts the group into the most familiar configuration available, the kind you’d see in any wedding album, and then treats it as a rough draft. This is smart workflow. Getting everyone physically placed and roughly oriented takes time, and you don’t want to burn that time chasing a creative vision while people are standing around confused. Lock in the structure first, then refine.
The refinement is where the real posing instruction begins. He moves through each person individually, making small but specific corrections. The approach is systematic rather than spontaneous, which means nothing gets missed.
Step 2: Use Weight Shifts to Kill Stiffness
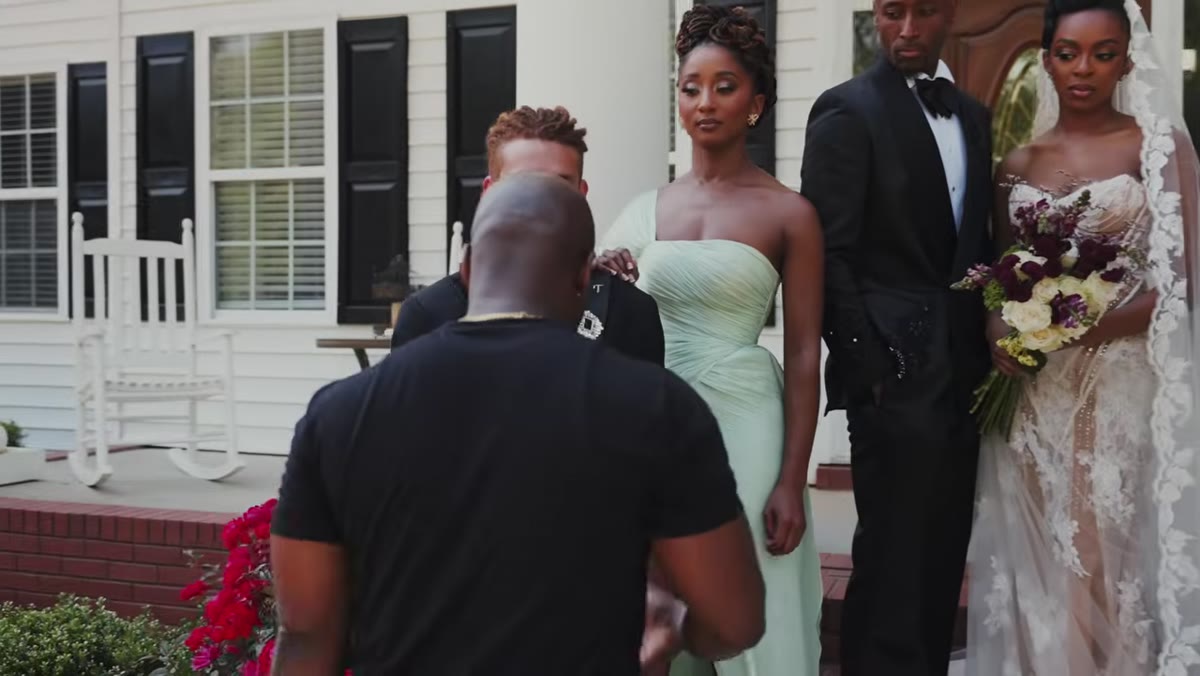 Groom shifting weight to one leg, relaxed stance
The single most common problem with group shots is that people default to standing at attention. Both feet planted, weight distributed evenly, shoulders squared. It reads as tense even when the subjects feel perfectly relaxed. Brown’s correction is precise: shift all the weight to one leg. Not a vague “loosen up,” but a specific physical instruction with a specific result.
Groom shifting weight to one leg, relaxed stance
The single most common problem with group shots is that people default to standing at attention. Both feet planted, weight distributed evenly, shoulders squared. It reads as tense even when the subjects feel perfectly relaxed. Brown’s correction is precise: shift all the weight to one leg. Not a vague “loosen up,” but a specific physical instruction with a specific result.
The visual effect is immediate. One hip drops slightly, the shoulder follows, the whole posture reads as casual rather than posed. Brown frames it to the subject as standing the way you would with your friends, which is good direction because it gives the subject a mental image to match rather than a technical note to decode. When I work with non-models in the studio, I use the same tactic. Give people a scenario, not a position.
Step 3: Vary Hand Positions Deliberately and Watch for Mirrors
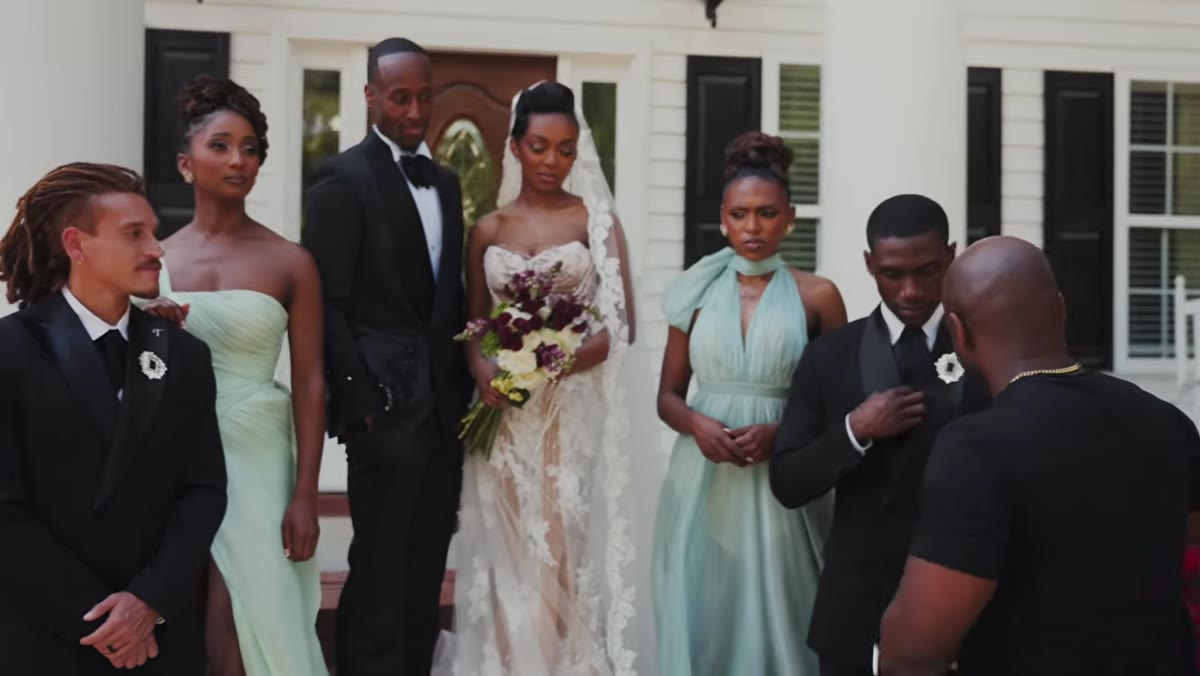 Two groomsmen with different hand placements to avoid symmetry
Once weight is sorted, hands become the next problem. Brown notices that two subjects have adopted nearly identical poses, and he breaks them up. One hand goes into a pocket. The other person gets a different instruction. This is a detail that collapses quickly in group shots if you’re not watching for it, because people unconsciously mirror whoever is next to them.
Two groomsmen with different hand placements to avoid symmetry
Once weight is sorted, hands become the next problem. Brown notices that two subjects have adopted nearly identical poses, and he breaks them up. One hand goes into a pocket. The other person gets a different instruction. This is a detail that collapses quickly in group shots if you’re not watching for it, because people unconsciously mirror whoever is next to them.
The rule he’s working from is variation without chaos. Every person in the frame should look like an individual, not a copy of the person beside them. Pockets, crossed arms, hands on hips, arms wrapped around a neighbor, bouquets carried at different heights - each choice creates a visual rhythm that moves the eye through the frame. Identical hands and arms in a group shot create a static, wallpaper-like quality that flattens the image.
Step 4: Close Every Gap Between Subjects
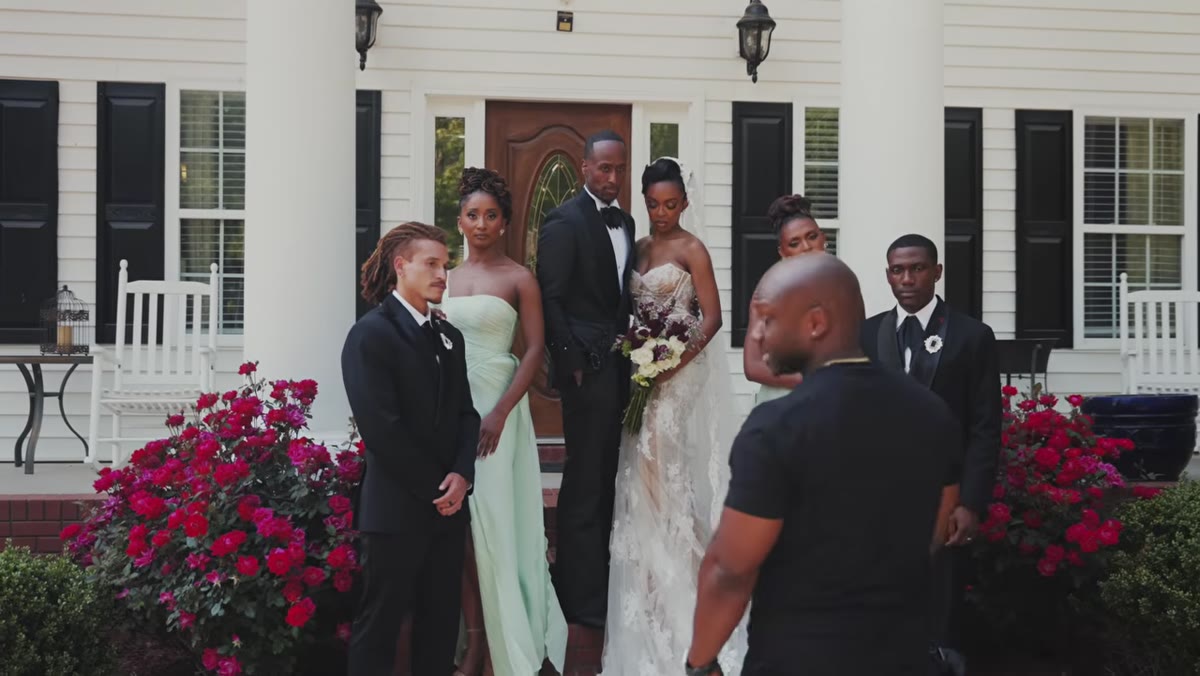 Photographer checking and reducing space between group members
Brown is explicit about why gaps between people matter: even a few inches of air between subjects reads as emotional distance in the final image. The viewer doesn’t consciously think “there’s a gap there,” but they register a sense of tension or disconnection that may have nothing to do with the actual relationships in the photo. His fix is simple. Move people together until gaps close, then assess again.
Photographer checking and reducing space between group members
Brown is explicit about why gaps between people matter: even a few inches of air between subjects reads as emotional distance in the final image. The viewer doesn’t consciously think “there’s a gap there,” but they register a sense of tension or disconnection that may have nothing to do with the actual relationships in the photo. His fix is simple. Move people together until gaps close, then assess again.
For a bridal party this means some subjects step forward, some step back, some angle slightly toward their neighbors. The goal isn’t to compress everyone into a tight line but to eliminate the negative space that creates that disconnected feeling. I’d add from my own experience that this becomes even more critical when you’re shooting at wider apertures, where depth-of-field variation can make a two-inch gap look like a chasm.
Step 5: Choose Focal Length Based on Location, Not Just Aesthetics
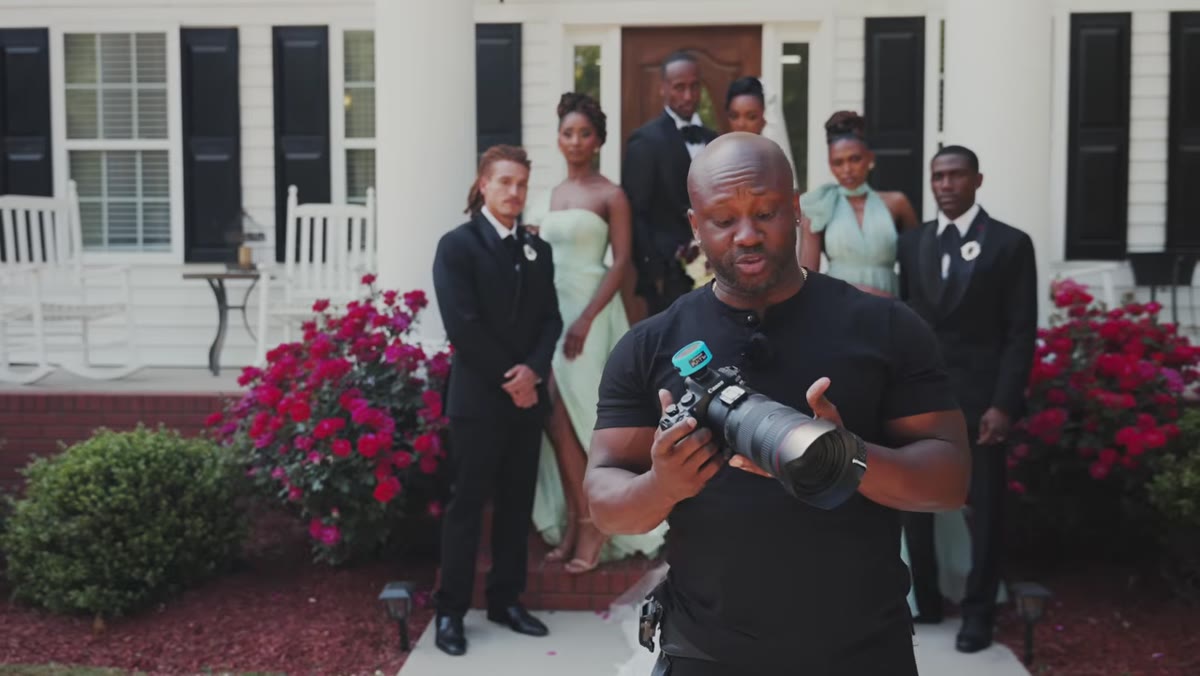 Camera position pulled back with 24-105mm lens selected
Brown is shooting a Canon R6 Mark III with a 24-105mm RF lens, and his reasoning for that choice is worth noting. He’s not just thinking about flattering compression on faces. He’s thinking about the venue. The couple paid to get married at this location. They want to see it in the photos. By stepping back as far as possible and zooming out, he can capture the full group and enough of the surrounding property to make the location legible.
Camera position pulled back with 24-105mm lens selected
Brown is shooting a Canon R6 Mark III with a 24-105mm RF lens, and his reasoning for that choice is worth noting. He’s not just thinking about flattering compression on faces. He’s thinking about the venue. The couple paid to get married at this location. They want to see it in the photos. By stepping back as far as possible and zooming out, he can capture the full group and enough of the surrounding property to make the location legible.
This is a practical calculation that studio shooters often skip because our backgrounds are controlled. On location, you need to ask what the client is paying for in the frame, not just what looks technically correct. The longer end of a zoom also gives him compression that tightens the apparent distance between subjects, which reinforces the work he did physically closing those gaps.
Step 6: Shoot a Natural Light Frame First for Reference
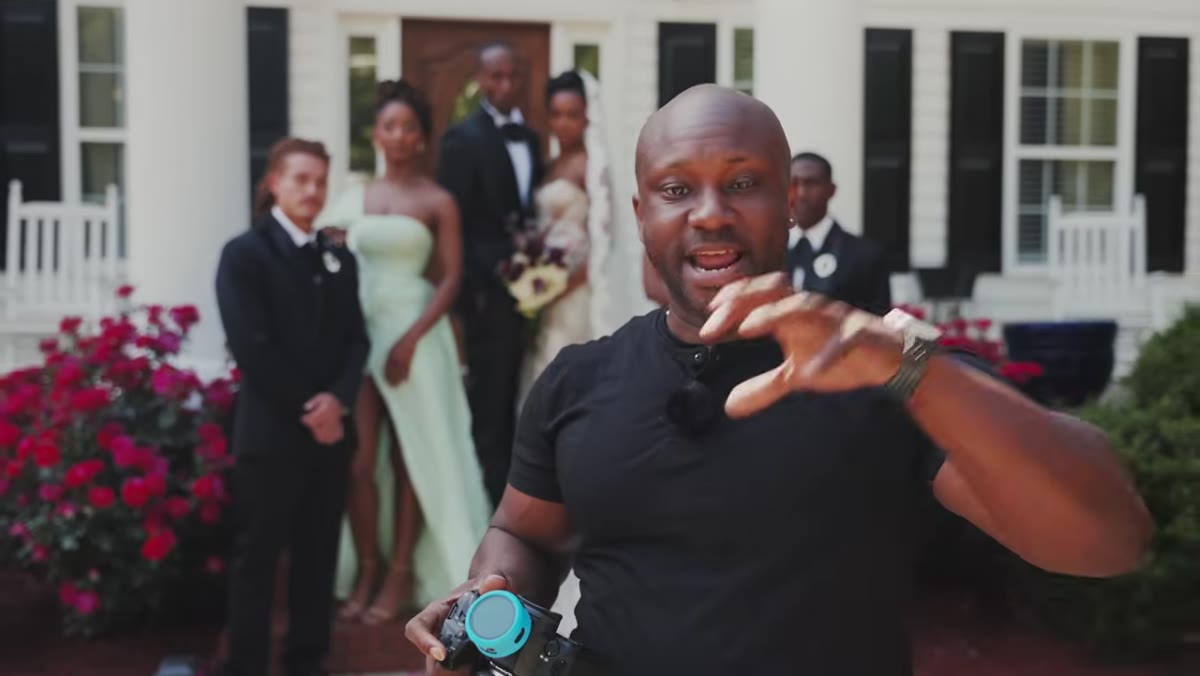 Test frame taken in natural light before flash setup
Before adding any artificial light, Brown captures a natural light exposure. This gives him a reference point for what the ambient conditions are actually doing. You can’t make intelligent decisions about how to modify or supplement natural light until you know what it’s giving you on its own.
Test frame taken in natural light before flash setup
Before adding any artificial light, Brown captures a natural light exposure. This gives him a reference point for what the ambient conditions are actually doing. You can’t make intelligent decisions about how to modify or supplement natural light until you know what it’s giving you on its own.
This is the same logic I use when I walk into a studio space I haven’t shot in before. I’ll fire a bare strobe at the wall and look at the quality of the bounce before I touch a modifier. Know your baseline. Everything after that is a controlled adjustment.
What I’d Add From the Studio Side
The posing work Brown demonstrates transfers directly to any group scenario, but the thing I’d emphasize to photographers coming at this from a more controlled background is to pre-plan your gap-closing moves before the shoot, not during. When I’m doing group headshots for corporate clients, I sketch a rough diagram of where I want people positioned based on height differences and the likely lens I’ll use. Taller subjects in the center, shorter toward the outside, everyone angled slightly inward. It’s not rigid, but it means I’m making refinements on set rather than starting from scratch with twenty people watching me think.
Brown works quickly and confidently in the video because he clearly has a mental framework he’s running through. The individual posing corrections look improvisational, but the underlying logic is structured. Build your own version of that structure before you’re standing in front of a group in direct sunlight.
The core takeaway here is that good group posing is sequential and specific, not general. You move through the frame person by person, correct weight, vary hands, close gaps, and choose your lens with the location in mind rather than habit. Each step is small. The combined result is a photograph that reads as effortless.
Watch the full tutorial on YouTube to see Andre Brown work through the full lighting setup that follows this posing sequence. The flash work is equally instructive.
Comments (2)
Finally someone explains this in a way that actually makes sense.
Applied this to my portfolio shots and the improvement is noticeable.
Leave a Comment