I shoot commercial work in controlled environments most weeks. Coved walls, modifiers on stands I’ve labeled with masking tape, a lighting diagram already drafted before the talent walks in. So when a client calls asking for “something more editorial, more outdoor, more alive,” I have to shift gears fast. The problem isn’t creative willingness. The problem is translating the precision I rely on in the studio into a single-strobe location kit that still delivers consistent, professional results across multiple setups in the same session.
That’s exactly what Eli Infanta works through in this Westcott Lighting tutorial, using the FJ250 portable strobe and a beauty dish to pull off several distinct portrait looks in one outdoor location. Watch the full tutorial on YouTube before you read, or use this breakdown to extract the technique and bring it back to your own kit.
What struck me watching it was how much of Eli’s process is about observation before a single dial gets turned. That’s the part most tutorials skip. Here’s the full walkthrough.
Step 1: Read the Location Before You Set Anything Up
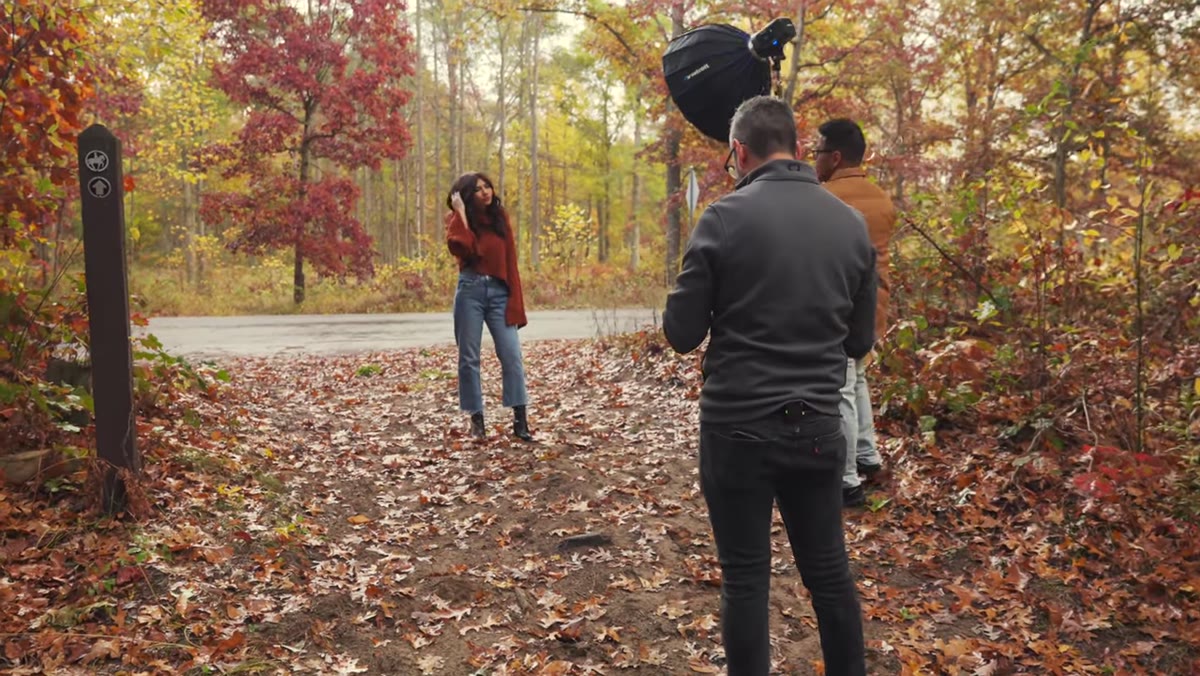
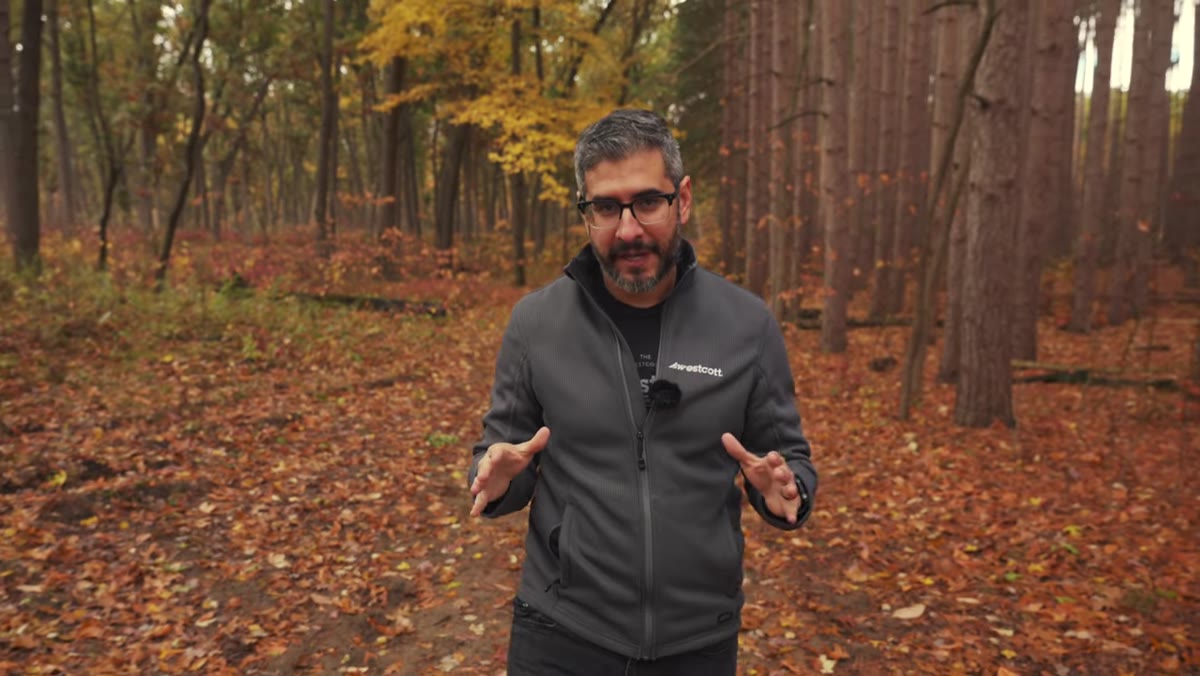 Eli scanning a forest trail, assessing background color and light direction
Arrive at a location and resist the urge to unpack immediately. Eli’s first move is a deliberate visual scan. He’s looking at two things: the direction the ambient light is coming from, and how that light affects the color and vibrancy of the background at different positions. Turning 180 degrees in the same spot reveals two completely different backgrounds, one lit directly and saturated, one shadowed and more muted. Both are usable. Neither requires moving more than a few feet.
Eli scanning a forest trail, assessing background color and light direction
Arrive at a location and resist the urge to unpack immediately. Eli’s first move is a deliberate visual scan. He’s looking at two things: the direction the ambient light is coming from, and how that light affects the color and vibrancy of the background at different positions. Turning 180 degrees in the same spot reveals two completely different backgrounds, one lit directly and saturated, one shadowed and more muted. Both are usable. Neither requires moving more than a few feet.
This matters practically. On location, your background is part of the exposure, not a backdrop you can swap. Spend three minutes walking your shooting area and noting where the light falls before you commit to a position. I keep a small notes section in my lighting journal for exactly this, because on a paid job you don’t get to discover this after you’ve already set up.
Step 2: Choose Your Foreground Based on What the Camera Will Actually See
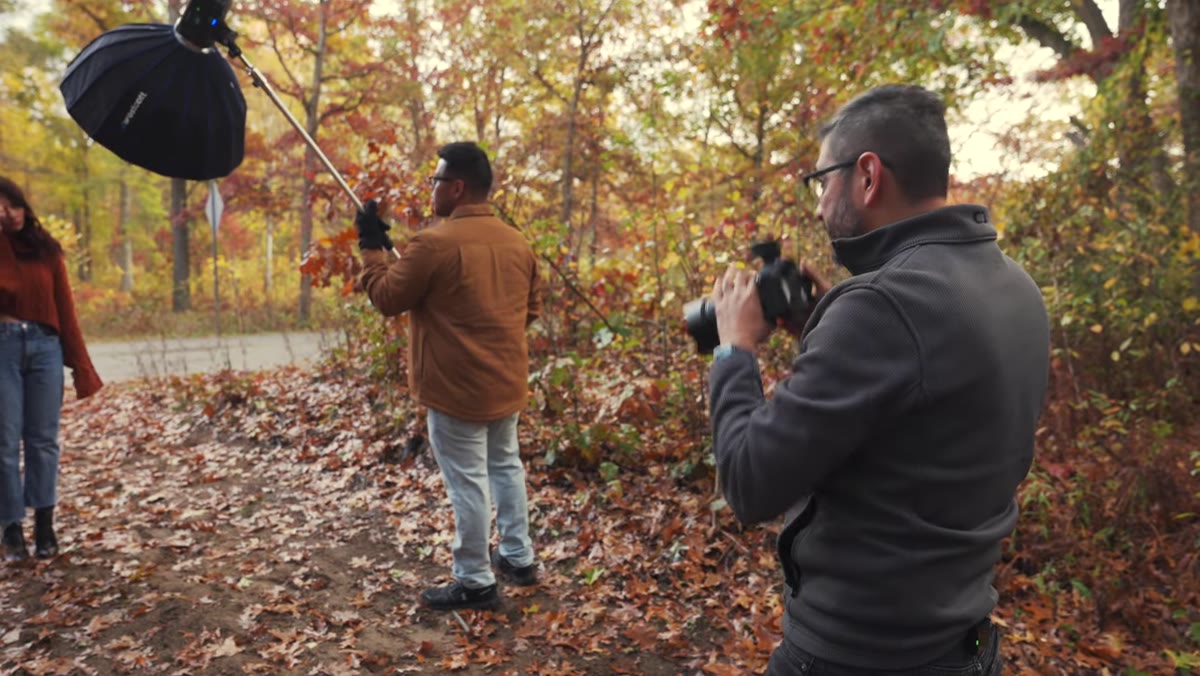
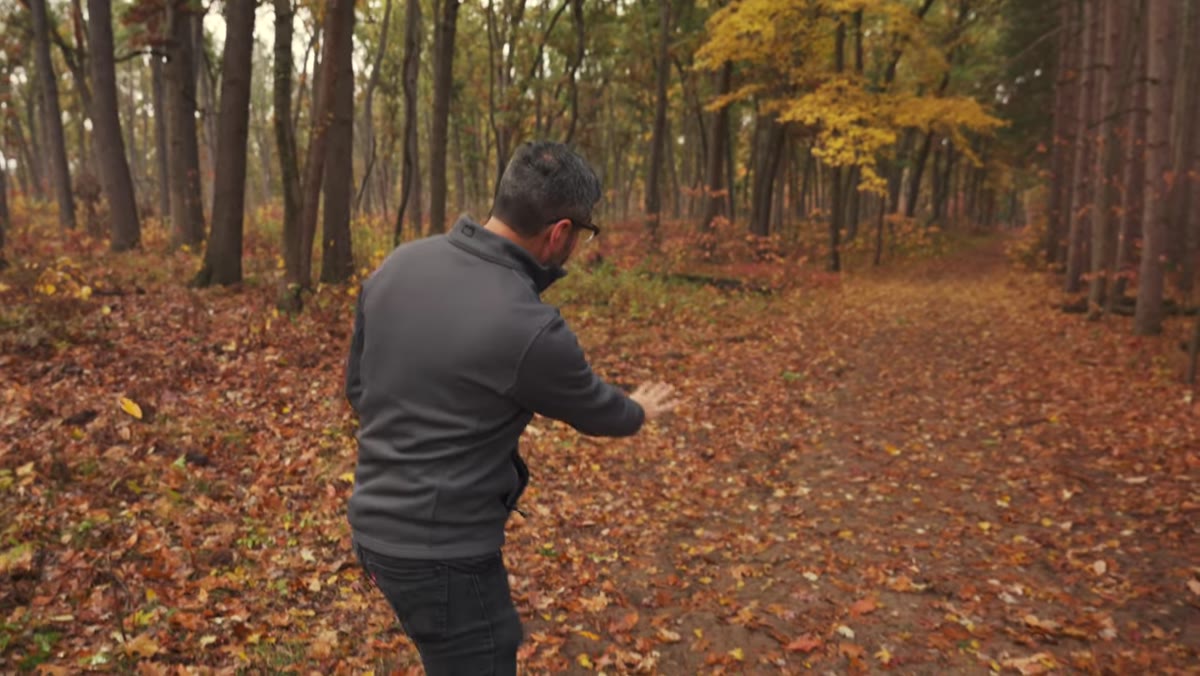 Eli directing the subject away from mud toward fallen yellow leaves
Once Eli picks a general shooting direction, he goes granular on the foreground. There’s mud and dirt in the frame if the subject stands in the obvious spot. So he positions her specifically on fallen leaves that match the warm tones of the background, avoiding a patch of bare soil that would read as an ugly, distracting anchor at the bottom of the frame.
Eli directing the subject away from mud toward fallen yellow leaves
Once Eli picks a general shooting direction, he goes granular on the foreground. There’s mud and dirt in the frame if the subject stands in the obvious spot. So he positions her specifically on fallen leaves that match the warm tones of the background, avoiding a patch of bare soil that would read as an ugly, distracting anchor at the bottom of the frame.
This is the kind of detail that separates a good location scout from an average one. Your subject’s feet and the ground around them are part of the composition, and the camera sees them differently than your eye does when you’re standing upright. Get low, look through the viewfinder, and move the subject until the foreground earns its place in the shot.
Step 3: Match Your Artificial Light Direction to the Sun
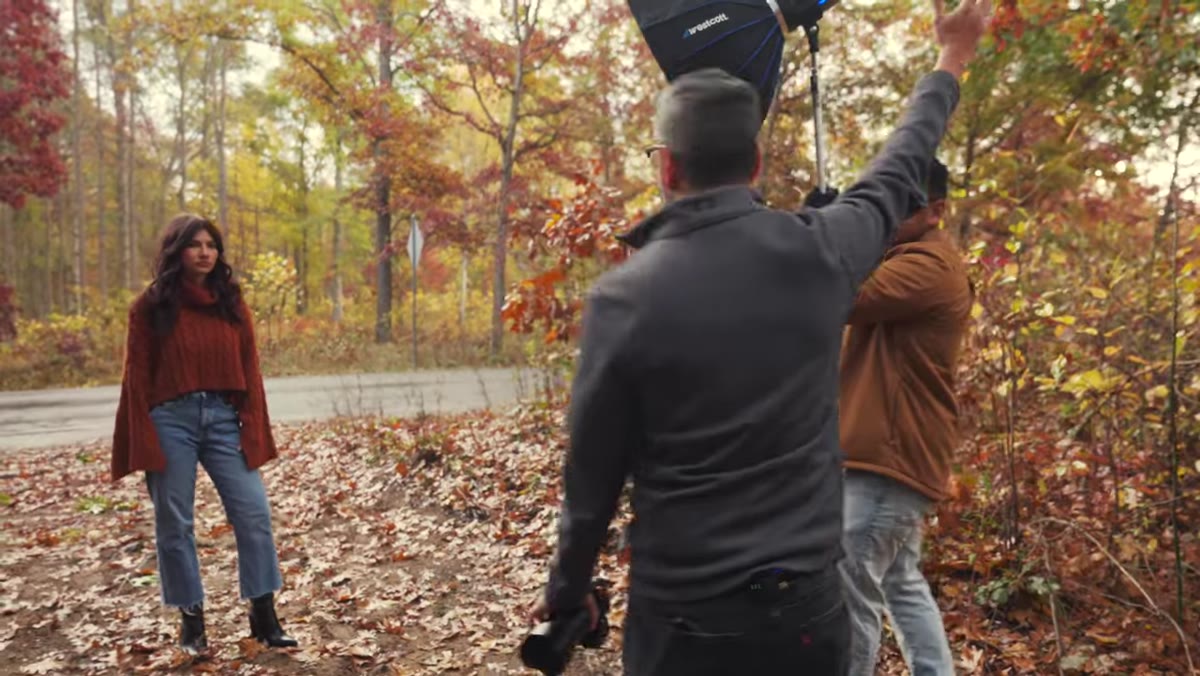 Eli positioning the strobe on camera right, aligned with the sun’s direction
Here’s a rule I’ve applied on practically every outdoor strobe job I’ve taken: place your artificial light source on the same side of the frame as the ambient light. Eli does this deliberately. The sun is coming in from one side, so the FJ250 goes on that same side. The result is a fill that feels like it belongs in the scene rather than fighting it.
Eli positioning the strobe on camera right, aligned with the sun’s direction
Here’s a rule I’ve applied on practically every outdoor strobe job I’ve taken: place your artificial light source on the same side of the frame as the ambient light. Eli does this deliberately. The sun is coming in from one side, so the FJ250 goes on that same side. The result is a fill that feels like it belongs in the scene rather than fighting it.
When artificial and natural light come from opposing directions, you get two sets of shadows on the face, and the image immediately reads as “lit,” not in a controlled way but in a sloppy, unconvincing way. Keeping them directionally consistent preserves the look of natural light while giving you the control of a strobe.
Step 4: Set Your Ambient Exposure First, Then Add Strobe
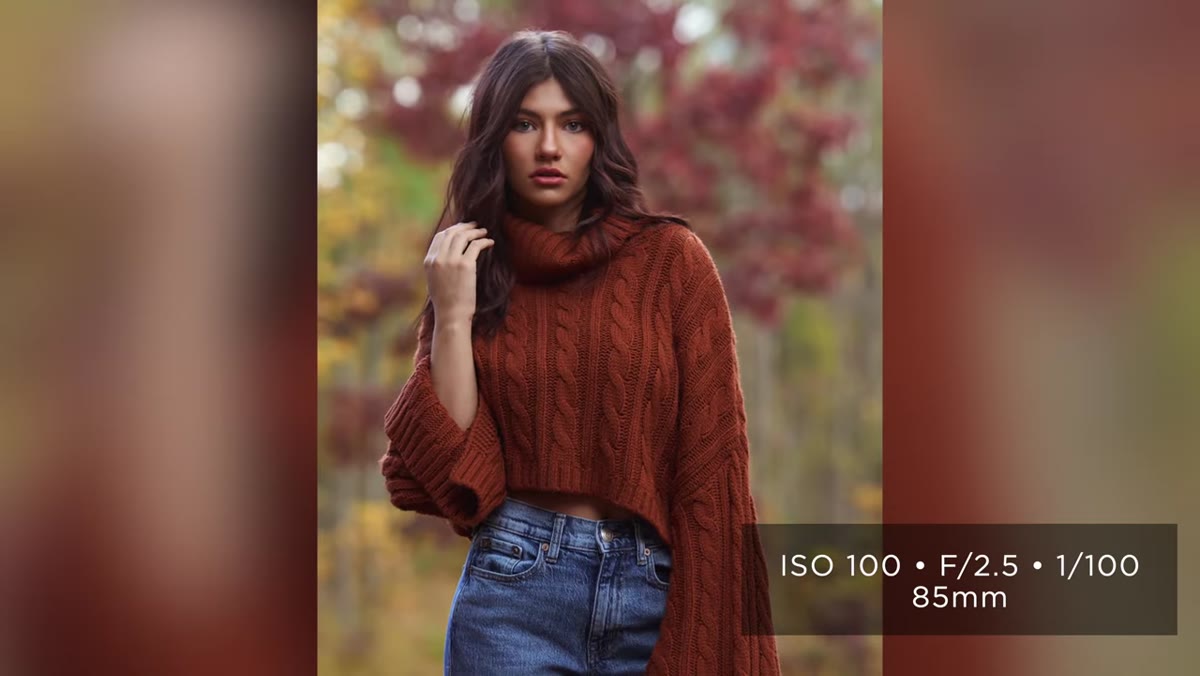
 Camera settings displayed: f/2.5, 1/100s, ISO 100, no flash yet
Eli shoots a test frame with no strobe firing to establish his ambient baseline. His settings: f/2.5, shutter speed 1/100, ISO 100. The logic here is important. He doesn’t want to destroy the background bokeh entirely, but he also doesn’t want to blur away the rich color that makes the location worth being in. So he settles between wide open and stopped down, landing at f/2.5 to hold some detail in the fall foliage while still separating the subject.
Camera settings displayed: f/2.5, 1/100s, ISO 100, no flash yet
Eli shoots a test frame with no strobe firing to establish his ambient baseline. His settings: f/2.5, shutter speed 1/100, ISO 100. The logic here is important. He doesn’t want to destroy the background bokeh entirely, but he also doesn’t want to blur away the rich color that makes the location worth being in. So he settles between wide open and stopped down, landing at f/2.5 to hold some detail in the fall foliage while still separating the subject.
Shooting at 1/100 of a second keeps him in standard sync territory without needing high-speed sync, which matters because HSS costs you strobe power. At a low shutter speed like this, Eli knows he’s unlikely to need more than mid-range power from the FJ250, so he starts at roughly power 3.5 and adjusts from there. Build your ambient exposure first, always. The strobe is there to fill and shape, not to create the entire image from scratch.
Step 5: Dial In Strobe Power by Checking Catchlights
 Close-up review of subject’s eye showing catchlight position in upper center
After the first strobed frames, Eli zooms into the subject’s eyes on the camera’s rear screen. He’s not checking exposure here. He’s verifying catchlight position. With the beauty dish in butterfly position (directly in front of and slightly above the subject), the catchlight appears in the upper center of the eye, which reads as flattering and natural.
Close-up review of subject’s eye showing catchlight position in upper center
After the first strobed frames, Eli zooms into the subject’s eyes on the camera’s rear screen. He’s not checking exposure here. He’s verifying catchlight position. With the beauty dish in butterfly position (directly in front of and slightly above the subject), the catchlight appears in the upper center of the eye, which reads as flattering and natural.
If the catchlight disappears entirely, the light is too high or has drifted off axis. If it drops to the lower half of the iris, the modifier needs to come up. This is the fastest quality check you have on location, faster than histograms for this particular variable. I’ve added “check catchlights” as an explicit step in my own location prep checklist, because it’s easy to skip when you’re moving fast and the overall exposure looks fine.
Step 6: Use the Sun as a Natural Rim Light
 Subject in open area with visible rim light along one shoulder and cheek
Eli notices that the open area they’re shooting in is allowing ambient light to wrap around the subject’s far side, creating a subtle but real rim. He treats this as a bonus element, not an accident to correct. That rim adds separation from the background and dimensional depth without requiring a second light source.
Subject in open area with visible rim light along one shoulder and cheek
Eli notices that the open area they’re shooting in is allowing ambient light to wrap around the subject’s far side, creating a subtle but real rim. He treats this as a bonus element, not an accident to correct. That rim adds separation from the background and dimensional depth without requiring a second light source.
On location, this kind of ambient rim is available more often than photographers realize. It requires positioning the subject so they’re not backed into dense foliage or a solid shadow, but with a few feet of clearance behind them and open sky to the side, the sun does the work for free.
Step 7: Adjust on the Fly Without Changing Core Settings
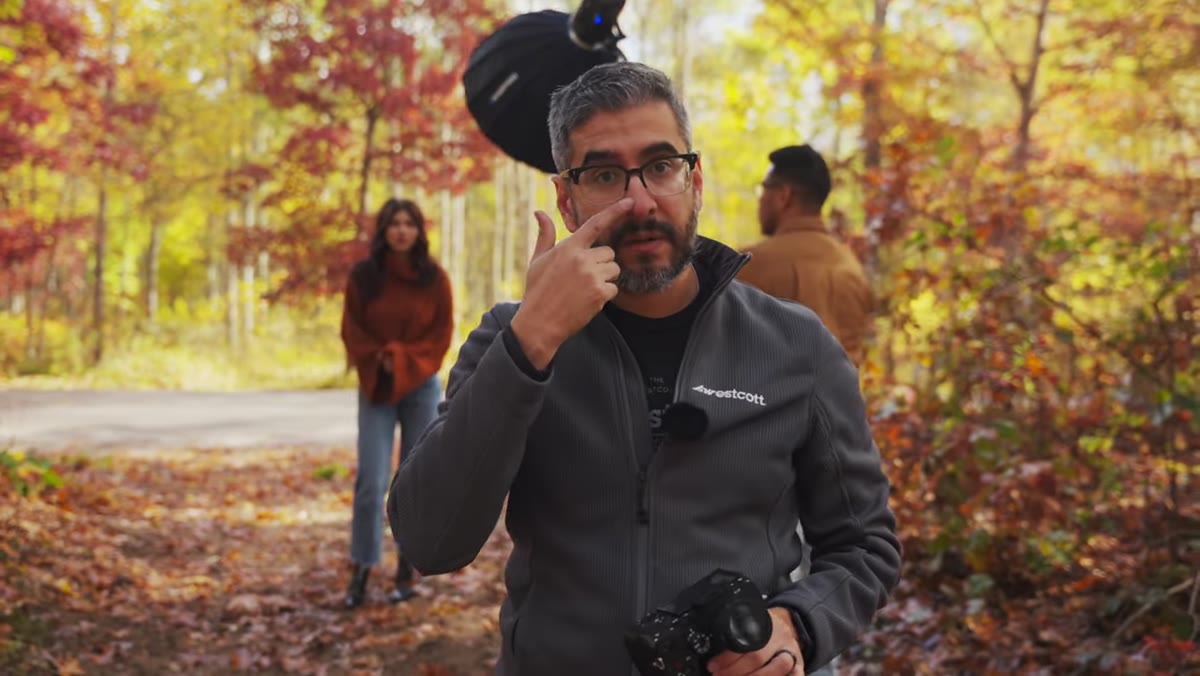 Eli asking subject to step forward slightly to control unwanted nose highlight
When the cloud cover shifted and direct sun started creating an unwanted highlight on the subject’s nose, Eli’s fix wasn’t a settings adjustment. He moved the subject forward by a single step. The position change was enough to bring the nose back into the shadow pattern from the beauty dish.
Eli asking subject to step forward slightly to control unwanted nose highlight
When the cloud cover shifted and direct sun started creating an unwanted highlight on the subject’s nose, Eli’s fix wasn’t a settings adjustment. He moved the subject forward by a single step. The position change was enough to bring the nose back into the shadow pattern from the beauty dish.
This is worth internalizing. On location, your first instinct shouldn’t always be to reach for the power dial. Sometimes the answer is a foot adjustment, a slight turn of the subject’s face, or a small reposition of the modifier. Solve with movement before you solve with settings.
What I’d Add From My Own Work
The one thing this tutorial doesn’t dwell on, and it’s understandable given the pace, is color temperature matching. The FJ250 and most modern portable strobes run daylight-balanced around 5600K, which pairs cleanly with midday sun. But shoot in open shade, or in the golden hour window, and that strobe suddenly reads cooler than everything around it. I ruined my first big editorial shoot by ignoring this exact problem. Now I carry a set of CTO gels and check my ambient color temperature before I fire a single test shot. If your strobe and your sun aren’t matching, no amount of power adjustment will save the image.
The core lesson from Eli’s tutorial is this: location photography with a single portable strobe is mostly an observation discipline, not a gear discipline. You’re reading light direction, foreground texture, background color, and natural rim opportunities before you ever touch a modifier. The FJ250 and beauty dish are just how you confirm and control what the location is already offering.
Watch the full tutorial on YouTube to see Eli’s eye for location work in real time. The way he reads a scene in the first 90 seconds is worth the watch alone.
Comments (3)
Great article, though I think the difficulty depends a lot on your gear.
This finally clicked for me after struggling for months. Thanks.
Put this into practice over the weekend. My portraits have never looked better.
Leave a Comment