
I keep my studio dialed in the same way I keep my lighting diagrams: nothing gets left to chance. Every strobe is labeled with masking tape. Every modifier gets tested the day it arrives. So when I started noticing inconsistent communication between my FJ-T1 trigger and my strobes during a recent beauty shoot, my first instinct was not to blame the lights. It was to ask whether my trigger’s firmware was current. Nine times out of ten, when a piece of gear starts behaving strangely, the fix is already sitting on the manufacturer’s server waiting to be downloaded.
Firmware updates are the kind of maintenance task that photographers put off because they feel abstract. Nothing looks broken. The trigger still fires. But “still fires” is a low bar when you’re on set with a client paying for your time. Westcott has been pushing regular firmware updates for the FJ-T1, and each one patches behavior, improves sync reliability, or adds features that quietly make your workflow cleaner. In this Westcott Lighting tutorial, the process gets laid out in under two minutes. I’m going to slow that down and give you the version you can actually follow without rewinding.
Watch the full tutorial on YouTube
Step 1: Put the Trigger Into Firmware Mode
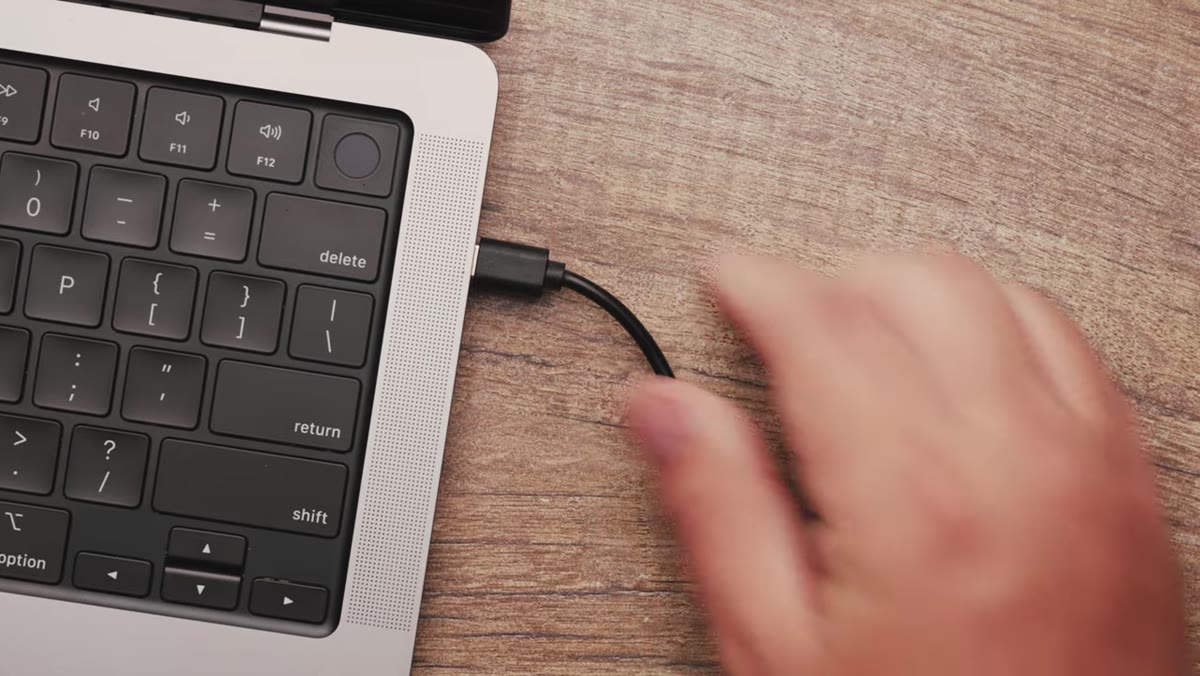 Hands connecting USB-C cable to computer and trigger
Before anything else, locate the USB-C cable that came in the box with your FJ-T1. This is not the moment to grab whatever cable is closest to you on the desk. Westcott included a specific cable, and using it matters for reliable data transfer.
Hands connecting USB-C cable to computer and trigger
Before anything else, locate the USB-C cable that came in the box with your FJ-T1. This is not the moment to grab whatever cable is closest to you on the desk. Westcott included a specific cable, and using it matters for reliable data transfer.
Here is the part most people miss: you cannot just plug the trigger in and expect it to appear as a drive. You need to hold the TestFire button down first, keep it held, and then plug the USB-C cable into the trigger’s port while continuing to hold. That button press is what tells the trigger to boot into update mode rather than its normal operating mode. Release too early and you will just see the trigger power on as usual, connected to nothing useful.
Step 2: Confirm the Trigger Appears as an External Drive
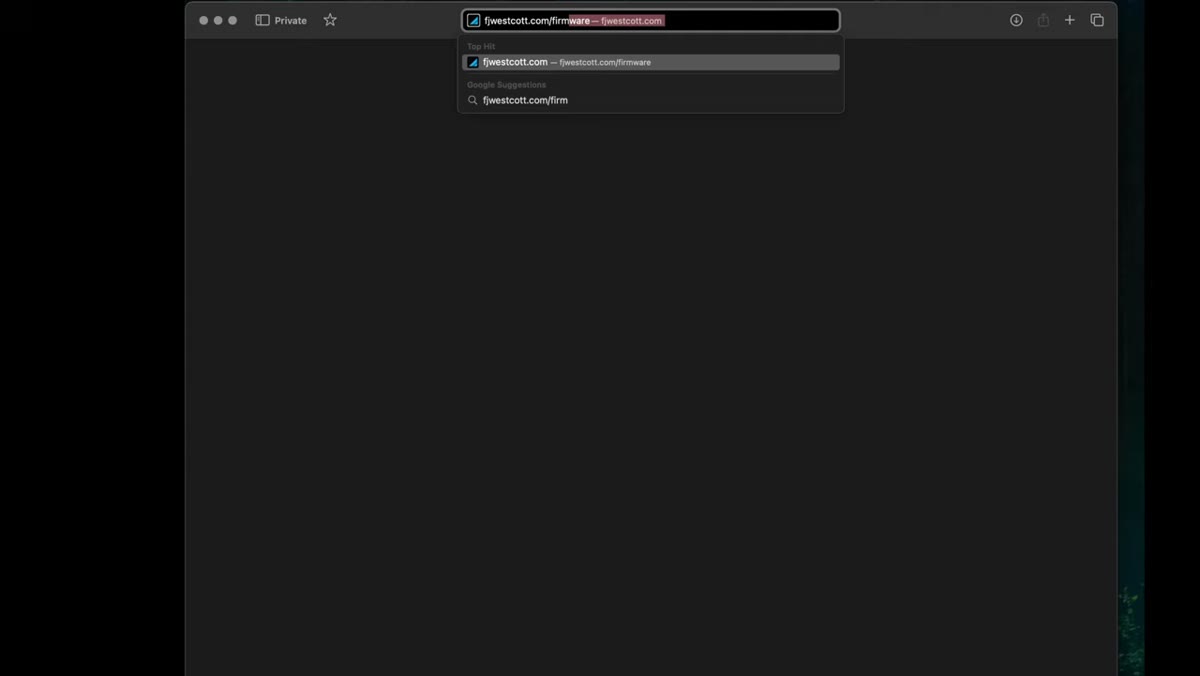 Computer screen showing FJ-T1 recognized as external drive
Once you have completed that button sequence correctly, your computer should recognize the FJ-T1 as an external storage device, the same way it would see a USB thumb drive. On a Mac, it will appear on the desktop or in the Finder sidebar. On a PC, it will show up in File Explorer.
Computer screen showing FJ-T1 recognized as external drive
Once you have completed that button sequence correctly, your computer should recognize the FJ-T1 as an external storage device, the same way it would see a USB thumb drive. On a Mac, it will appear on the desktop or in the Finder sidebar. On a PC, it will show up in File Explorer.
If it does not appear, unplug everything, wait a few seconds, and repeat the process paying close attention to the button timing. The trigger needs to be in that held state at the exact moment the cable seats into the port. It takes one or two tries to get the feel for it, but once you have done it, it is repeatable every time.
Step 3: Download the Latest Firmware from Westcott
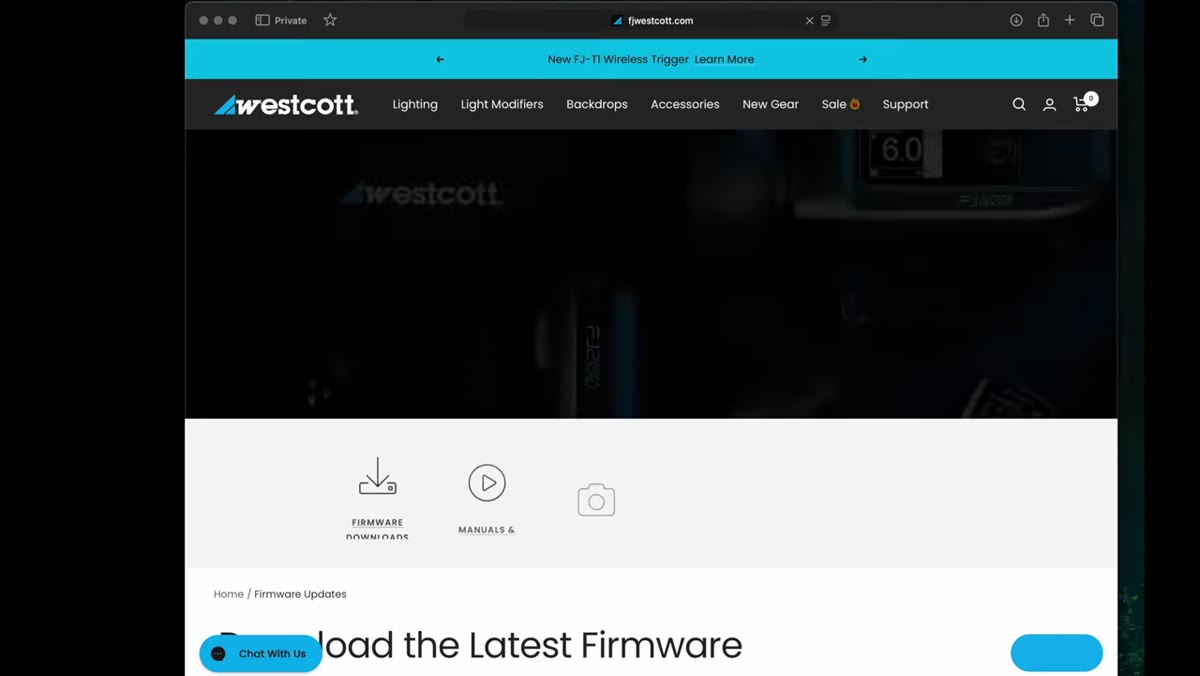 Browser open to fjwestcott.com/firmware download page
Navigate to fjwestcott.com/firmware to get the current firmware file. Westcott maintains this page with the latest release, so whatever is there when you visit is what you should install. Do not use a file you downloaded six months ago and saved somewhere in your downloads folder. Firmware is versioned for a reason, and an outdated file will not give you the fixes and improvements the current release includes.
Browser open to fjwestcott.com/firmware download page
Navigate to fjwestcott.com/firmware to get the current firmware file. Westcott maintains this page with the latest release, so whatever is there when you visit is what you should install. Do not use a file you downloaded six months ago and saved somewhere in your downloads folder. Firmware is versioned for a reason, and an outdated file will not give you the fixes and improvements the current release includes.
The file downloads as a ZIP archive. That is standard. Nothing is wrong. Your browser may ask where to save it, or it may drop into your default downloads folder depending on your settings.
Step 4: Unzip the Archive and Read the Change Log
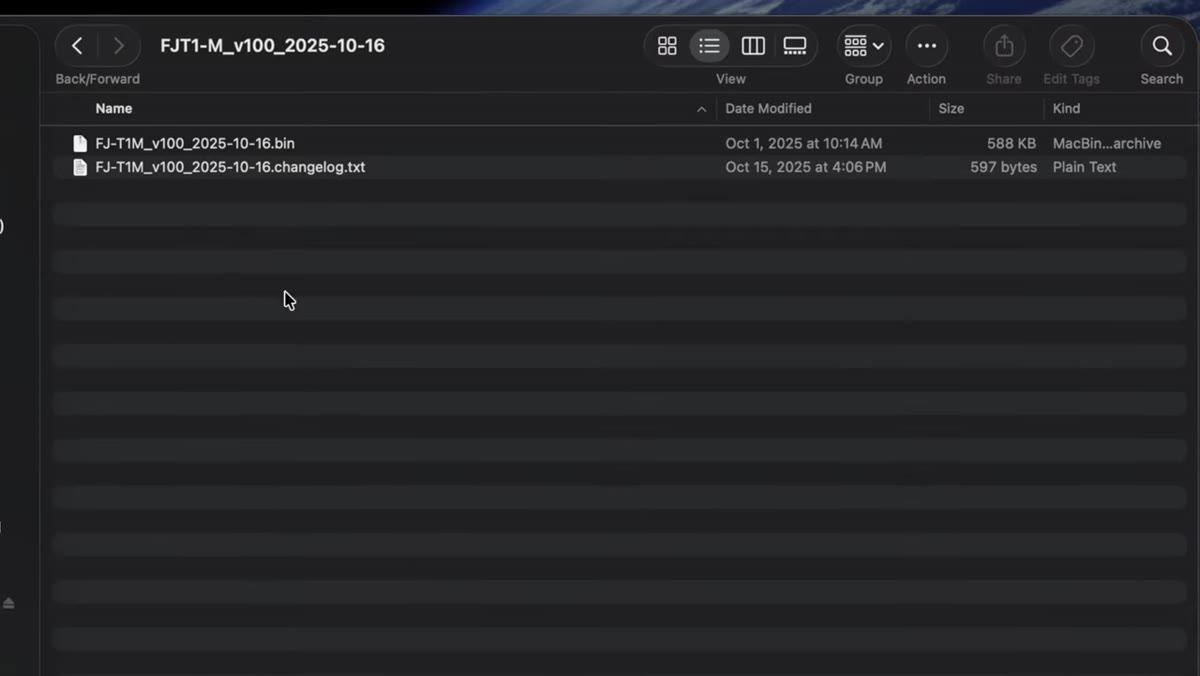 Unzipped folder showing changelog and BIN file
Decompress the ZIP file and open the folder. You will find two items inside: a change log document and a BIN file. Most people go straight for the BIN file and ignore the change log entirely. Do not do this.
Unzipped folder showing changelog and BIN file
Decompress the ZIP file and open the folder. You will find two items inside: a change log document and a BIN file. Most people go straight for the BIN file and ignore the change log entirely. Do not do this.
The change log tells you exactly what changed between firmware versions. If you are troubleshooting a specific issue, the log might confirm the fix is in this release. If there are new features, the log explains them. I treat it the way I treat reading a new modifier’s documentation: it takes two minutes and it means I actually understand what I am working with. Westcott put it in the folder for a reason.
Step 5: Drag the BIN File Onto the Trigger
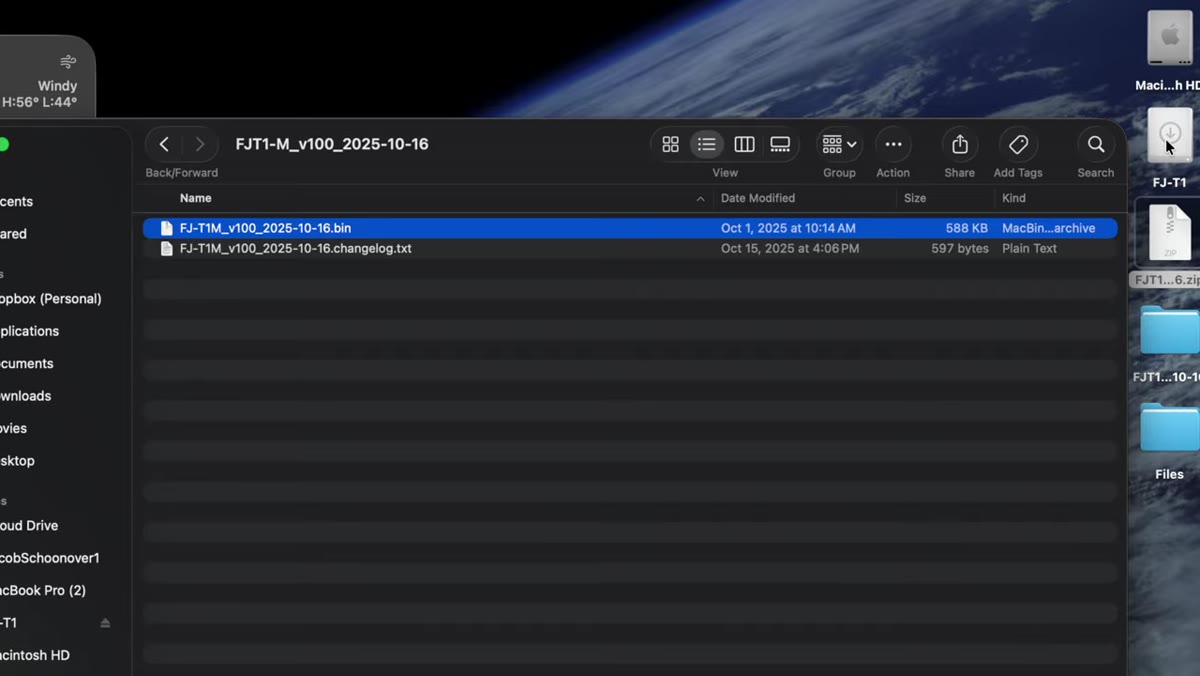 BIN file being dragged onto FJ-T1 drive in file browser
The BIN file is the actual firmware. Open the FJ-T1 as it appears on your computer, as if it were a folder, and drag the BIN file directly onto it. The copy process takes only a few seconds. You will see the standard file transfer progress indicator on your system.
BIN file being dragged onto FJ-T1 drive in file browser
The BIN file is the actual firmware. Open the FJ-T1 as it appears on your computer, as if it were a folder, and drag the BIN file directly onto it. The copy process takes only a few seconds. You will see the standard file transfer progress indicator on your system.
Do not interrupt this process. Do not unplug the cable. Do not let your computer go to sleep. This is the one moment in the whole update where something can actually go wrong, and the fix for a corrupted firmware transfer is not fun. Wait until the copy is fully complete before you do anything else.
Step 6: Eject, Unplug, and Restart the Trigger
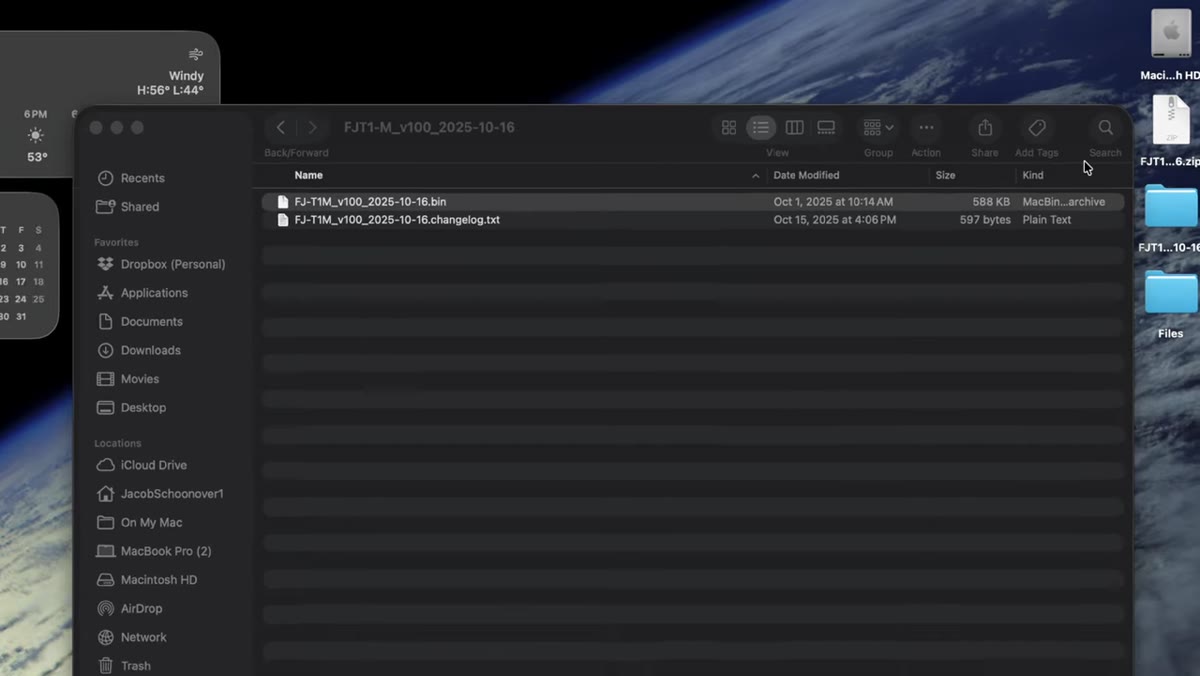 Ejecting the FJ-T1 drive from the computer
Eject the trigger from your computer the same way you would eject any external drive. On Mac, drag it to the Trash or use the eject icon. On PC, use the “Safely Remove Hardware” option. Once it is ejected, disconnect the USB-C cable from both the trigger and your computer.
Ejecting the FJ-T1 drive from the computer
Eject the trigger from your computer the same way you would eject any external drive. On Mac, drag it to the Trash or use the eject icon. On PC, use the “Safely Remove Hardware” option. Once it is ejected, disconnect the USB-C cable from both the trigger and your computer.
Now press and hold the power button on the FJ-T1. The trigger will restart, and as it does, it will install the firmware you just transferred to it. The process completes during this restart cycle. When the trigger powers up normally, you are done. The update is live.
What I Do After Every Firmware Update
I do not trust any piece of gear to behave exactly the same after a software change. That is not skepticism of Westcott, it is just professional habit. After a firmware update on any trigger or strobe, I run a quick fire test before I take that gear anywhere near a paying client. I set up one light, fire a sequence, check that my HSS and TTL behavior are responding the way I expect, and confirm that the channel and group assignments are reading correctly.
Firmware updates can occasionally reset stored settings or change default behavior. The change log will tell you if that is likely, which is another reason to read it. Fifteen minutes of testing in the studio costs nothing. Discovering a problem mid-shoot costs significantly more.
Firmware maintenance is not glamorous, but it is the difference between gear that performs and gear that surprises you at the worst possible moment. The Westcott FJ-T1 is a capable trigger, and keeping it current means you are getting the version Westcott actually intended you to have. The whole process takes less time than it takes me to tape a new modifier label.
Comments (5)
Is there a Lightroom equivalent for this or is it strictly a Photoshop technique?
Finally someone explains this without making it overly complicated.
Love how you break this into manageable steps instead of one giant wall of text.
Subscribed after reading this. Looking forward to more content like this.
Solid foundation. Getting this right makes the retouching phase so much smoother.
Leave a Comment