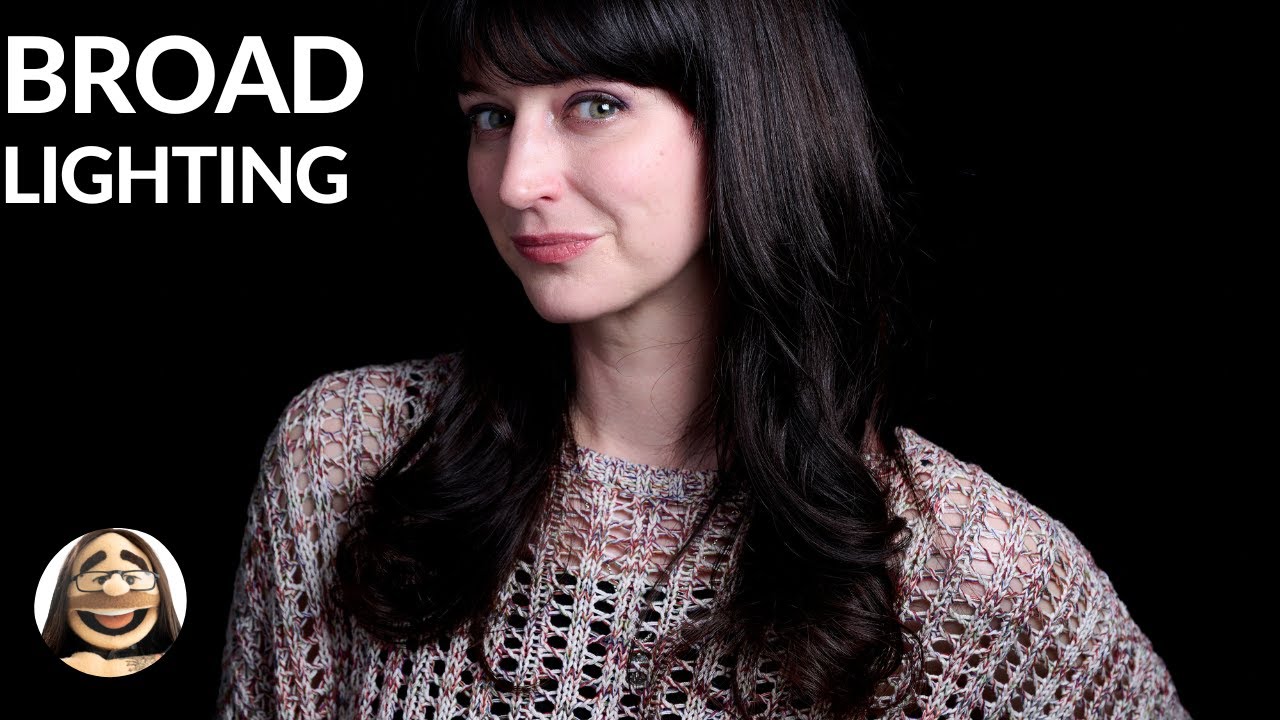
There’s a category of client I get regularly in my Los Angeles studio: the corporate headshot subject who walks in tense, arms crossed, absolutely certain they’re not photogenic. My job in the first ten minutes isn’t to take pictures. It’s to make the light so open and welcoming that they stop thinking about the camera. Broad lighting is one of my go-to tools for exactly that situation. It’s generous, it’s readable, and it communicates warmth before the subject even registers what you’ve done. In this Daniel Norton Photographer tutorial on broad lighting, Watch the full tutorial on YouTube, Daniel does a clean, efficient job of showing what broad lighting actually looks like in practice and, more importantly, why you’d choose it over other patterns.
What I appreciate about Daniel’s approach is that he frames broad lighting in relation to short lighting from the start. These two patterns are essentially opposites, and understanding both tells you more than studying either one in isolation. Short lighting carves drama into a face. Broad lighting opens it up. If short lighting is your editorial knife, broad lighting is the soft brush you reach for when someone needs to look approachable, youthful, or simply human. I’ve sketched both setups side by side in my lighting journal more times than I can count, and the contrast never gets old.
Step 1: Understand What “Broad” Actually Means
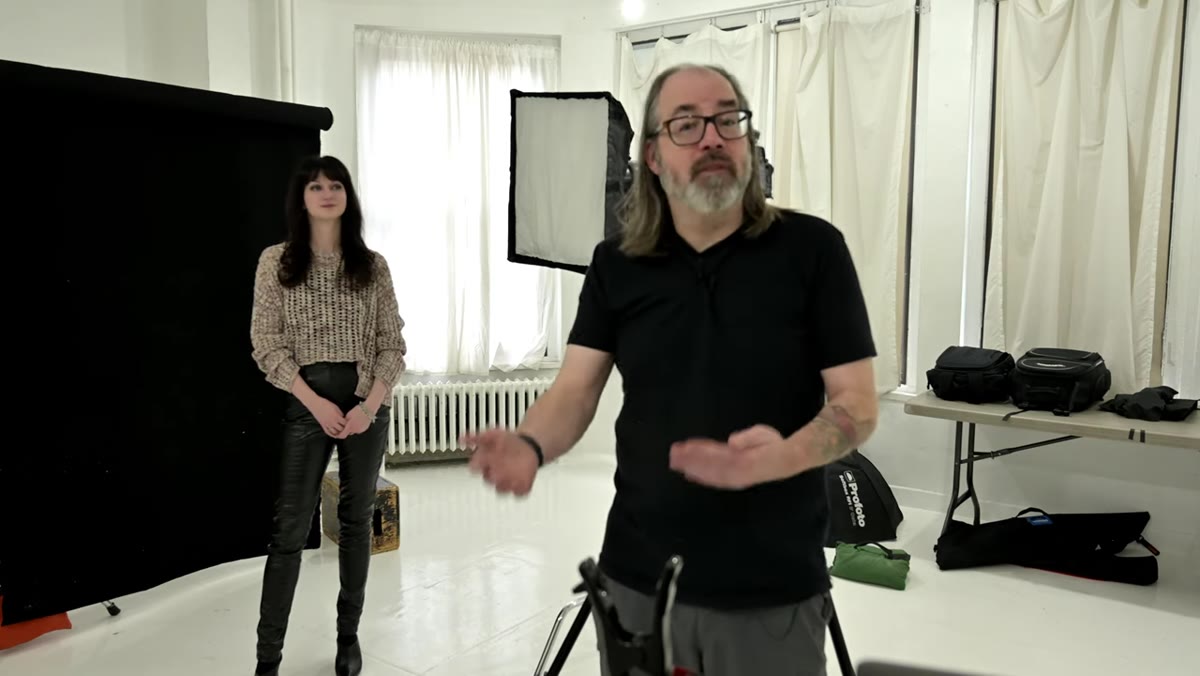 Daniel explaining broad lighting side of face toward camera
Broad lighting means you’re illuminating the side of the face that is turned toward the camera. That’s the whole definition, and it’s worth repeating slowly because it’s easy to get turned around. When a subject looks slightly off-camera, their face presents two sides to the lens: the near side and the far side. Broad lighting wraps the near, larger side of the face in light. The result is that most of what the camera records is fully illuminated, with shadows falling toward the back of the head, away from the lens.
Daniel explaining broad lighting side of face toward camera
Broad lighting means you’re illuminating the side of the face that is turned toward the camera. That’s the whole definition, and it’s worth repeating slowly because it’s easy to get turned around. When a subject looks slightly off-camera, their face presents two sides to the lens: the near side and the far side. Broad lighting wraps the near, larger side of the face in light. The result is that most of what the camera records is fully illuminated, with shadows falling toward the back of the head, away from the lens.
This is not the same as having the subject look directly into the camera. If your subject faces straight ahead and you light them from the side, you’re closer to a 45-degree pattern or Rembrandt territory depending on angle. Broad lighting requires that slight head turn. That turn is what creates the “broad” side in the first place.
Step 2: Position the Subject Looking Off-Camera
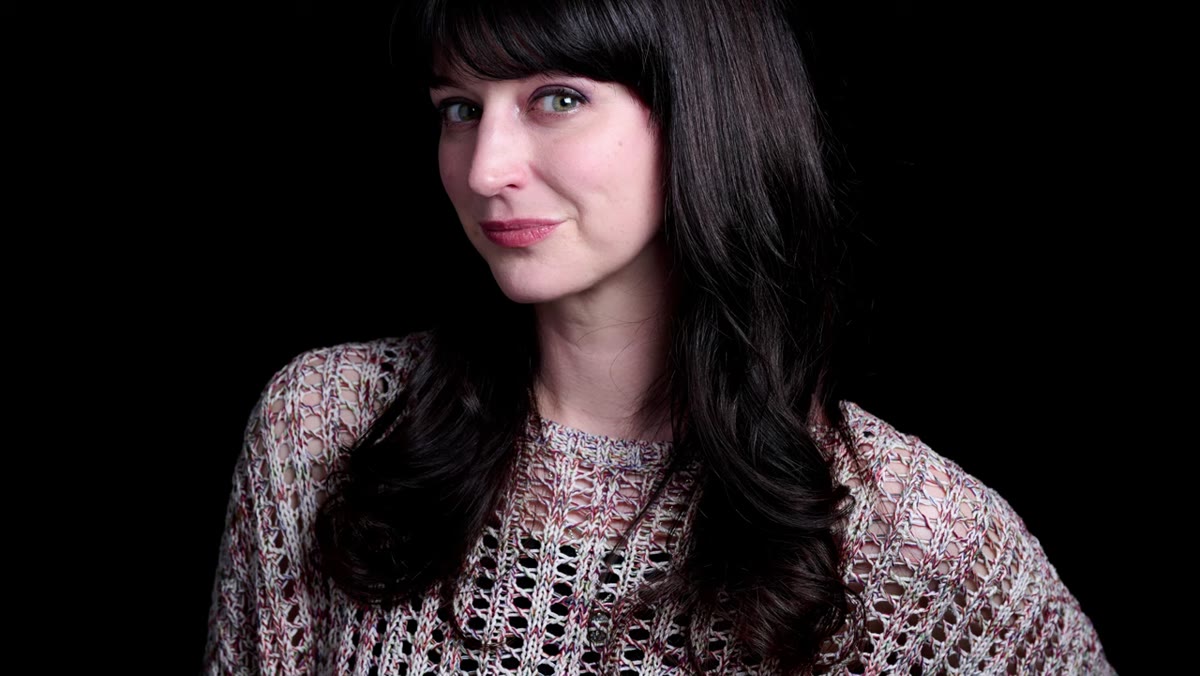 Cadence turning her head to look off to camera left
Daniel has his subject, Cadence, turn to look off to camera left. This head position is the prerequisite for everything else. Without it, you don’t have broad lighting, you have something else. The degree of the turn matters too. A small, subtle turn keeps the setup versatile and works well for portraits where you want engagement without full direct eye contact. A more dramatic turn pushes you toward profile territory and changes the feel entirely.
Cadence turning her head to look off to camera left
Daniel has his subject, Cadence, turn to look off to camera left. This head position is the prerequisite for everything else. Without it, you don’t have broad lighting, you have something else. The degree of the turn matters too. A small, subtle turn keeps the setup versatile and works well for portraits where you want engagement without full direct eye contact. A more dramatic turn pushes you toward profile territory and changes the feel entirely.
I typically ask clients to point their nose toward a specific spot on the wall, something concrete they can lock onto. Vague directions like “look slightly away” produce inconsistent results. Pick a point, tell them to look at it, and your lighting geometry stays repeatable shot to shot.
Step 3: Place the Light on the Camera-Side of the Face
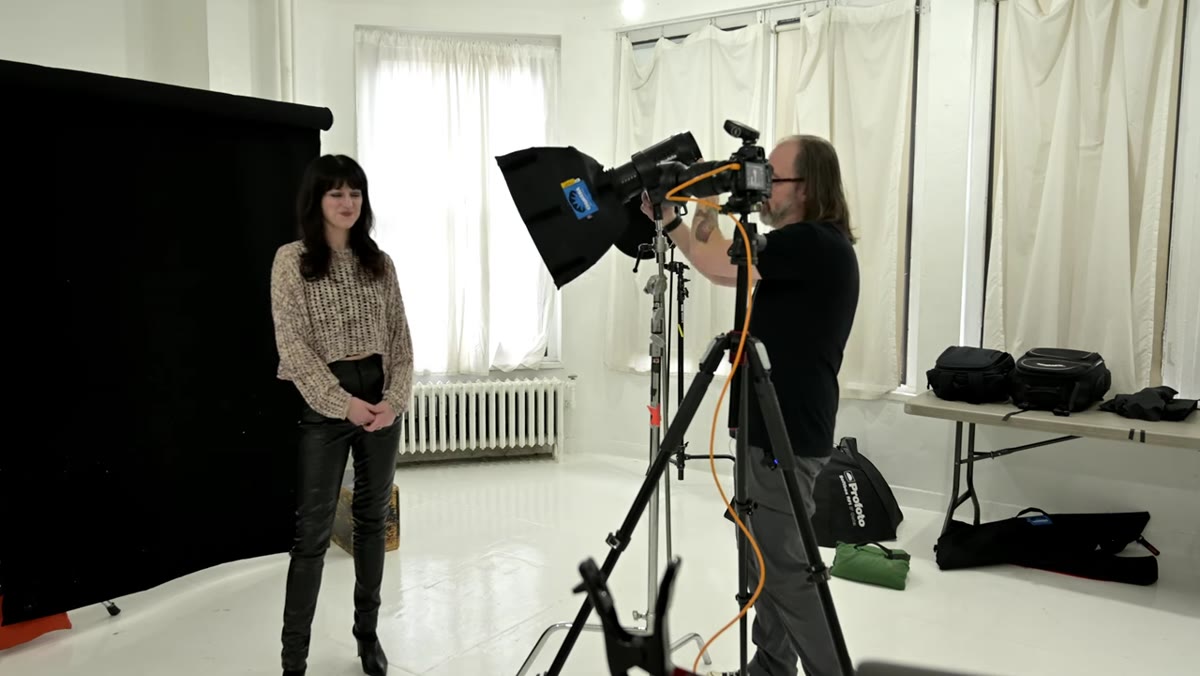 Softbox positioned above and to the side facing camera
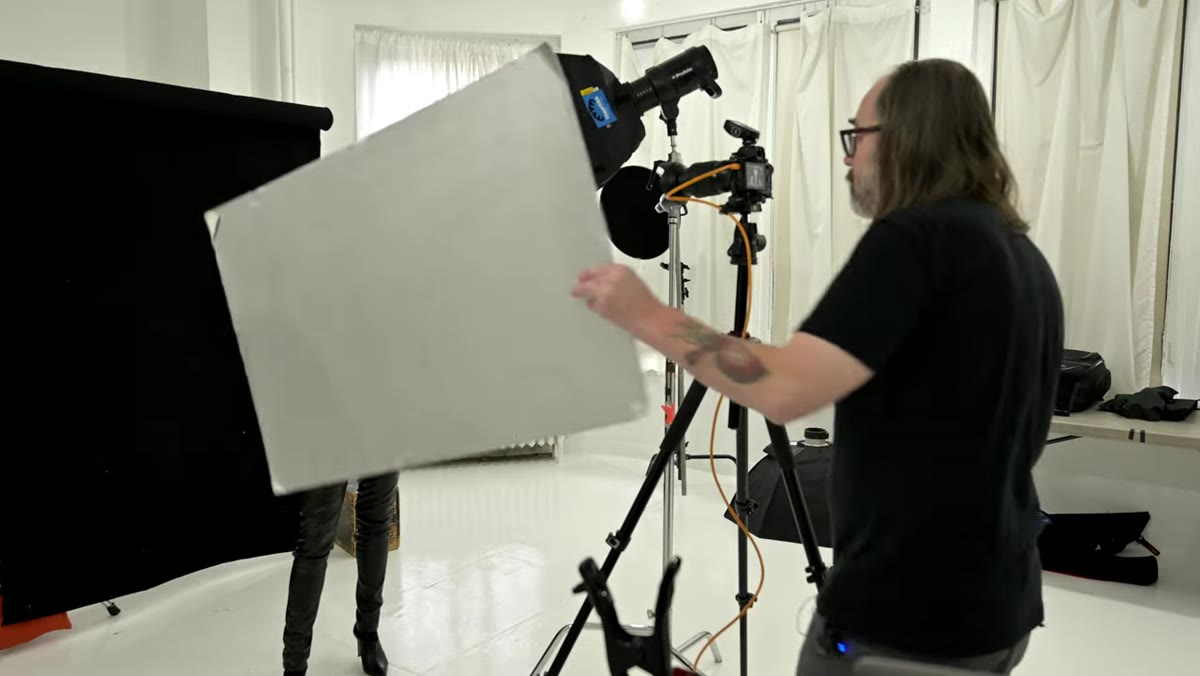
With the subject’s head turned, the light source goes on the same side as the camera, aimed at the broad, near side of the face. Daniel uses a softbox turned horizontal, which spreads the light across a wider area and produces a smooth, even wrap. He positions it slightly above head height and angles it down, which is standard practice for making light look natural. Light that comes from below or directly level with the face rarely reads as realistic.
Softbox positioned above and to the side facing camera
With the subject’s head turned, the light source goes on the same side as the camera, aimed at the broad, near side of the face. Daniel uses a softbox turned horizontal, which spreads the light across a wider area and produces a smooth, even wrap. He positions it slightly above head height and angles it down, which is standard practice for making light look natural. Light that comes from below or directly level with the face rarely reads as realistic.
The key quality check here is that the entire near side of the face should be evenly lit with minimal patchy shadows. You’re not sculpting. You’re revealing. If you see a dark band cutting across the cheek or forehead on the lit side, your light source is too far to the side or too high.
Step 4: Evaluate the Shadow Side and Decide on Fill
 Portrait result showing open lit face with gentle shadow falloff
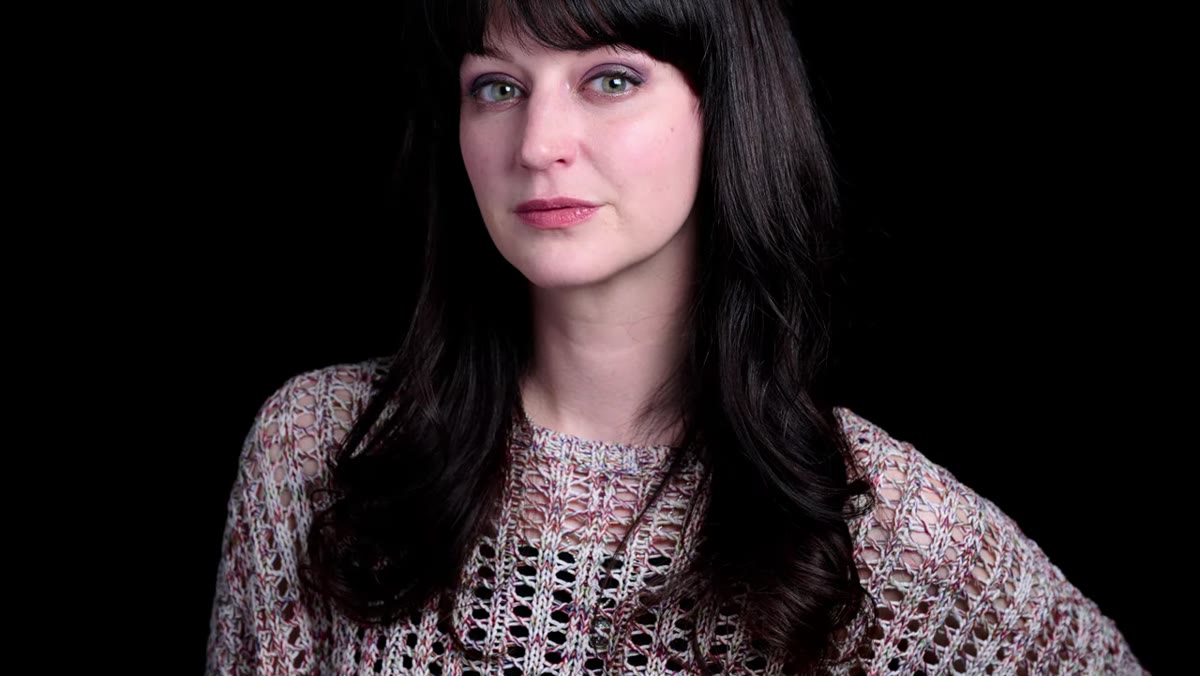
Because the broad side of the face is fully exposed to the light, the shadow on the far side of the face is relatively minimal. This is what gives broad lighting its open, friendly quality. There aren’t deep hollows pulling the eye toward drama. The shadows that exist fall quietly toward the ear and the back of the head, well away from the camera’s primary view.
Portrait result showing open lit face with gentle shadow falloff
Because the broad side of the face is fully exposed to the light, the shadow on the far side of the face is relatively minimal. This is what gives broad lighting its open, friendly quality. There aren’t deep hollows pulling the eye toward drama. The shadows that exist fall quietly toward the ear and the back of the head, well away from the camera’s primary view.
Daniel notes you can introduce a reflector or a fill light here if you want to open up those shadows further. I’d add that the decision depends entirely on your ratio preference. A 2:1 or 3:1 ratio keeps the light soft and even. Push toward 4:1 or beyond and you start drifting away from broad lighting’s natural territory. For beauty and headshot work, I usually keep my fill subtle, one to two stops under the key, just enough to hold detail in the shadow without flattening the image.
Step 5: Check the Overall Quality and Mood Before Shooting
 Final portrait with soft, even broad lighting in place
Before you fire the first frame for real, step back and read the light the same way a viewer will read the final image. Broad lighting should communicate openness. If the image feels heavy or dramatic when you look at the live result, something is off, most likely the light is positioned too far around the face and has crossed into short-lighting geometry. Dial the light back toward camera position until that wide, inviting quality returns.
Final portrait with soft, even broad lighting in place
Before you fire the first frame for real, step back and read the light the same way a viewer will read the final image. Broad lighting should communicate openness. If the image feels heavy or dramatic when you look at the live result, something is off, most likely the light is positioned too far around the face and has crossed into short-lighting geometry. Dial the light back toward camera position until that wide, inviting quality returns.
Daniel describes this as “nice, simple, pretty light,” and he’s right. That simplicity is a feature, not a limitation. Resist the urge to complicate a setup that’s already working.
My Extension: Broad Lighting as a Client Management Tool
I use broad lighting as a confidence-building opener on shoots where I know the subject is anxious. My wife, who has more intuitive understanding of how light sits on skin than any course ever taught me, pointed out early on that broad lighting makes people look the way they hope they look. It’s flattering without feeling manipulated. I’ll start a headshot session with broad lighting, show the subject the first few frames, and watch their shoulders drop. From there, I can push into more complex patterns because they trust the process.
The practical setup note I’d add to Daniel’s walkthrough: label your light position on the floor with tape before the subject walks in. I do this on every shoot, a small piece of masking tape marking the stand position for each light. If a client shifts or I need to reset mid-session, I’m back to the correct geometry in seconds without guessing.
The single most important takeaway from this tutorial is the definition itself: broad lighting is about the side of the face nearest the camera, not about the direction the light faces. Lock in that distinction and every other lighting pattern you learn will make more sense because you’ll have a reliable reference point to think from. Watch the full tutorial on YouTube to see Daniel demonstrate the setup live with his subject, which makes the geometry click in a way that diagrams alone often don’t.
Comments
Leave a Comment